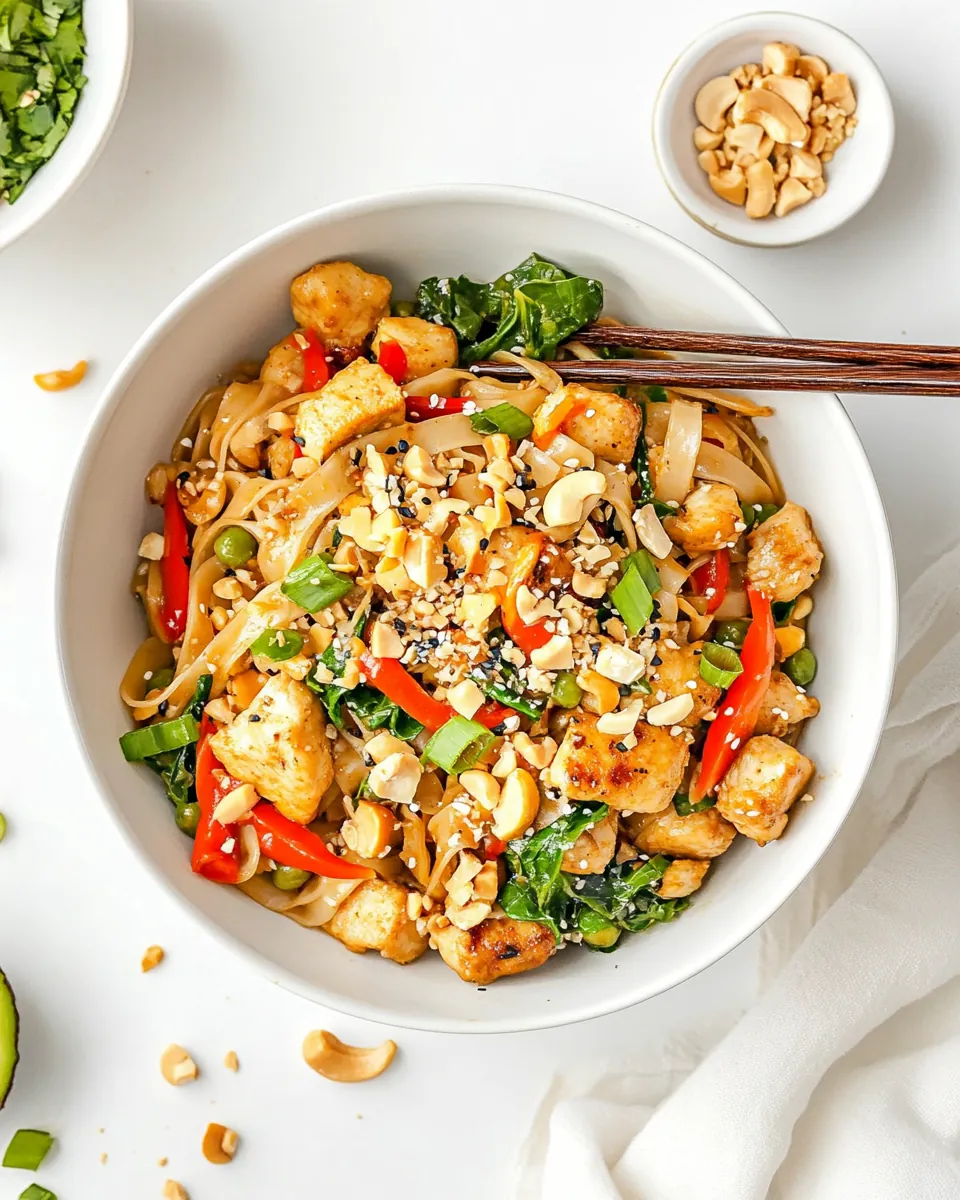
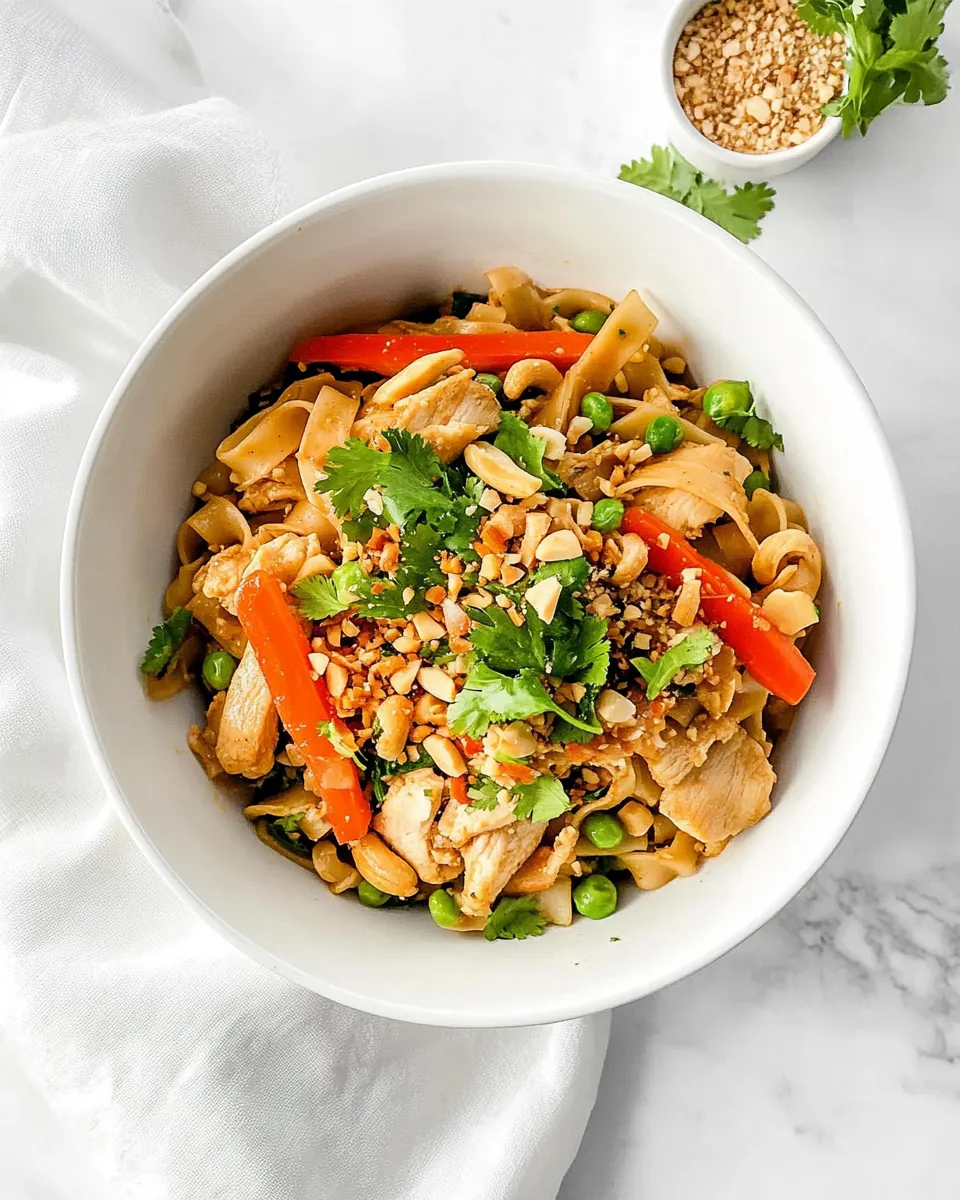
Cashew Chicken Pad Thai
There’s something special about the way a dish can transport you to a different place or a cherished memory. For me, that dish is Cashew Chicken Pad Thai. It all started on a rainy day when my craving for something comforting and delicious hit me hard. I found myself in my kitchen, surrounded by a medley of vibrant ingredients, eager to recreate that unforgettable experience from my favorite Thai restaurant. The aroma of the sizzling garlic and toasted cashews filled the air, and before long, my home transformed into a haven of delightful scents. As the noodles danced in the pan, I knew I was about to whip up something incredible.
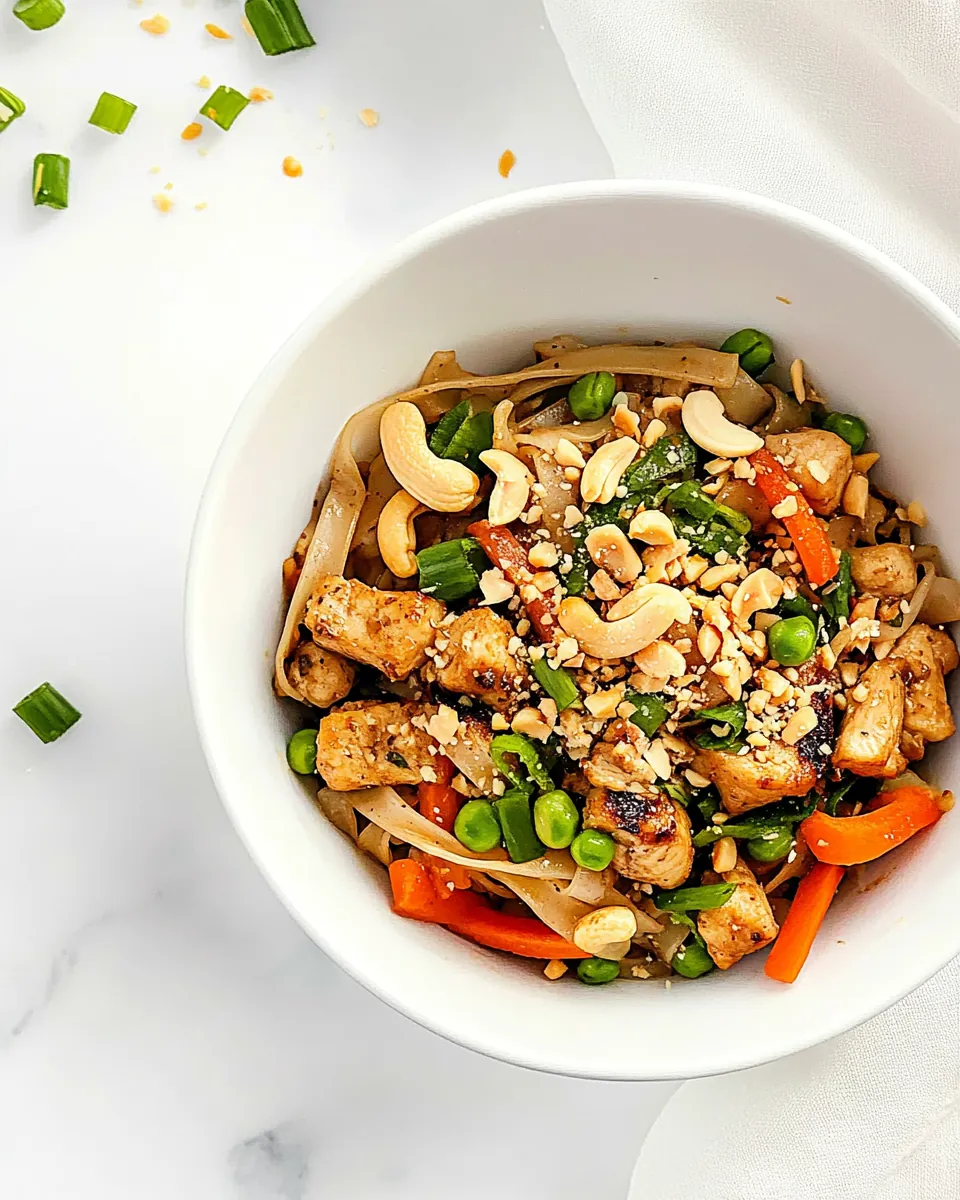
Every time I make Cashew Chicken Pad Thai, it feels like I’m crafting a little piece of joy. It’s not just a meal; it’s an experience that brings people together. Whether it’s a weeknight dinner with family or a casual gathering with friends, this dish never fails to impress. The combination of tender chicken, crunchy cashews, and perfectly cooked rice noodles creates a harmony of textures and flavors that is simply irresistible. And the best part? You can customize it to your heart’s desire!
So, if you’re ready to embark on a culinary adventure and create a dish that will have everyone coming back for seconds, then let’s dive into the world of Cashew Chicken Pad Thai. Grab your apron and get ready for a delicious journey!
Recipe Snapshot
60 mins
0 mins
0 mins
Medium
450 kcal
25 g
Whole30, Gluten-Free
18 g
Baking Sheet, Wooden Spoon, Cutting Board, Large Pot, Skillet, Frying Pan, Chef’s Knife, Whisk
Why You Need This Cashew Chicken Pad Thai
It’s a Flavor Explosion
One of the things I love most about Cashew Chicken Pad Thai is how it balances flavors so well. You have the sweetness from the brown sugar, the saltiness from the soy sauce, and the heat from the sriracha. Each bite is like a new adventure, and the layers of flavor come together beautifully.
Quick and Easy
Even on busy days, this dish is quick to whip up. With just a few simple steps, you can have a restaurant-quality meal ready in no time. It’s an amazing option for those weeknight dinners when you want something satisfying but don’t want to spend hours in the kitchen.
Healthy Ingredients
When I make Cashew Chicken Pad Thai, I appreciate knowing that I’m using wholesome ingredients. The fresh vegetables like carrots and snow peas add nutrition, while the chicken provides a healthy source of protein. Plus, the cashews give a delightful crunch without compromising on health.
Customizable
Another great aspect of this dish is its versatility. Don’t like cashews? Swap them out for peanuts! Want to make it vegetarian? Substitute the chicken with tofu. The possibilities are endless, making it a dish that can be adapted to suit any dietary preference.
Perfect for Gatherings
If you’re hosting a dinner party or a casual get-together, Cashew Chicken Pad Thai is a crowd-pleaser. The vibrant colors and enticing aromas will impress your guests, and it’s easy to scale the recipe up to serve a larger group. Everyone will be asking for your secret!
A Comforting Dish
Finally, this dish holds a special place in my heart. It’s more than just food; it reminds me of shared moments, laughter, and the joy of cooking for those I love. Every time I make Cashew Chicken Pad Thai, I’m not just preparing a meal; I’m creating memories.
What to Buy for Cashew Chicken Pad Thai
When it comes to preparing Cashew Chicken Pad Thai, the ingredients you choose play a vital role in creating the perfect dish. Each component brings something unique to the table, ensuring a delicious and well-rounded meal. The combination of flavors and textures makes this dish stand out, from the tender chicken to the crunchy cashews. Let’s break down the essential ingredients that make this recipe shine.
- ⅓ cup water – This is used to create the sauce mixture, ensuring that all the flavors blend beautifully.
- ¼ cup soy sauce – A key ingredient that adds the necessary saltiness and umami flavor.
- 2 tablespoons rice vinegar – This brings a tangy brightness that balances the dish.
- 2 tablespoons light brown sugar – For a touch of sweetness that complements the savory and spicy elements.
- 1 teaspoon fish sauce – A traditional ingredient that enhances the overall flavor profile.
- 1 teaspoon sriracha – For those who enjoy a bit of heat in their dishes.
- 1 package (8 ounces) pad thai rice noodles – The star of the dish, providing the base for all the other ingredients.
- 2 tablespoons olive oil – Divided for cooking the chicken and cashews, adding richness.
- ½ cup roasted salted cashews – These provide a delightful crunch and nutty flavor.
- 18 ounce chicken breast – Thinly sliced, this adds protein and heartiness to the dish.
- ½ sweet onion – Thinly sliced to add sweetness and depth.
- 2 large carrots – Diced for color and crunch.
- 2 cloves garlic – Minced to provide aromatic flavor.
- 1 cup snow peas – Adds a fresh crunch and vibrant color.
- ¼ cup thinly sliced green onion – For garnish and that final touch of freshness.
How to Assemble Cashew Chicken Pad Thai
Assembling Cashew Chicken Pad Thai is a straightforward process that will leave your kitchen smelling amazing. Follow along as I guide you through each step to create this delicious dish. With just a few ingredients and some simple techniques, you’ll be enjoying a flavorful meal in no time!
- Add all the ingredients for the sauce to a small bowl: water, soy sauce, rice vinegar, brown sugar, fish sauce, and sriracha. Whisk until everything is well combined and set aside for later.
- Bring a large pot of water to a boil over high heat. Once boiling, add the pad thai rice noodles and cook for about 4 minutes until they’re tender but still a bit firm. Drain the noodles and rinse them under cold water to stop the cooking process. Set them aside for later.
- Heat a large high-sided skillet or wok over medium heat. Add one tablespoon of olive oil and let it heat for about a minute.
- Once the oil is hot, add the roasted salted cashews to the skillet. Cook for 2 to 3 minutes, stirring occasionally, until the cashews are toasted and golden brown. Once done, remove the cashews from the skillet and place them on a plate to cool.
- Add the remaining tablespoon of olive oil to the skillet and allow it to heat for an additional minute. This oil will help cook the chicken and vegetables.
- Next, add the chicken breast, sweet onion, and carrots to the skillet. Cook for about 5 minutes, stirring occasionally, until the chicken is fully cooked through and the vegetables are just tender. You want the chicken to be a nice golden brown.
- Now, add the minced garlic to the skillet. Stir and cook for an additional minute to allow the garlic to release its aromatic flavor.
- With the chicken and vegetables cooked, it’s time to add the sauce and the rinsed noodles into the pan. Toss everything together to combine, making sure the noodles are coated in the sauce. Cook for an additional minute to warm the noodles through.
- Lastly, add the snow peas and green onion to the skillet. Cook for just one more minute, or until the snow peas are warmed through and bright green.
- Serve immediately, garnished with additional chopped cashews and sesame seeds, if desired. Enjoy!
Things Worth Knowing
- Cooking Noodles: It’s essential to not overcook the rice noodles. They should be slightly firm since they will continue to cook when added to the skillet.
- Fresh Ingredients: Using fresh vegetables enhances the flavor and texture of your dish. Look for vibrant, crisp vegetables.
- Toasting Cashews: Don’t skip toasting the cashews; it brings out their nuttiness and adds a wonderful crunch.
- Tossing Technique: When combining ingredients in the skillet, use tongs to toss gently, ensuring everything is well mixed without breaking the noodles.
Expert Tips about Cashew Chicken Pad Thai
Making Cashew Chicken Pad Thai is a rewarding experience, but there are a few tips that can elevate your dish to perfection. Here are some expert suggestions to help you get the best results.
- Storage: If you have leftovers, store them in an airtight container in the fridge for up to three days. Reheat gently on the stovetop to maintain texture.
- Freezing: You can freeze the cooked dish for up to a month. To reheat, thaw overnight in the fridge and warm it up in a skillet.
- Pairing: Cashew Chicken Pad Thai pairs wonderfully with a fresh cucumber salad or some spring rolls for a delightful meal.
- Variations: Don’t hesitate to switch up the proteins! Shrimp or tofu can be great alternatives to chicken.
- Garnishes: Fresh herbs like cilantro or Thai basil make excellent garnishes, adding an extra layer of flavor.
Perfect Matches for Cashew Chicken Pad Thai
When serving Cashew Chicken Pad Thai, consider these delightful pairings to round out your meal:
- Spring Rolls: These light and crispy appetizers complement the rich flavors of the Pad Thai beautifully.
- Vegetable Stir-Fry: A colorful vegetable stir-fry can provide a nutritious and vibrant side dish.
- Cucumber Salad: A refreshing cucumber salad with lime dressing can balance the richness of the Pad Thai.
- Perfect for Dinner Parties: This dish is sure to impress your guests and can be easily scaled for larger groups.
- Ideal for Family Meals: Serve Cashew Chicken Pad Thai as a cozy family dinner, perfect for sharing.
FAQ
Conclusion
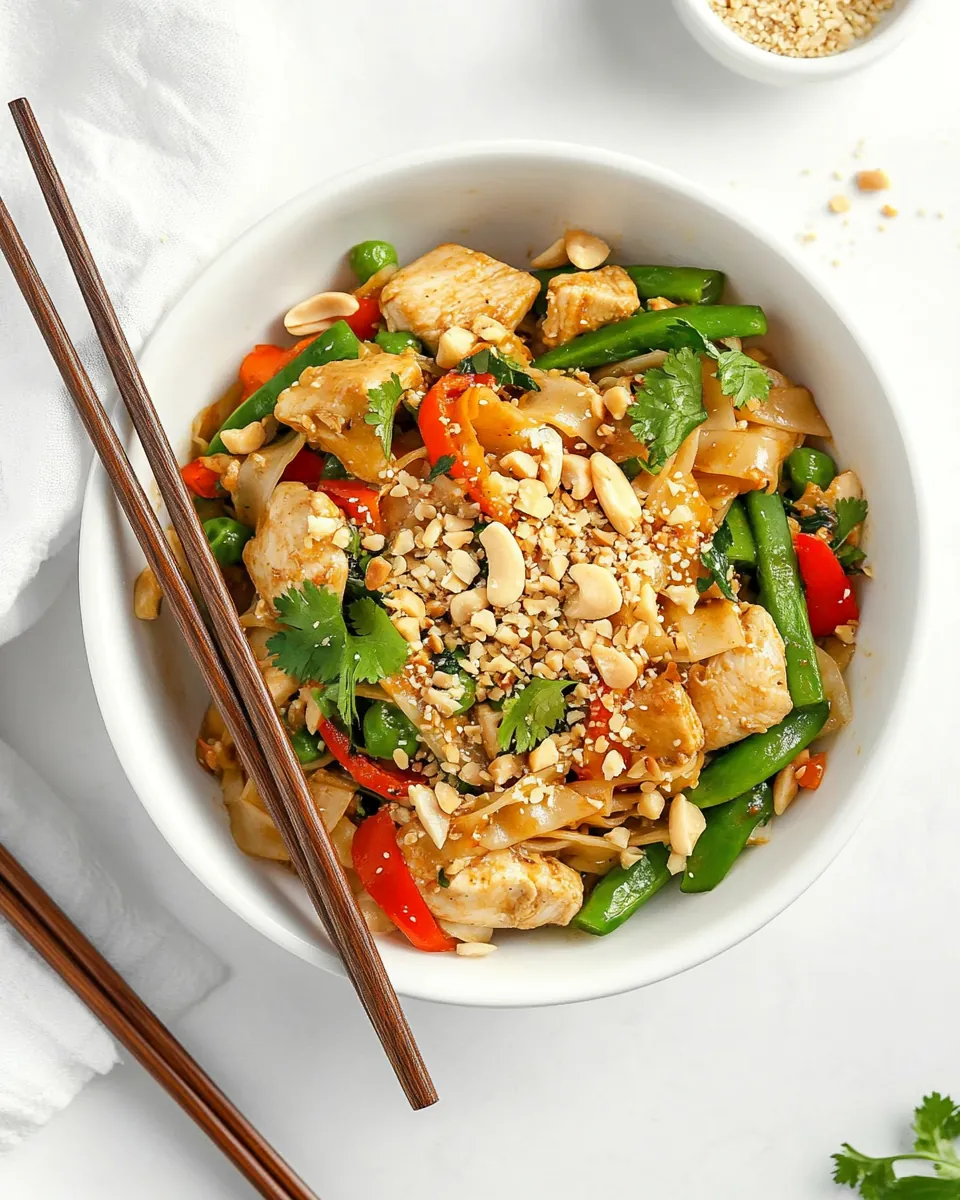
Cashew Chicken Pad Thai is truly a delightful dish that captivates the senses with its rich flavors and vibrant colors. Not only is it easy to make, but it also brings a touch of Thailand to your dining table. I encourage you to try this recipe for your next meal; it’s a surefire way to impress your family and friends. Enjoy the cooking process and the delicious results!
Cashew Chicken Pad Thai
Ingredients
Equipment
Method
- Add all the ingredients for the sauce to a small bowl: water, soy sauce, rice vinegar, brown sugar, fish sauce, and sriracha. Whisk until everything is well combined and set aside for later.
- Bring a large pot of water to a boil over high heat. Once boiling, add the pad thai rice noodles and cook for about 4 minutes until they're tender but still a bit firm. Drain the noodles and rinse them under cold water to stop the cooking process. Set them aside for later.
- Heat a large high-sided skillet or wok over medium heat. Add one tablespoon of olive oil and let it heat for about a minute.
- Once the oil is hot, add the roasted salted cashews to the skillet. Cook for 2 to 3 minutes, stirring occasionally, until the cashews are toasted and golden brown. Once done, remove the cashews from the skillet and place them on a plate to cool.
- Add the remaining tablespoon of olive oil to the skillet and allow it to heat for an additional minute. This oil will help cook the chicken and vegetables.
- Next, add the chicken breast, sweet onion, and carrots to the skillet. Cook for about 5 minutes, stirring occasionally, until the chicken is fully cooked through and the vegetables are just tender. You want the chicken to be a nice golden brown.
- Now, add the minced garlic to the skillet. Stir and cook for an additional minute to allow the garlic to release its aromatic flavor.
- With the chicken and vegetables cooked, it's time to add the sauce and the rinsed noodles into the pan. Toss everything together to combine, making sure the noodles are coated in the sauce. Cook for an additional minute to warm the noodles through.
- Lastly, add the snow peas and green onion to the skillet. Cook for just one more minute, or until the snow peas are warmed through and bright green.
- Serve immediately, garnished with additional chopped cashews and sesame seeds, if desired. Enjoy!