Chicken Katsu
When I think of comfort food, I can’t help but crave Chicken Katsu. This dish holds a special place in my heart, reminding me of cozy family dinners where crispy chicken was always the star. The first time I tried Chicken Katsu, I was instantly hooked by its crunchy exterior and juicy interior. Every bite seemed to tell a story, filled with the memories of laughter and love shared around the table. I remember the excitement of dipping that perfectly fried chicken into a rich, tangy sauce, and it felt like a warm hug on a plate. Now, I want to share that experience with you.
Recipe Snapshot
10 mins
2 mins
8 mins
Easy
350 kcal
25 g
Paleo, Whole30, Vegan
15 g
Skillet, Frying Pan, Whisk
What We Adore About This Chicken Katsu
It’s Perfectly Crispy
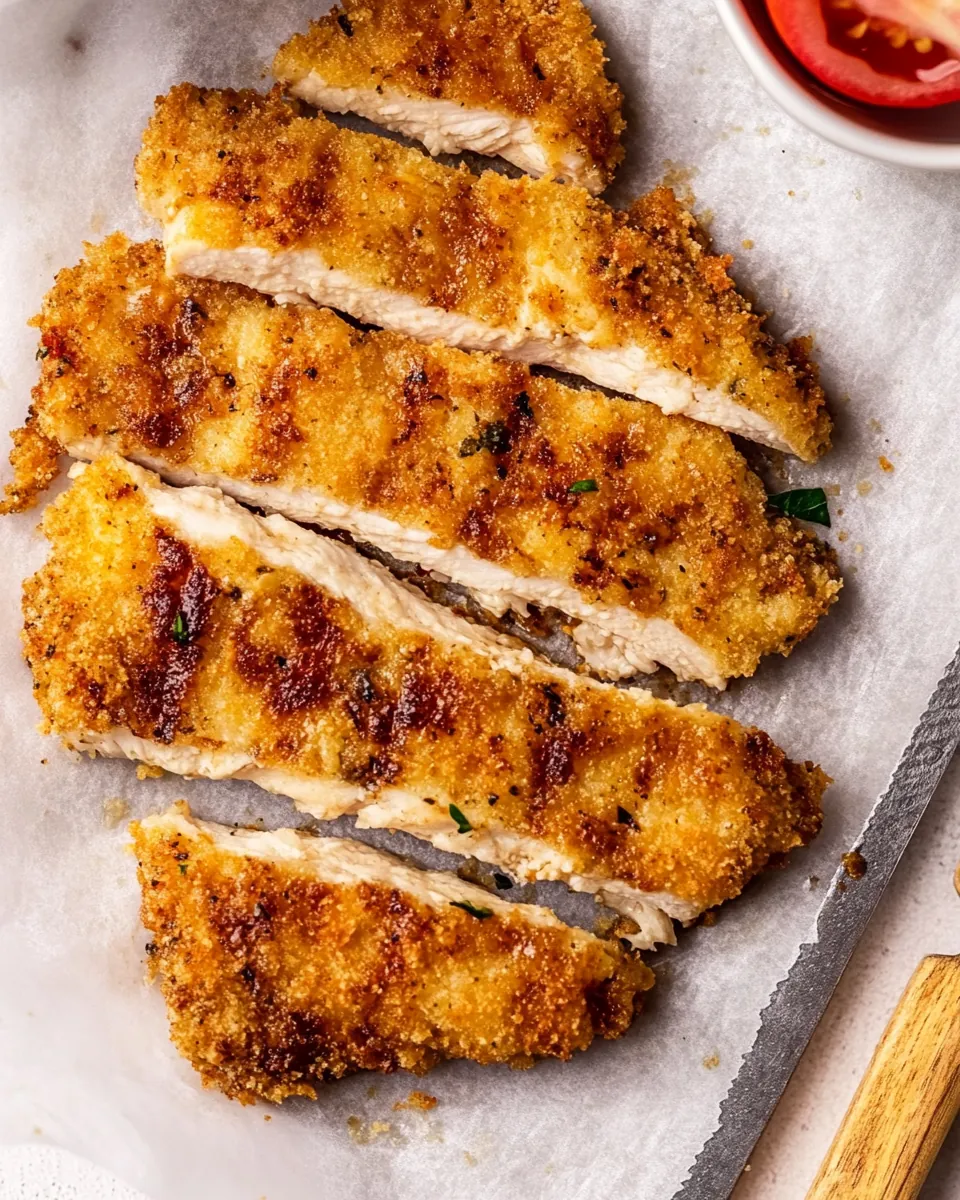
The standout feature of Chicken Katsu is undoubtedly its crispy coating. The secret lies in using panko breadcrumbs, which create a delightful crunch that’s simply irresistible. The contrast between the exterior and the tender chicken inside creates a texture that’s hard to beat.
Easy to Make
One of the best parts of Chicken Katsu is that it’s surprisingly easy to whip up at home. With a few simple ingredients, you can create a dish that feels restaurant-quality right in your kitchen. You don’t need to be a culinary expert to impress your friends and family!
Versatile and Customizable
This dish is incredibly versatile. While it’s traditionally served with katsu sauce, you can easily pair it with your favorite condiments or sides. Whether it’s a fresh salad or a bowl of rice, you can adapt Chicken Katsu to fit your taste.
Great for Any Occasion
Whether it’s a casual weeknight dinner or a special occasion, Chicken Katsu never disappoints. It’s a dish that brings people together, making it perfect for gatherings or family meals. It’s not just food; it’s a reason to celebrate and connect.
A Japanese Favorite
Chicken Katsu embodies the essence of Japanese cuisine, showcasing the delicate balance of flavors and textures. It’s a dish that has gained popularity around the world and continues to be a favorite for many. If you haven’t tried it yet, now’s the time to dive in!
Ingredient List for Chicken Katsu
Every great dish begins with quality ingredients, and Chicken Katsu is no exception. The beauty of this recipe lies in its simplicity, featuring only a handful of key components that work harmoniously together. Each ingredient plays a vital role in creating that signature flavor and texture.
- 4 small chicken breasts (skinless and boneless) – The star of the dish, the chicken breasts provide a juicy and tender base that absorbs all the flavors beautifully.
- 2 tablespoons soy sauce – This adds a savory depth to the chicken, enhancing its flavor profile.
- 1/2 teaspoon salt – A necessary seasoning that brings out the natural taste of the chicken.
- 1/4 teaspoon pepper – Adds a subtle kick that balances the flavors.
- 2 tablespoons all-purpose flour – This helps the breadcrumbs adhere to the chicken, creating that irresistible coating.
- 1 cup panko breadcrumbs – The key to achieving that extra crispy texture.
- 1 large egg (whisked) – Acts as a binding agent that holds everything together.
- 1/2 cup oil – Used for frying, it’s essential for achieving that golden brown exterior.
- 1/2 cup katsu sauce – A sweet and savory sauce that complements the chicken perfectly.
The Method for Chicken Katsu
Now that we have our ingredients ready, let’s dive into the cooking process. Making Chicken Katsu is straightforward and rewarding. Follow these steps closely, and you’ll end up with a dish that’s sure to impress.
- Begin by pounding the chicken breasts to a uniform thickness of about 1/2 inch. This ensures even cooking and tenderness. Use a meat mallet or rolling pin, placing the chicken between two sheets of plastic wrap for easy cleanup.
- Season both sides of the chicken with salt and pepper. Then, drizzle the soy sauce over the chicken, allowing it to marinate for a few minutes. This step infuses the chicken with flavor.
- Prepare three bowls: in the first, add the flour; in the second, the panko breadcrumbs; and in the third, whisk the egg. This is your assembly line for breading the chicken.
- Take each piece of chicken, dip it into the flour, making sure it’s fully coated. Shake off any excess before moving on to the next step.
- Next, dip the floured chicken into the whisked egg, ensuring it’s completely covered. This helps the breadcrumbs stick.
- Finally, coat the chicken with the panko breadcrumbs, pressing gently to ensure they adhere well. Set the breaded chicken aside on a plate.
- Heat the oil in a non-stick pan over medium heat. You want the oil to reach a temperature of at least 350°F (175°C). To test, drop a few breadcrumbs into the oil; they should sizzle immediately.
- Carefully add the crumbed chicken breasts to the hot oil. Fry for about 4 to 5 minutes on each side, or until golden brown and cooked through. Use tongs to flip them halfway for even cooking.
- Once cooked, remove the chicken from the pan and place it on a paper towel-lined plate to absorb any excess oil. This keeps your Chicken Katsu crispy.
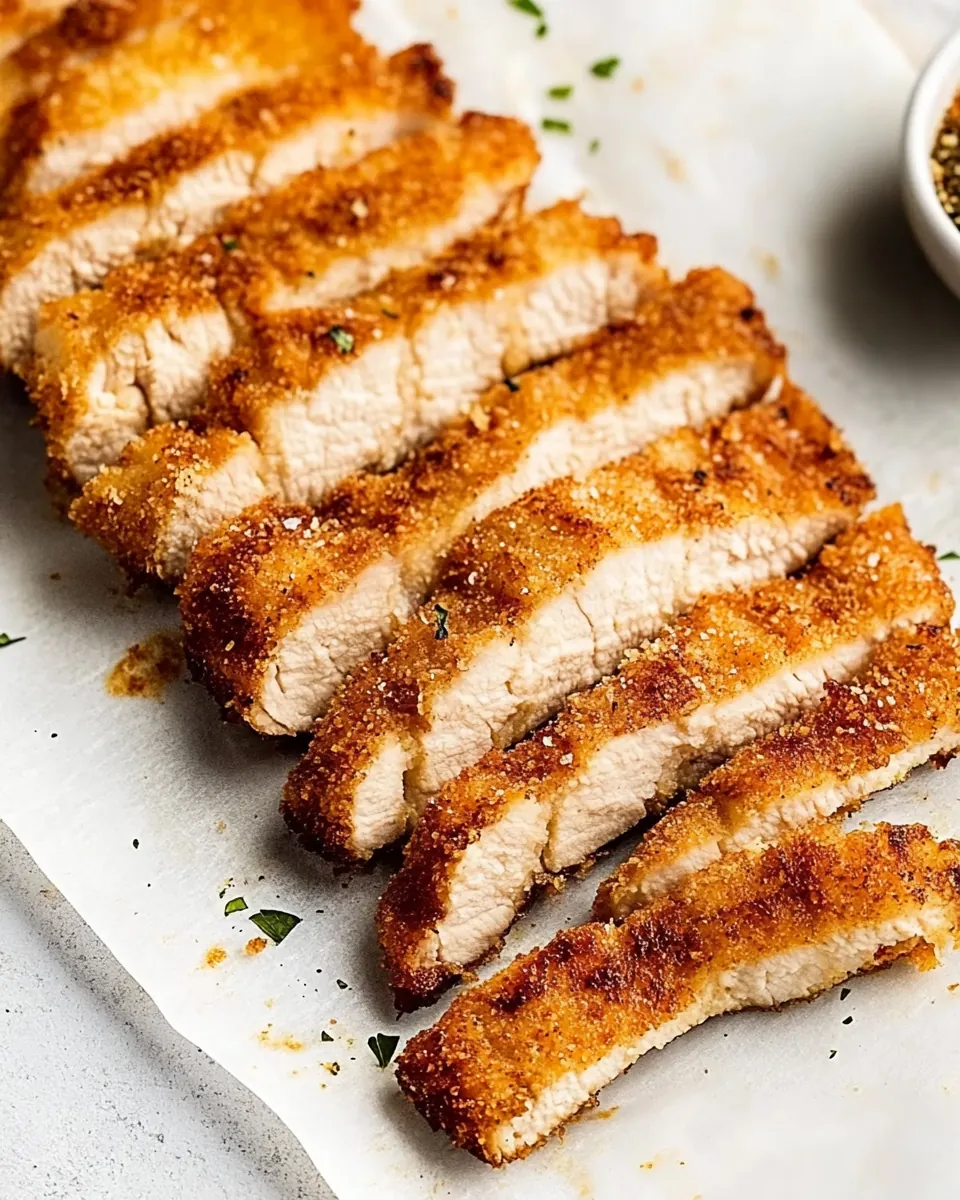
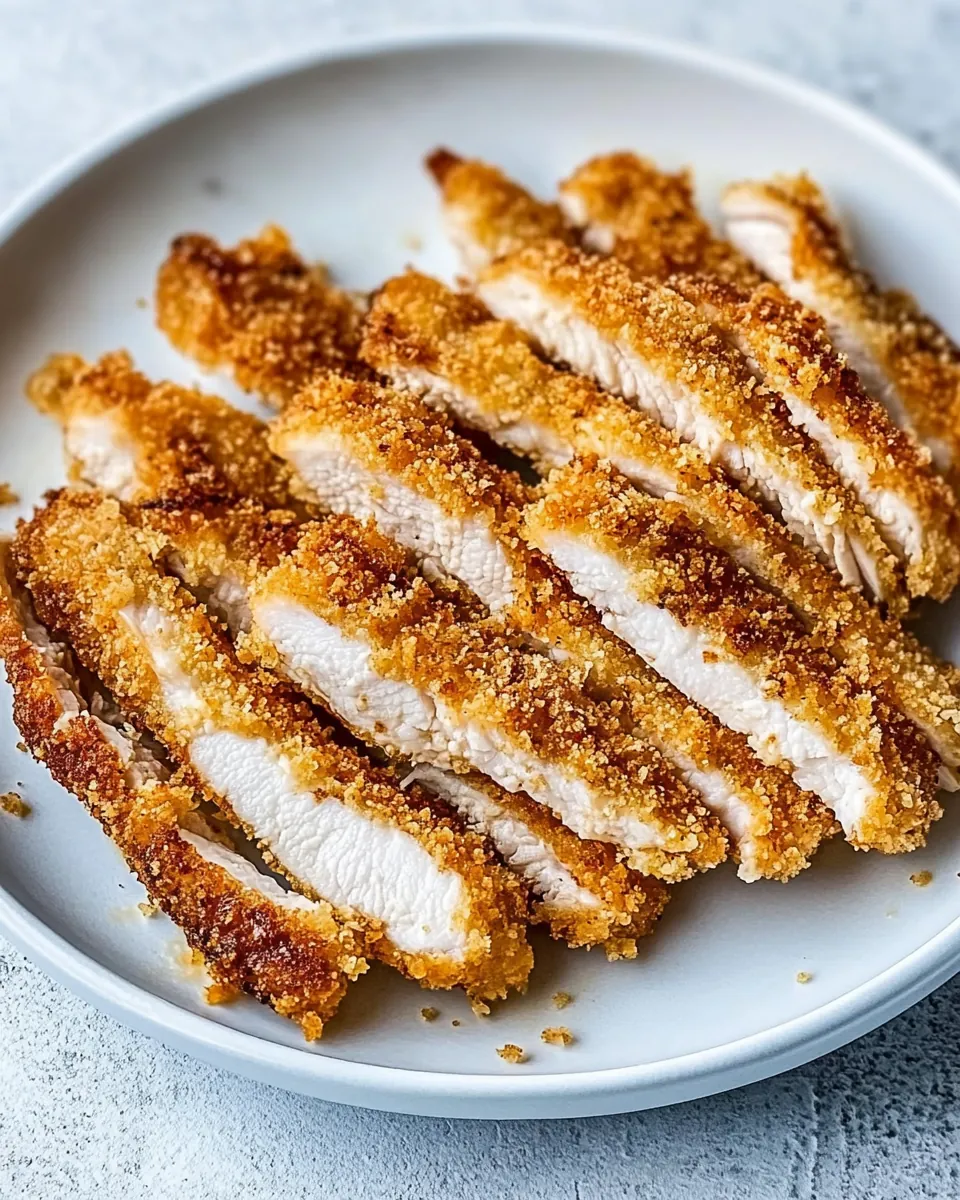
- Slice the chicken and serve it warm with katsu sauce on the side for dipping. Enjoy your homemade Chicken Katsu with friends and family!
Things Worth Knowing
- Cooking Temperature: Always ensure the oil is hot enough before adding the chicken. If it’s too cool, your chicken may become greasy.
- Resting Time: Allow the fried chicken to rest on paper towels for a few minutes. This helps maintain crispness.
- Marination: For deeper flavor, consider marinating the chicken in soy sauce for an hour before cooking.
- Serving Suggestions: Pair with a side of rice and a fresh salad for a balanced meal.
Make It Your Own
There are countless ways to personalize your Chicken Katsu experience! Here are some tips to help you make it uniquely yours:
- Try Different Sauces: If you want a twist, experiment with different sauces. A spicy mayo or sweet chili sauce can add a delightful kick.
- Add Vegetables: Serve your Chicken Katsu with stir-fried vegetables for a colorful and nutritious meal.
- Use Chicken Thighs: For a juicier option, switch to chicken thighs instead of breasts.
- Make it Gluten-Free: Substitute traditional flour and breadcrumbs with gluten-free alternatives.
- Stuff it: Consider adding fillings like cheese or vegetables inside the chicken before breading for a stuffed variation.
Serving Options for Chicken Katsu
When it comes to serving Chicken Katsu, the possibilities are endless! Here are some suggestions:
- Over Rice: Serve your fried chicken over a bed of steamed rice for a hearty meal.
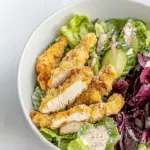
- With Fresh Salad: A light salad with sesame dressing complements the rich flavors of Chicken Katsu.
- With Noodles: Pair with udon or soba noodles tossed in a savory sauce for a complete Japanese meal.
- As a Sandwich: Slice the chicken and serve it in a bun with lettuce and your favorite sauce for a delicious sandwich.
- For Special Occasions: Chicken Katsu is perfect for gatherings or celebrations, bringing a taste of Japan to your table.
FAQ
Conclusion
Chicken Katsu is a dish that perfectly combines flavor and texture, creating a delightful experience with every bite. Its ease of preparation makes it a go-to recipe for busy weeknights or special occasions. I encourage you to try making it at home and savor the deliciousness!

Chicken Katsu
Ingredients
Equipment
Method
- Pound the chicken breasts into 1/2-inch thickness. Season both sides with salt and pepper and drizzle with soy sauce.
- In one bowl, add the flour, in a second bowl, add the panko breadcrumbs, and in the third, add the egg.
- Dip each chicken breast fillet in the flour, followed by the egg, then the panko breadcrumbs.
- Add oil to a non-stick pan. Once the oil reaches a temperature of at least 350F, drop the crumbed chicken breasts and fry for 4-5 minutes, flipping halfway through.
- Remove the chicken from the heat once it is golden brown or it reaches an internal temperature of 165F.
- Place the cooked chicken katsu on a paper towel to soak up extra oil before slicing and serving.
Notes
- Use oil with a high smoke point: like peanut oil.
- Air fryer method: Prep the chicken as instructed, place a single layer in a greased air fryer basket, spray with cooking spray, air fry at 200C/400F for 8 minutes, flip and spray the other side, and cook for another 8 minutes.
- Oven baked method: Place on a lined baking sheet and bake at 180C/350F for 30 minutes, flipping halfway through.
- TO STORE: Place leftovers in airtight containers and store them in the refrigerator for up to 4-5 days.
- TO FREEZE: Allow the chicken to cool completely before adding to freezer-safe bags and freeze for up to 3 months.
- TO REHEAT: Reheat in a pan or oven until warm or in the microwave for 20-30 seconds.