Chicken Cutlets
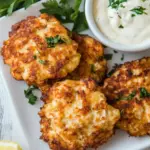
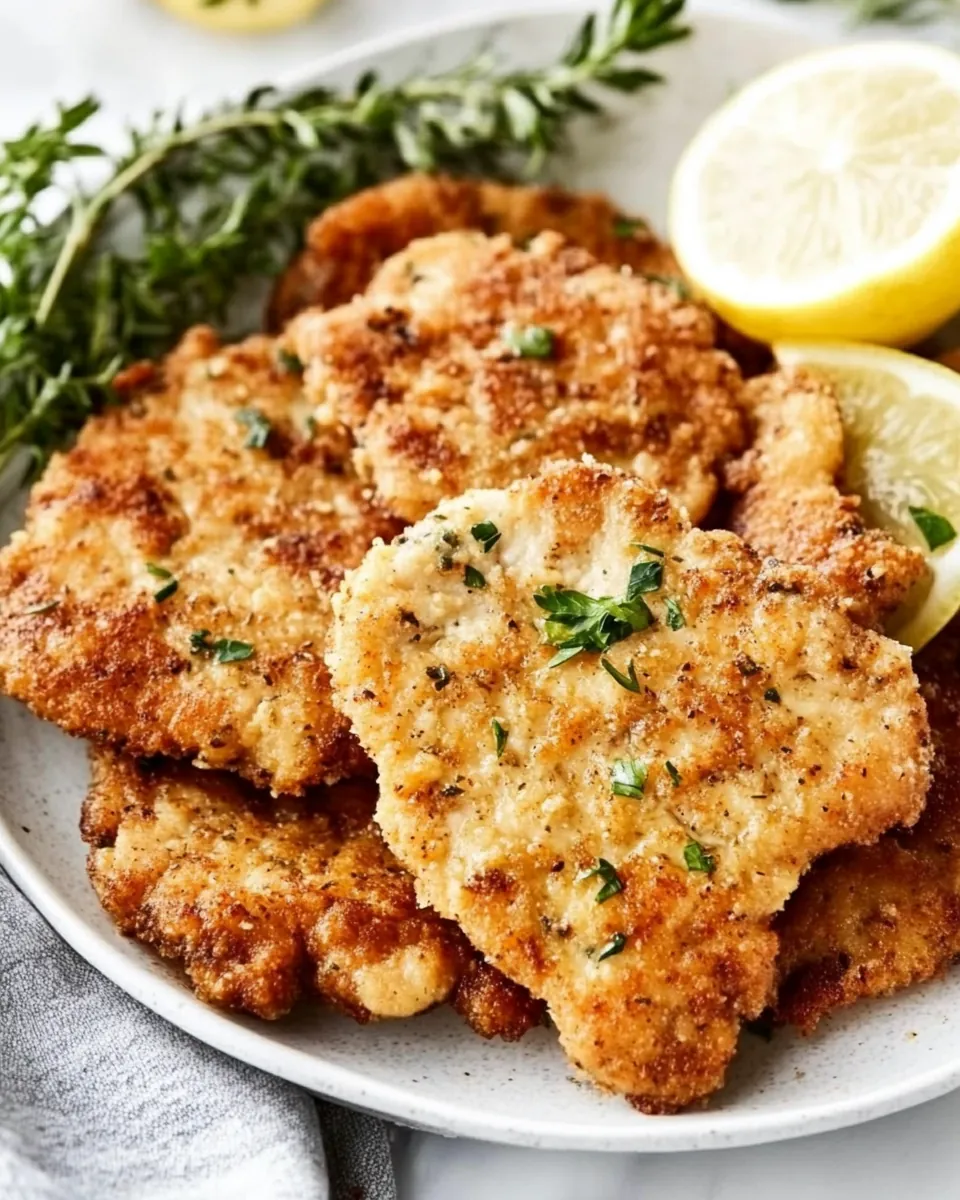
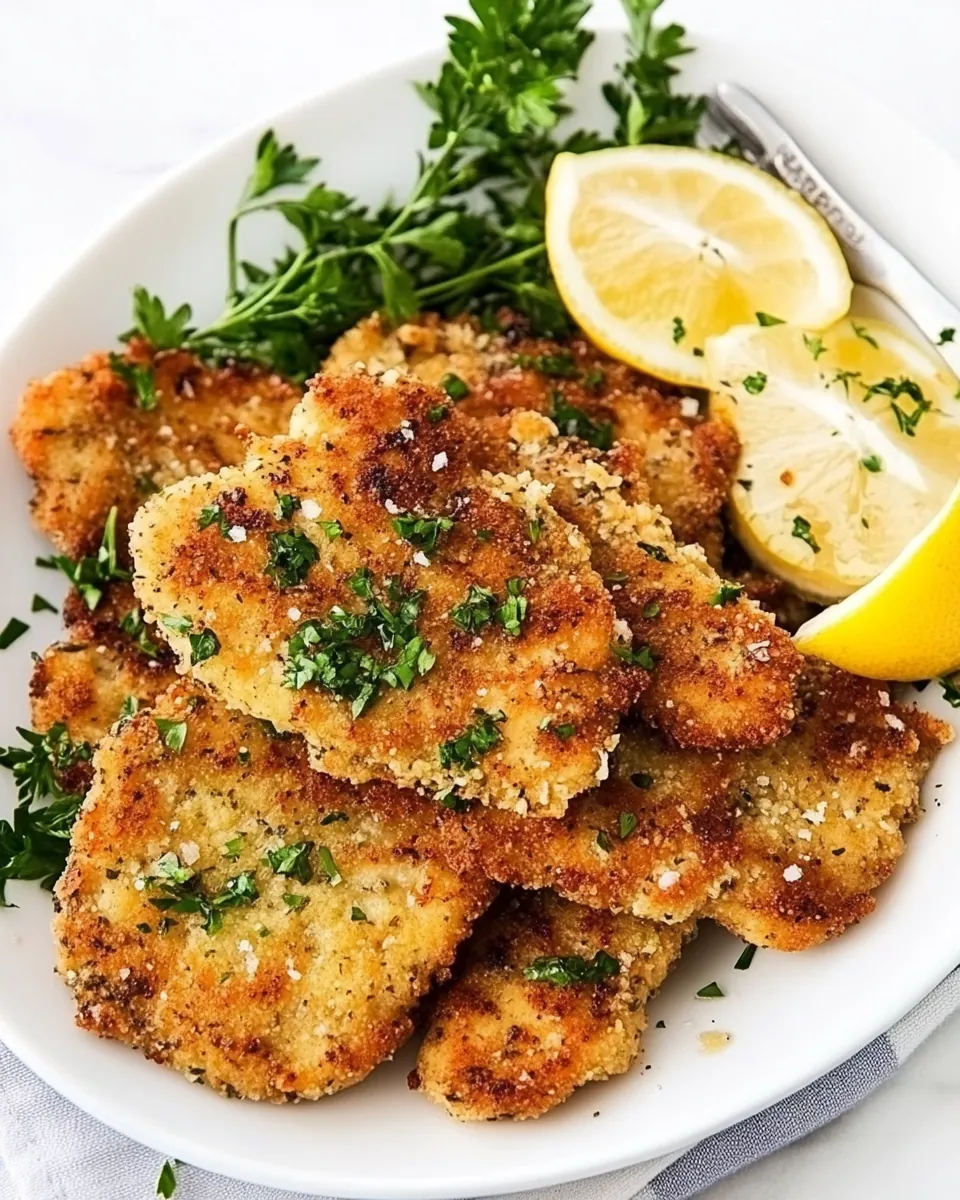
There’s something incredibly satisfying about a plate of crispy, golden brown Chicken Cutlets. I remember the first time I tried them at my friend’s house; the aroma filled the kitchen, and I could hardly wait to dig in. As we gathered around the table, I watched in awe as my friend effortlessly plated these delicious cutlets, garnished with fresh parsley and lemon slices. It was a moment of joy and togetherness, and ever since, Chicken Cutlets have held a special place in my heart. This dish is perfect for family dinners or even casual gatherings with friends. The crunch of the breading and the tender juiciness of the chicken create a comforting experience that’s hard to resist. You can serve them alongside a fresh salad or even in a sandwich for a delightful twist. Every bite brings back those cherished memories and makes me want to recreate that magic in my own kitchen.
Recipe Snapshot
45 mins
25 mins
20 mins
Medium
350 kcal
30 g
Paleo, Gluten-Free, Low FODMAP
15 g
Mixing Bowl, Food Processor, Skillet, Frying Pan, Chef’s Knife, Whisk
Why You Need This Chicken Cutlets
Comfort Food at Its Best
Let’s face it, nothing feels quite as comforting as a well-cooked plate of Chicken Cutlets. The crispy exterior and juicy interior come together to create a dish that satisfies both the palate and the soul. It’s the kind of meal that makes you feel at home, no matter where you are.
Versatile and Adaptable
One of the reasons I absolutely love Chicken Cutlets is their versatility. You can serve them in various ways, whether it’s as a main dish, in a sandwich, or even as part of a gourmet meal. They work just as well for a cozy weeknight dinner as they do for a festive gathering. You can easily switch up the seasoning or serve them with different dips to keep things interesting.
Quick and Easy to Prepare
If you’re looking for a quick and easy meal, Chicken Cutlets are your answer. With just a few simple ingredients and straightforward steps, you can have a delicious meal ready in no time. You don’t need to be a gourmet chef to impress your family and friends.
Perfect for Meal Prep
Thinking ahead? These Chicken Cutlets are fantastic for meal prep. You can make a batch ahead of time, store them, and enjoy them throughout the week. They reheat beautifully, so you can always have a tasty meal ready when you’re short on time.
Great for Kids
Kids love Chicken Cutlets. The crispy coating and tender meat make them a hit, even with picky eaters. You can serve them with fun dips or sides to make them even more appealing to the little ones, turning dinner into a fun family experience.
Ingredients Required for Chicken Cutlets
Each ingredient in this recipe plays a vital role in creating the perfect Chicken Cutlets. From the chicken itself to the flour and breadcrumbs, these components come together to deliver a delightful crunch and rich flavor. The key players here are the chicken, which provides the main protein, and the breadcrumbs, responsible for that satisfying crispness. Let’s look at the ingredients that make this dish a favorite.
- 4 boneless skinless chicken breasts (7 to 9 ounces each) – The star of the show! Tender and juicy, these chicken breasts provide the main protein source for your cutlets.
- 1 ½ cups all-purpose flour – This will create a light coating that helps the breading adhere to the chicken, resulting in a golden crust.
- 5 large eggs – The egg wash is essential for binding the breadcrumbs to the chicken, ensuring a crispy finish.
- 3 cups of regular or Italian bread crumbs – These are key for that crunchy exterior. Italian breadcrumbs add an extra layer of flavor!
- Coarse salt and freshly cracked pepper to taste – Simple seasonings that elevate the flavor of the chicken.
- Avocado or olive oil for frying – This will help to fry your cutlets to a perfect golden brown, adding rich flavor.
Making Chicken Cutlets
Making Chicken Cutlets is a straightforward process, and I promise you’ll feel like a pro by the time you’re done! Start by preparing your ingredients, and let’s dive into the steps that will yield crispy, delicious cutlets that everyone will love.
Thinly slice each chicken breast in half widthwise. This step is crucial as it ensures the cutlets cook evenly and quickly.
Place each sliced chicken breast one at a time between two pieces of parchment paper, plastic wrap, or a plastic bag. Gently pound them using a meat mallet or tenderizer until they are no thicker than ¼ of an inch. This technique not only tenderizes the meat but also helps it to cook uniformly.
Add flour to a cake tin or a large shallow bowl, and whisk it together with salt and pepper. Set it aside. This will be your first dredging station.
In a separate cake tin or large shallow bowl, whisk together the eggs, salt, and pepper. Briefly set it aside. This will act as your egg wash, helping the breadcrumbs stick.
In another cake tin or large shallow bowl, mix the bread crumbs, salt, and pepper. Set it aside. This is where the magic happens, creating that crunchy texture we all crave.
Season the chicken breasts on both sides with salt and pepper before dredging.
Next, dredge one chicken breast into the flour to coat it, making sure to dust off any extra.
Transfer it to the egg wash pan, dunk it, and flip it until it’s coated on all sides. The egg wash should be even and generous.
Now, add the bread crumbs and shake the pan to get the crumbs to move over the top of the chicken. Flip the chicken over and press it down to get the crumbs to stick completely. Place it on a sheet tray lined with parchment paper or a platter. Repeat these steps until all the chicken is breaded.
Add the oil to a large frying pan over medium heat and allow it to reach 375°. It’s important to ensure your oil is hot enough to create that crispy texture.
Add the breaded chicken two at a time to the pan of hot oil. Cook for 2 to 3 minutes per side or until golden brown on both sides and cooked throughout. Watch carefully to prevent burning!
Set the chicken cutlets on a rack over a sheet tray to drain any excess oil. Repeat the process until all the chicken is cooked. This helps to maintain their crispiness.
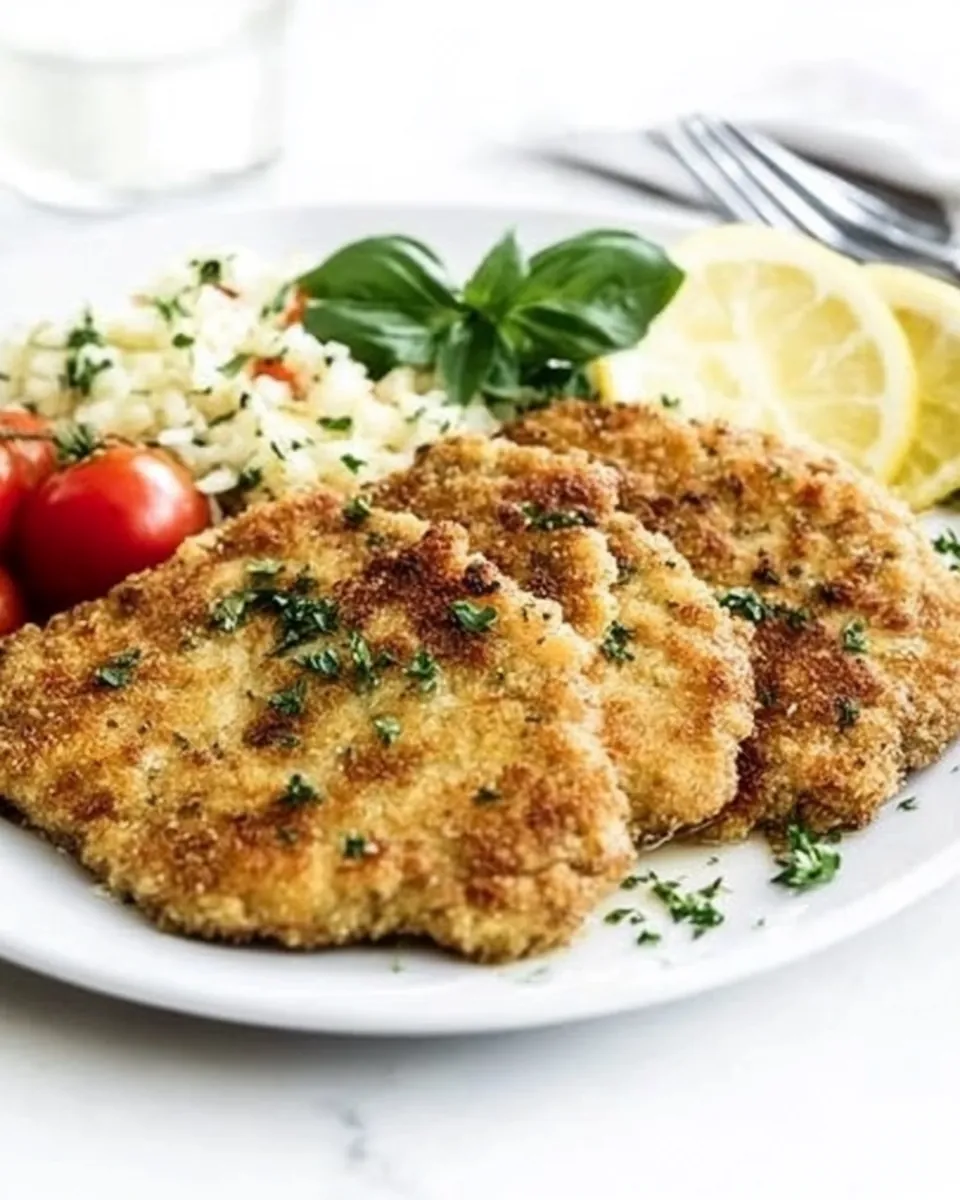
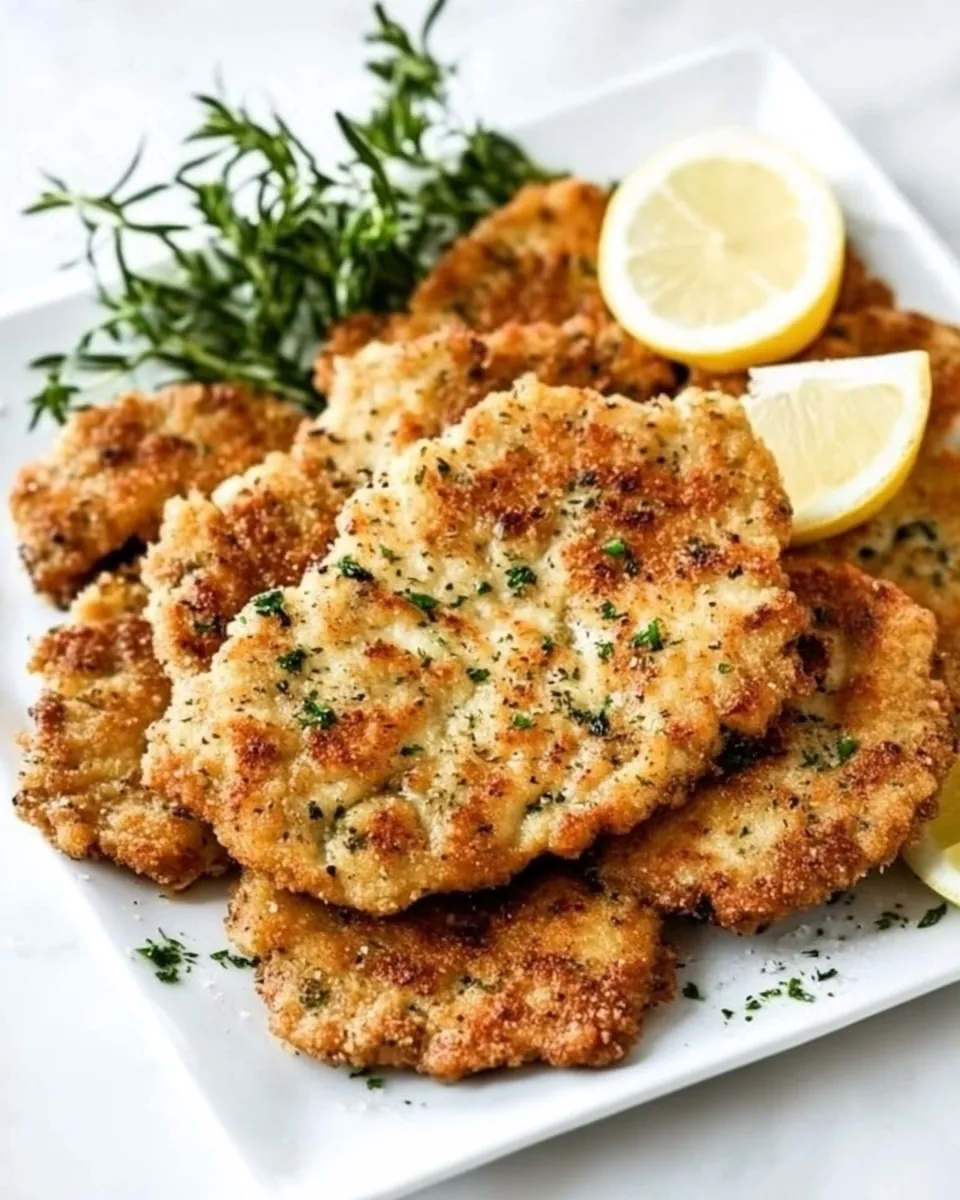
For serving, garnish with optional parsley, Parmigiano, and lemon slices. You can also enjoy them in a sandwich or as a lemon butter chicken cutlet.
Things Worth Knowing
- Don’t rush the frying: Ensuring the oil is at the right temperature is crucial for achieving that golden brown crust. If the oil is too cool, the cutlets will absorb too much oil.
- Uniform Thickness: Pounding the chicken to an even thickness not only helps with cooking but also ensures every bite is tender and juicy.
- Breadcrumb Variations: Experiment with different types of breadcrumbs, such as panko, for an even crunchier texture.
- Resting Time: Allowing the cutlets to rest on a wire rack after frying will help keep them crispy by preventing steam from making them soggy.
Expert Tips about Chicken Cutlets
To get the most out of your Chicken Cutlets, consider these expert tips. I’ve learned a few tricks along the way that can make all the difference in flavor and presentation.
- Storage: It’s best to keep leftovers in an airtight container in the refrigerator for up to 3 days to maintain freshness.
- Freezing: You can freeze the cutlets individually wrapped in plastic for up to 3 months. This is great for meal prep!
- Pairing: Serve your chicken cutlets with a side of pasta or a fresh salad for a balanced meal. They also pair well with mashed potatoes or roasted vegetables.
- Serving Style: They can be served as a main dish or sliced in a sandwich with your favorite toppings, like lettuce and tomato.
- Reheating: To reheat, place them on a sheet tray lined with parchment paper and bake at 350° for about 8 to 10 minutes, or until heated through.
Perfect Matches for Chicken Cutlets
When it comes to serving Chicken Cutlets, the options are endless. Here are some ideas to enhance your dining experience:
- Classic Sides: Pair with creamy mashed potatoes or roasted seasonal vegetables for a comforting meal.
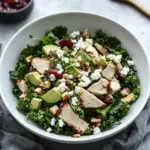
- Salads: A fresh garden or Caesar salad adds a refreshing crunch that complements the rich flavor of the cutlets.
- Sandwiches: Slice the cutlets and layer them in a sandwich with fresh greens, tomatoes, and your favorite sauce for a hearty lunch.
- Seasonal Pairings: In the summer, consider serving with grilled corn and a light vinaigrette salad, while in the winter, opt for roasted root vegetables.
- Storage Tips: For any leftovers, be sure to store them in an airtight container in the refrigerator.
- Make-Ahead Options: You can prepare the cutlets in advance and keep them warm in a low-temperature oven until you’re ready to serve.
FAQ
Conclusion
These Chicken Cutlets are not just a meal; they’re a celebration of flavor and comfort. With their crispy exterior and juicy inside, they’re sure to become a family favorite. I encourage you to try making them at home; you’re going to love the satisfaction of creating such a delicious dish. Gather your loved ones and enjoy the delightful experience of sharing these cutlets together!
Chicken Cutlets
Ingredients
Equipment
Method
- Thinly slice each chicken breast in half widthwise.
- Place each sliced chicken breast one at a time between two pieces of parchment paper, plastic wrap, or plastic bag and gently pound them using a meat mallet or tenderizer until it is no thicker than ¼” of an inch.
- Add flour to a cake tin or a large shallow bowl, and whisk together the flour with salt and pepper. Set it to the side.
- In a separate cake tin or large shallow bowl, whisk together the eggs, salt, and pepper. Briefly set it to the side.
- In a separate cake tin or large shallow bowl, mix the bread crumbs, salt and pepper. Set it to the side.
- Season the chicken breasts on both sides with salt and pepper.
- Next, dredge one chicken breast into the flour to coat it. Dust off any extra.
- Transfer it to the egg wash pan, dunk it, and flip it until coated on all sides.
- Next, add the bread crumbs and shake the pan to get the crumbs to move over the top of the chicken. Flip the chicken over and press it down to get the crumbs to stick completely to it. Place it on a sheet tray lined with parchment paper or a platter. Repeat the process until all the chicken is breaded.
- Add the oil to a large frying pan over medium heat until it reaches 375°.
- Add the breaded chicken two or so at a time to the pan of hot oil and cook for 2 to 3 minutes per side or until golden brown on both sides and cooked throughout.
- Set the chicken cutlets on a rack over a sheet tray and repeat the process until all the chicken is cooked.
- Serve it with an optional garnish of parsley, Parmigiano, and lemon slices. Try adding them to a chicken cutlet sandwich or as a lemon butter chicken cutlet.
Notes
- Make-Ahead: These chicken cutlets are meant to be eaten as soon as they’re done cooking. You can keep them warm over a rack on a sheet tray and in the oven at low temperatures (<200°) for up to 30 minutes.
- How to Store: Store it in plastic in the refrigerator for up to 3 days. It freezes well, covered individually in plastic for up to 3 months.
- How to Reheat: Add the desired number of chicken cutlets to a sheet tray lined with parchment paper and bake in the oven at 350° for 8 to 10 minutes or until hot.