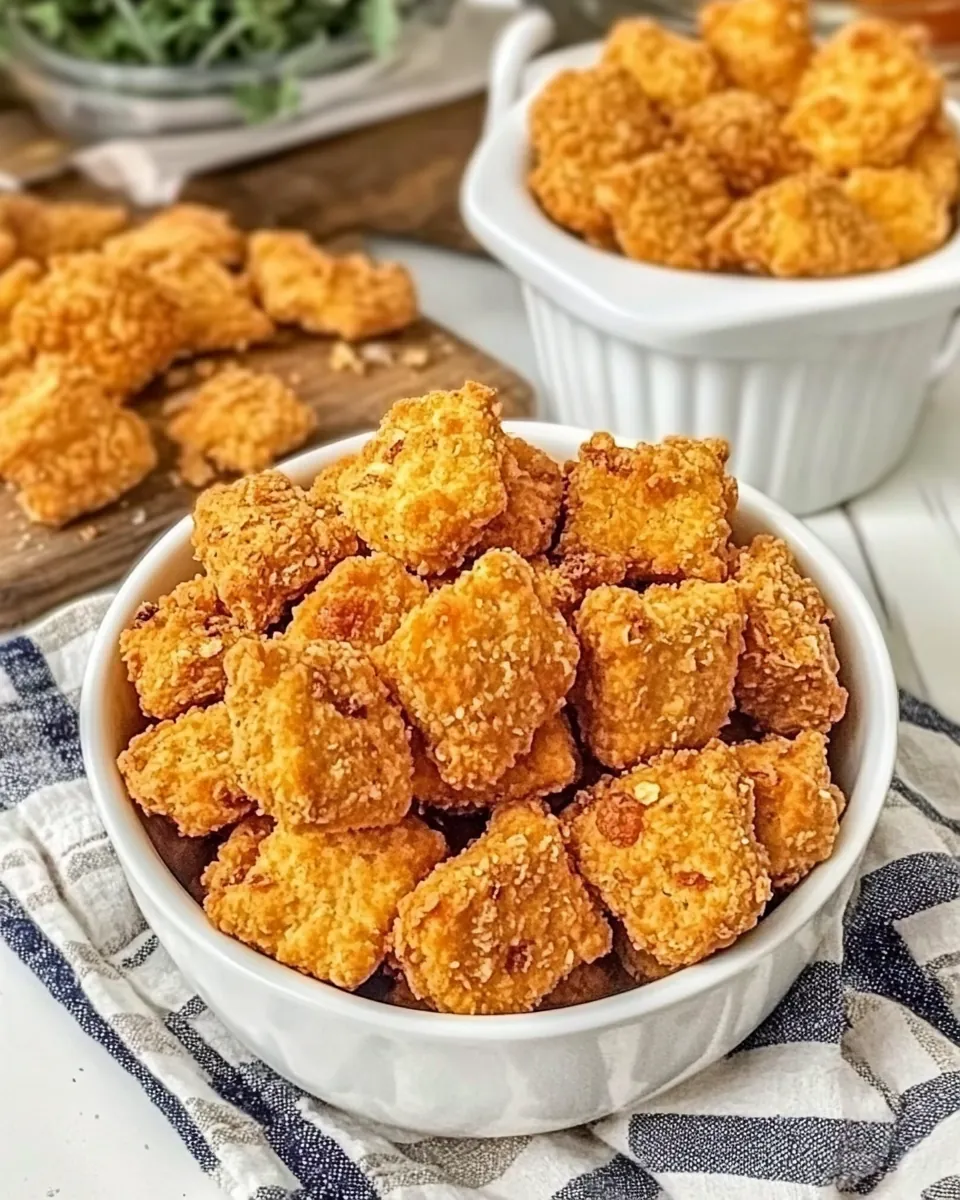
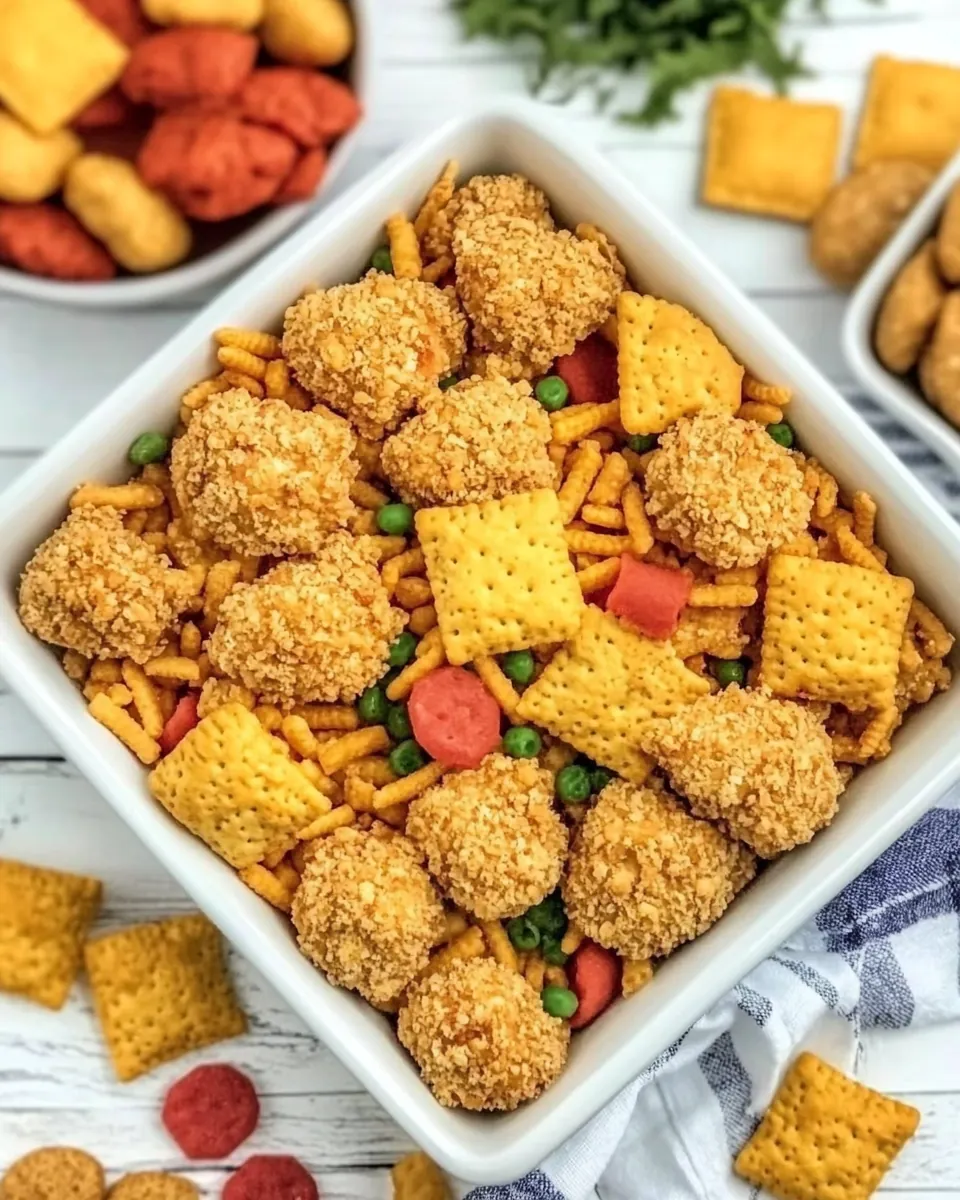
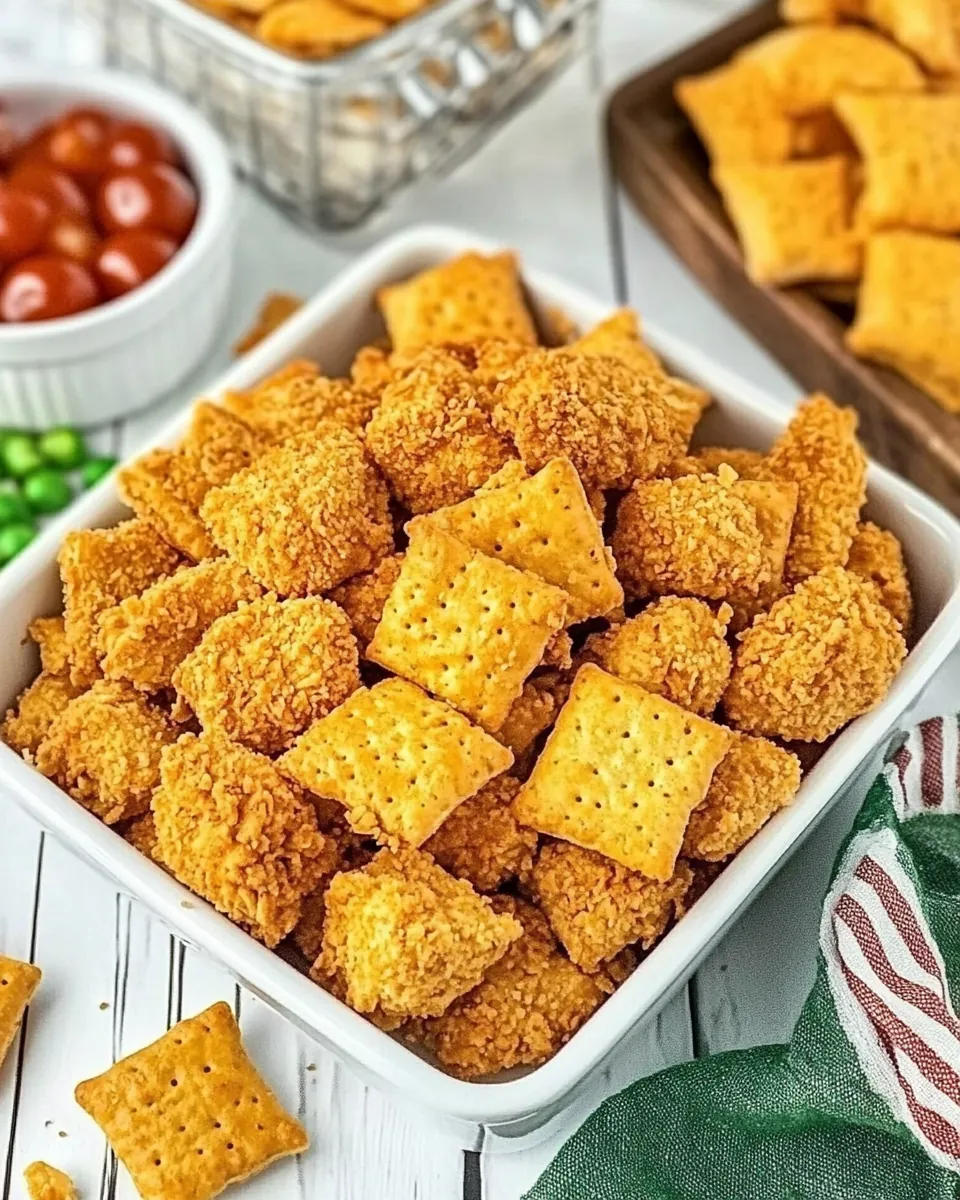
Cheez-It Chicken
There’s something irresistibly fun about crispy chicken coated in Cheez-It crumbs. The moment I first baked Cheez-It Chicken, I knew I was onto something special. Picture this: it was a casual weeknight, and I needed to whip up something quick yet exciting for dinner. With just a handful of ingredients, this dish transformed into a family favorite, adding a crunchy twist that had everyone raving. The thrill of biting into the golden, cheesy crust while savoring juicy chicken made it a winner in my household.
Recipe Snapshot
25 mins
10 mins
15 mins
Medium
320 kcal
25 g
Paleo, Whole30, Vegan
15 g
Rimmed Baking Sheet with Wire Rack, Food Processor, Meat Thermometer
Why This Cheez-It Chicken Is So Good
It’s all about that crunch
One of the main reasons I absolutely love Cheez-It Chicken is the crunchy texture. The Cheez-It cracker coating gives the chicken a delightful crunch that you simply can’t get from traditional breading. Each bite is a satisfying combination of tender chicken and crispy goodness that will have your tastebuds dancing.
Quick and easy
This recipe is perfect for those busy evenings when you want something delicious without spending hours in the kitchen. The preparation is straightforward, making it a go-to for weeknight dinners. With just a few steps, you’re on your way to enjoying a plateful of crispy chicken that doesn’t compromise on flavor.
Kid-friendly and fun
Kids love anything crunchy, and Cheez-It Chicken is no exception. It’s a great way to get them involved in the kitchen, too! Let them help dip the chicken in the egg mixture and coat it in the crushed crackers. Plus, it’s a fantastic way to entice picky eaters who might shy away from plain chicken.
Versatile and adaptable
While the original recipe shines, you can easily adapt it to suit your tastes or dietary needs. Feel free to experiment with different spices or even add in some grated cheese for an extra cheesy flavor. The options are endless, making it a dish that can evolve with your cooking style.
Perfect for any occasion
Whether you’re hosting a casual dinner party or just looking for a cozy meal at home, Cheez-It Chicken fits the bill. It’s easy to scale up for larger gatherings or make just a few pieces for a simple family meal. Either way, it’s sure to impress!
Great leftovers
Let’s not forget about leftovers! If you happen to have any chicken left after dinner, it makes for a delicious next-day lunch. Just reheat in the oven to restore that wonderful crunch and enjoy it on its own or as part of a hearty salad.
What You’ll Need for Cheez-It Chicken
Creating the perfect Cheez-It Chicken hinges on the harmony of these ingredients. Each element plays a vital role, from the juicy texture of the chicken to the distinct flavor of the honey mustard dressing. Together, they build a mouthwatering dish that’s both satisfying and fun to eat.
- 1¼-lb chicken tenderloins: These are the star of the show, offering a tender bite that complements the crunchy coating perfectly.
- ¼ cup honey mustard dressing: This adds a sweet and tangy flavor, which elevates the dish and balances the saltiness of the crackers.
- 2 large eggs: The eggs act as a binding agent, helping the cracker crumbs adhere to the chicken.
- ⅓ cup all-purpose flour: A light dusting of flour gives the chicken a nice base to hold onto the egg and cracker coating.
- ¼ tsp garlic powder: This adds a subtle depth of flavor, enhancing the overall taste of the chicken.
- Salt and black pepper, to taste: Essential for seasoning the chicken perfectly.
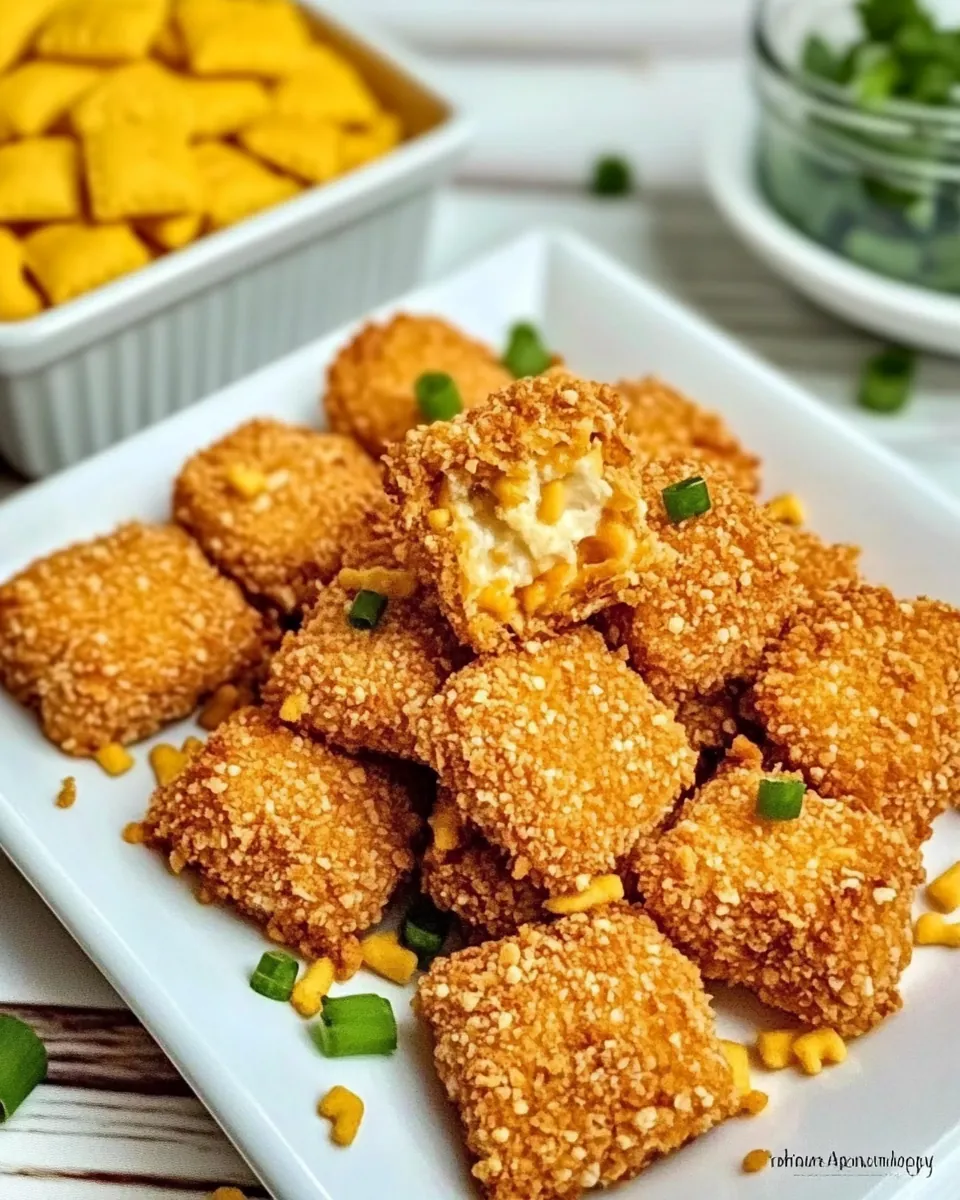
- 1½ cups Cheez-It cheddar crackers: The key ingredient that makes this dish unique, bringing a cheesy crunch that’s simply irresistible.
- Cooking spray: A light spray helps achieve that golden-brown finish on the chicken.
Cheez-It Chicken Instructions
Making Cheez-It Chicken is a breeze, and I can’t wait for you to experience the joy of cooking this dish. The steps are simple and straightforward, allowing you to enjoy the process as much as the end result!
- Preheat your oven to 475ºF. Don’t skip this step; a hot oven helps achieve that crispy finish we’re after.
- Line a baking pan with nonstick aluminum foil and top it with a wire rack. This setup allows hot air to circulate around the chicken, ensuring it cooks evenly and gets crispy.
- In a shallow dish, place the flour. Season it with garlic powder, salt, and black pepper. Mixing these seasonings into the flour ensures every bite of the chicken is packed with flavor.
- In another shallow bowl, whisk together the eggs and honey mustard dressing. This mixture will help the cracker crumbs stick to the chicken.
- Take the Cheez-It cheddar crackers and place them in a food processor. Pulse until they’re finely crushed. Pour the crushed crackers into a separate shallow dish.
- Now comes the fun part! Dip each piece of chicken tenderloin first into the seasoned flour, then into the egg mixture, and finally coat it in the crushed crackers. Make sure to press the crumbs in a bit to ensure they stick well.
- Arrange the coated chicken on the prepared baking sheet. Make sure they’re spaced out to allow for even cooking.
- Give the chicken a light spray with cooking spray to help it crisp up as it bakes.
- Bake in the preheated oven for 12 to 15 minutes, or until the chicken is golden brown and reaches an internal temperature of 165ºF. Make sure to check in a few minutes early, as oven times can vary.
- Once done, let the chicken rest for a few minutes before serving. This allows the juices to redistribute, keeping the chicken moist and flavorful.
Things Worth Knowing
- Check your oven temperature: Ovens can vary in temperature accuracy. Using an oven thermometer can help ensure your chicken bakes at the right temperature for optimal crispiness.
- Don’t rush the resting time: Allowing the chicken to rest after baking is crucial. This step ensures that the juices are retained, making each bite tender and juicy.
- Experiment with spices: Feel free to add your favorite spices to the flour mixture for additional flavor. Smoked paprika or cayenne pepper can add a nice kick!
- Use a meat thermometer: To avoid undercooking or overcooking your chicken, an instant-read meat thermometer is invaluable. Aim for an internal temperature of 165ºF.
Recipe Tips about Cheez-It Chicken
To make your cooking experience even better, here are some helpful tips for perfecting your Cheez-It Chicken.
- Storage: Store any leftover chicken in an airtight container in the refrigerator for up to three days. Reheat in the oven to restore the crunch.
- Freezing: Yes, you can freeze the uncooked, breaded chicken. Just ensure it’s well wrapped to prevent freezer burn. Bake directly from frozen, adding a few extra minutes to the cooking time.
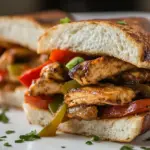
- Pairing: This chicken pairs excellently with a fresh salad or roasted vegetables. The crunch complements lighter sides beautifully.
- Make it a meal: Serve with mashed potatoes or macaroni and cheese for a comforting meal that your family will love.
- Add extra flavor: For a cheesy twist, consider mixing some grated parmesan into the cracker crumbs before coating the chicken.
- Air fryer option: If you prefer using an air fryer, bread the chicken as directed and cook in batches at 375°F for about eight minutes.
What to Serve With Cheez-It Chicken
If you’re wondering what to pair with your delicious Cheez-It Chicken, look no further! Here are some fantastic serving suggestions:
- Fresh salad: A crisp salad with mixed greens, cherry tomatoes, and a light vinaigrette complements the savory flavors and adds freshness to your meal.
- Roasted vegetables: Oven-roasted broccoli or Brussels sprouts make a lovely side, as their caramelized edges provide a nice contrast to the crunchy chicken.
- Mashed potatoes: Creamy mashed potatoes are a comforting option that pairs well with the savory notes of the chicken.
- Macaroni and cheese: For a kid-friendly meal, serve alongside gooey mac and cheese for a delightful combination that many will enjoy.
- Coleslaw: A tangy coleslaw can provide a refreshing crunch, balancing the richness of the chicken.
- Seasonal veggies: Depending on the time of year, grilled corn or zucchini can add a seasonal touch to your plate.
- Dipping sauces: Consider serving with honey mustard, ranch, or barbecue sauce for added flavor with each bite.
FAQ
Conclusion
Cheez-It Chicken has a unique charm that makes it a standout dish for any household. With its crispy, cheesy exterior and juicy meat, it’s a recipe that promises satisfaction in every bite. I encourage you to try making this dish for your next family dinner or casual gathering; it’s bound to be a hit. Enjoy the process of creating something fun and delicious!
Cheez-It Chicken
Ingredients
Equipment
Method
- Preheat your oven to 475ºF. Don’t skip this step; a hot oven helps achieve that crispy finish we’re after.
- Line a baking pan with nonstick aluminum foil and top it with a wire rack. This setup allows hot air to circulate around the chicken, ensuring it cooks evenly and gets crispy.
- In a shallow dish, place the flour. Season it with garlic powder, salt, and black pepper. Mixing these seasonings into the flour ensures every bite of the chicken is packed with flavor.
- In another shallow bowl, whisk together the eggs and honey mustard dressing. This mixture will help the cracker crumbs stick to the chicken.
- Take the Cheez-It cheddar crackers and place them in a food processor. Pulse until they’re finely crushed. Pour the crushed crackers into a separate shallow dish.
- Now comes the fun part! Dip each piece of chicken tenderloin first into the seasoned flour, then into the egg mixture, and finally coat it in the crushed crackers. Make sure to press the crumbs in a bit to ensure they stick well.
- Arrange the coated chicken on the prepared baking sheet. Make sure they’re spaced out to allow for even cooking.
- Give the chicken a light spray with cooking spray to help it crisp up as it bakes.
- Bake in the preheated oven for 12 to 15 minutes, or until the chicken is golden brown and reaches an internal temperature of 165ºF. Make sure to check in a few minutes early, as oven times can vary.
- Once done, let the chicken rest for a few minutes before serving. This allows the juices to redistribute, keeping the chicken moist and flavorful.
Notes
- Tip 1: You can use any boneless chicken you enjoy in this recipe, such as boneless skinless chicken breasts, thighs, or tenderloins.
- Tip 2: Use an instant-read meat thermometer to check for an internal temperature of 165ºF.
- Tip 3: Don’t have a food processor? You can place the crackers in a ziplock bag and crush them with a rolling pin.
- Tip 4: For extra flavor, add parmesan cheese to the cracker crumbs.
- Tip 5: You can drizzle the chicken with melted butter instead of spraying with non-stick spray.
- Tip 6: If you want to make Cheez-It Chicken in the air fryer, bread the chicken and place them in the basket. Cook in batches at 375ºF for 8 minutes.
- Tip 7: Store leftover chicken in an airtight container in the refrigerator.