Chicken Chimichangas
There’s something undeniably comforting about Chicken Chimichangas. I still remember the first time I tried them at a little Mexican restaurant down the road. The moment I took a bite, the crispy golden exterior gave way to a warm, savory filling that was bursting with flavor. It’s the kind of dish that makes you feel at home, perfect for sharing with family and friends. Whether you’re having a cozy dinner or a festive gathering, these chimichangas bring a sense of joy and satisfaction to the table. The combination of tender chicken, spices, and melted cheese all wrapped in a warm tortilla is simply irresistible. I love customizing mine with all my favorite toppings – think fresh lettuce, juicy tomatoes, and a dollop of sour cream. Each bite feels like a little celebration!
Recipe Snapshot
35 mins
20 mins
15 mins
Easy
430 kcal
25 g
Gluten-Free
20 g
Wooden Spoon, Mixing Bowl, Cutting Board, Skillet, Chef’s Knife
Why You’ll Love This Chicken Chimichangas
Perfectly Crispy Texture
One of the reasons I adore Chicken Chimichangas is the delightful contrast of textures. When you fry them, they develop a perfectly crispy exterior that contrasts beautifully with the soft and flavorful filling. Biting into one is an experience: the crunch gives way to a deliciously creamy interior, making every bite a joy.
Flavorful Filling
The filling is where the magic happens. Combining shredded rotisserie chicken with spices like chili powder, cumin, and cinnamon creates a depth of flavor that’s hard to resist. Each ingredient plays a role, harmonizing to create a well-rounded taste sensation. Plus, you can easily adjust the spices to suit your personal preference, making this dish even more special.
Customizable Toppings
What I love most about Chicken Chimichangas is the ability to make them your own. Whether you prefer them topped with fresh cilantro, zesty tomatoes, or a generous scoop of sour cream, the possibilities are endless. You can even go wild with a variety of salsas or guacamole for an extra kick!
Easy to Prepare
These chimichangas may seem indulgent, but they’re surprisingly easy to prepare. With just a few simple steps, you can have a plateful of deliciousness ready to be shared. The preparation is straightforward, making it a great dish for beginners or those short on time.
Great for Gatherings
If you’re hosting a gathering or a casual get-together, Chicken Chimichangas are a fantastic choice. They’re finger-friendly, making them easy to serve and enjoy while mingling. Plus, everyone loves a good chimichanga!
Make Ahead and Freeze
Finally, the ability to make these chimichangas ahead of time is a huge plus. You can assemble them and freeze them for a quick meal later on. Just thaw and fry, and you’ll have a delicious dinner ready in no time!
What’s In This Chicken Chimichangas
When it comes to crafting the ultimate Chicken Chimichangas, the ingredient selection is key. Each component brings its own unique flavor and texture to the dish, working harmoniously to create a mouthwatering experience. The star of the show, of course, is the shredded rotisserie chicken, which adds that rich, meaty goodness. Coupled with fresh vegetables and spices, these ingredients ensure that each bite is packed with flavor.
- Vegetable oil: Used for frying, it adds a crispy texture and delicious flavor.
- Onion: Chopped and sautéed, onions provide a savory base that enhances the overall taste.
- Minced garlic: Brings a fragrant, aromatic quality that pairs beautifully with the other spices.
- Jalapeño pepper: Adds a kick of heat, perfect for those who enjoy a little spice.
- Chili powder: This spice gives a rich, deep flavor that is essential for a true Mexican dish.
- Cumin: A warm spice that complements the other ingredients and enhances their flavors.
- Cinnamon: Adds an unexpected sweetness and warmth that rounds out the spice profile.
- Salt: Essential for bringing out the flavors in each ingredient.
- Tomato: Fresh and juicy, it adds moisture and brightness to the filling.
- Cilantro: A fresh herb that provides a burst of flavor and color.
- Shredded rotisserie chicken: Convenient and flavorful, it’s the heart of the filling.
- Sour cream: Adds creaminess and a tangy note to the filling.
- Flour tortillas: The perfect wrap for all the delicious fillings.
- Refried beans: Provides an extra layer of flavor and protein.
- Shredded Monterey Jack cheese: Melts beautifully and adds a creamy, cheesy goodness.
- Shredded lettuce: A fresh, crunchy topping that contrasts nicely with the warm chimichangas.
- Fresh cilantro: For garnish, adding brightness and flavor.
- Tomatoes: Diced and fresh, perfect for topping your chimichangas.
Chicken Chimichangas Instructions
Making Chicken Chimichangas is an enjoyable process that brings the kitchen to life with delightful aromas. Here’s how to create these crispy delights step by step.
- Start by heating vegetable oil in a medium skillet over medium heat. You want just enough to fry the chimichangas later on. As the oil warms, it will begin to shimmer, indicating it’s ready for the next step.
- Add the onion, minced garlic, and jalapeño pepper to the skillet. Sauté them for about three to four minutes until softened. You’ll know they’re ready when the onion becomes translucent and fragrant.
- Stir in the chili powder, cumin, cinnamon, and salt. Mix well to combine the spices with the vegetables, allowing the flavors to bloom together for another minute.
- Next, add the chopped tomato and cilantro. Cook this mixture for another two to three minutes, stirring often. The tomatoes should soften, and the herbs will infuse the filling with freshness.
- Gently stir in the shredded rotisserie chicken and sour cream. Cook until heated through, ensuring that the chicken is well-coated with the creamy mixture. This process should take about two to three minutes.
- Now it’s time to prepare the tortillas. Spread a few tablespoons of refried beans down the center of each flour tortilla. This will act as a base for the filling.
- Top each tortilla with one-sixth of the chicken mixture and a quarter cup of shredded Monterey Jack cheese. Make sure to distribute it evenly for a balanced bite.
- Fold the sides of the tortilla toward the center, then roll it up tightly into a burrito shape. Be careful not to overfill, as you want to be able to seal them without any trouble.
- Heat 1 to 2 inches of oil in a heavy pot or deep fryer to 350°F. This temperature is crucial for achieving that golden-brown exterior.
- Secure the chimichangas with toothpicks to prevent them from opening while frying. Carefully place one or two chimichangas in the hot oil, depending on the size of your pot. Fry them for three to four minutes, flipping halfway through, until they are golden brown all over.
- Once fried, remove the chimichangas from the oil and let them drain on a plate lined with paper towels. This will absorb any excess oil and keep them crispy.
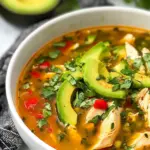
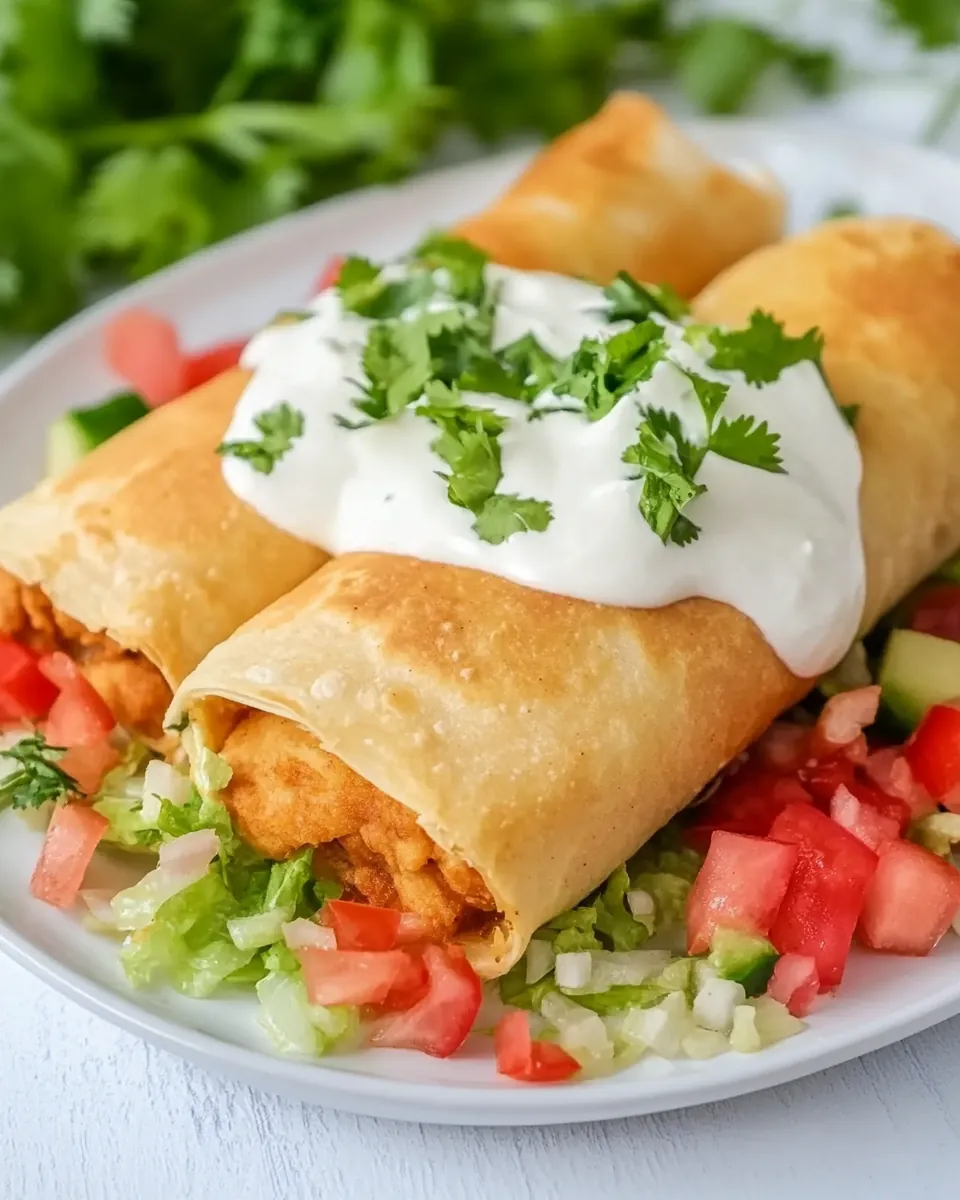
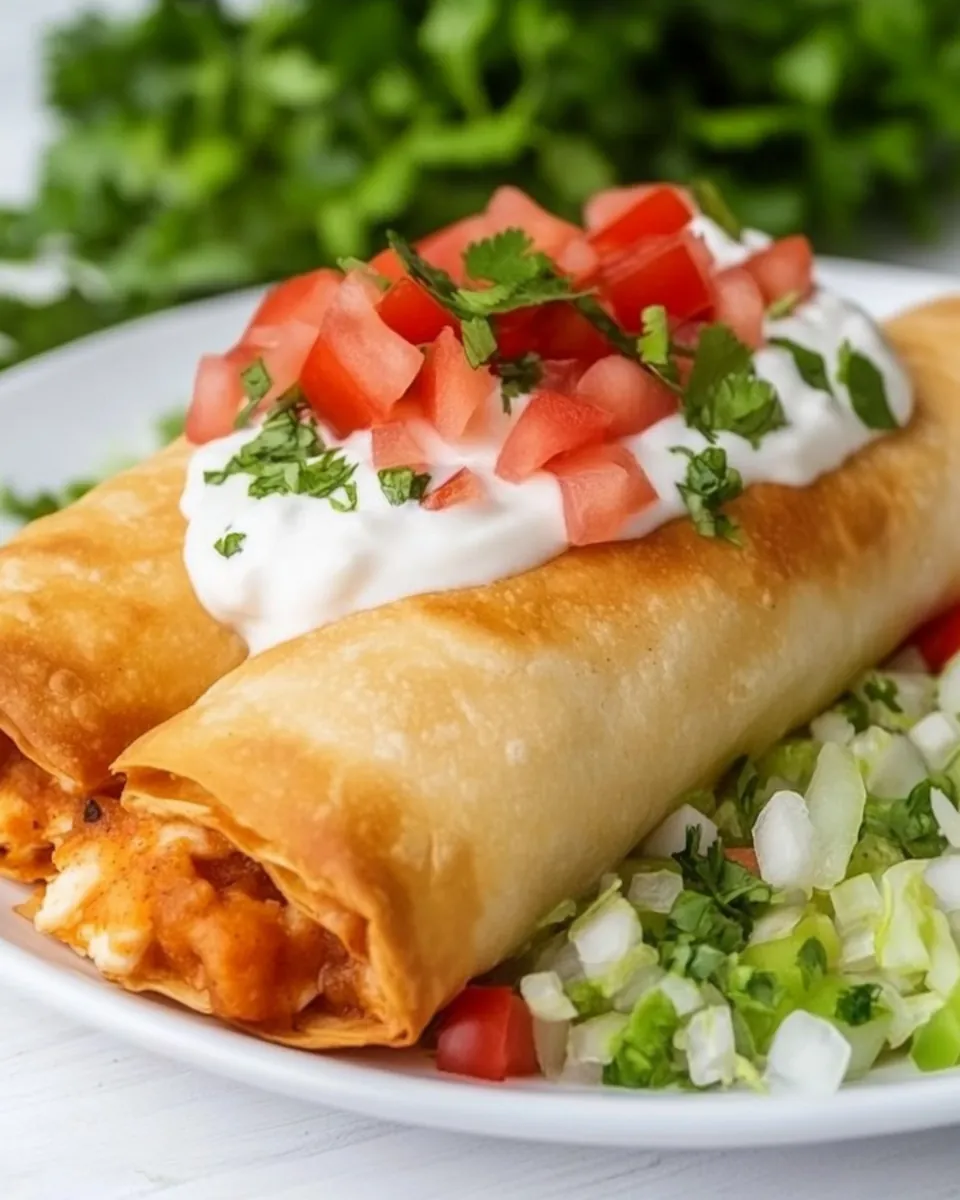
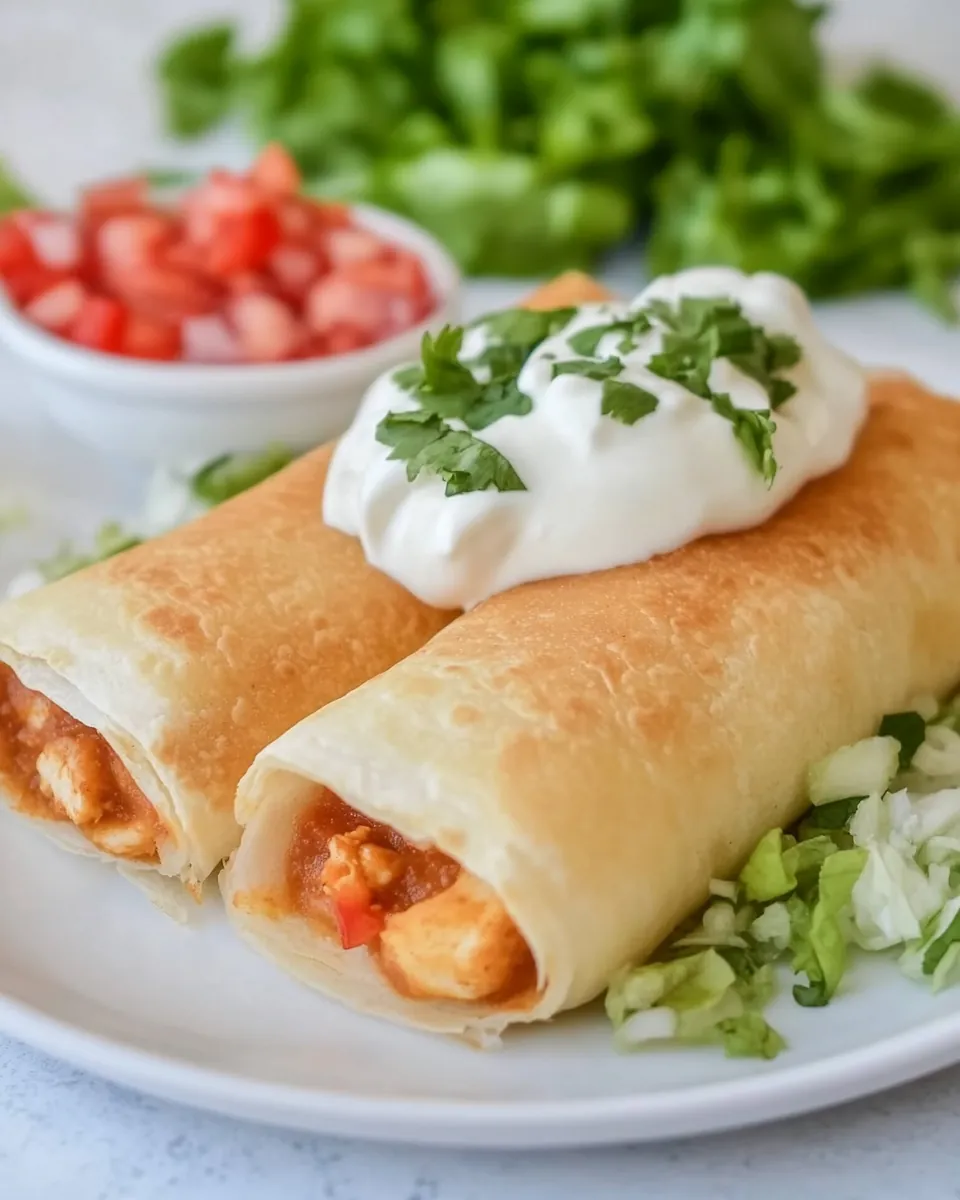
- Serve the Chicken Chimichangas hot with the toppings of your choice like fresh lettuce, tomatoes, and more sour cream.
Things Worth Knowing
- Temperature Control: Maintaining the right oil temperature is crucial for perfectly fried chimichangas. If the oil is too hot, they might burn on the outside before the inside is heated through.
- Filling Variations: Feel free to mix up the filling ingredients! Add black beans or corn for extra texture and flavor.
- Baking Option: For a healthier version, you can bake the chimichangas. Brush them with oil and bake at 450°F for about 15 minutes or until golden brown.
- Freezing Tips: Assemble your chimichangas and freeze them un-fried. When you’re ready to eat, just thaw and fry or bake directly from frozen.
Variations to Try
If you’re looking to mix things up with your Chicken Chimichangas, there are plenty of delicious variations to explore. Here are some ideas to inspire your next batch.
- Spicy Chicken: Add more jalapeño or even some diced jalapeño to the filling for a spicy kick.
- Vegetarian Option: Use a mix of beans, corn, and sautéed vegetables in place of chicken for a hearty vegetarian chimichanga.
- Cheesy Chimichangas: Incorporate more cheese into the filling for a gooey, cheesy bite.
- Southwestern Flavors: Add black beans, corn, and bell peppers for a Southwestern twist.
- Breakfast Chimichangas: Use scrambled eggs, cheese, and vegetables for a breakfast version!
- Herb Garnish: Top your chimichangas with fresh herbs like parsley or extra cilantro for a fresh finish.
- Serve with Salsas: Experiment with different salsas, like mango salsa or pico de gallo for unique flavor combinations.
Serving Ideas for Chicken Chimichangas
When it comes to serving Chicken Chimichangas, creativity can take your meal to the next level. Here are some delightful ideas:
- Pair with Rice: Serve them alongside Mexican rice or cilantro-lime rice for a complete meal.
- Fresh Salads: A light salad of mixed greens with a vinaigrette can offer a refreshing contrast to the rich flavors of the chimichangas.
- Perfect for Parties: These make fantastic appetizers at parties. Just cut them into smaller portions for easy sharing.
- Enjoy with Dipping Sauces: Serve with a variety of dipping sauces like guacamole, salsa, or queso for added flavor.
- Festive Occasions: Great for gatherings and celebrations, they always please a crowd!
- Make it a Platter: Create a platter with chimichangas, toppings, and sides for a fun build-your-own style meal.
- Seasonal Variations: In winter, serve with warm, hearty toppings like chili or even a savory sauce.
FAQ
Conclusion
Chicken Chimichangas are truly a delightful dish that brings comfort and joy to any table. Their crispy exterior combined with a flavorful filling makes them special and satisfying. I encourage you to try making these chimichangas for your next meal – you won’t regret it! They make for a fun cooking experience and a delicious indulgence.
Chicken Chimichangas
Ingredients
Equipment
Method
- Heat the vegetable oil in a medium skillet over medium heat. Add the onion, minced garlic, and jalapeño pepper. Cook until softened, about 3-4 minutes. Add the chili powder, cumin, cinnamon, and salt, and stir to combine.
- Add the tomato and cilantro, and cook 2-3 minutes. Stir in the shredded rotisserie chicken and sour cream, and cook until heated through.
- Spread a few tablespoons of refried beans down the center of each flour tortilla. Top each tortilla with ⅙ of the chicken mixture, and ¼ cup of shredded Monterey Jack cheese. Fold the sides of the tortilla toward the center, then roll each tortilla into a burrito shape.
- Heat 1-2 inches of oil to 350°F in a heavy pot or deep fryer. Secure the chimichangas with toothpicks to prevent them from opening while frying. Fry the chimichangas 1-2 at a time for 3-4 minutes, or until golden brown, flipping halfway through.
- Serve the Chicken Chimichangas hot with the toppings of your choice.
Notes
- Baking Option: Brush each chimichanga with oil and place on a greased baking sheet. Bake at 450°F for 8 minutes, then flip and bake for an additional 5-8 minutes, until golden brown.
- Freezer Meal: Assemble as written but do not fry. Wrap each chimichanga with plastic wrap and place them in an airtight freezer-safe container for up to 6 months. Thaw and fry according to the recipe directions or bake at 425°F for 35-40 minutes.
- Storage: Store leftovers in an airtight container in the fridge for 3-4 days or in the freezer for up to 2 months. Reheat them in the microwave for 30 seconds, or 1 minute if frozen. To finish reheating, bake in a 350°F oven for about 10 minutes.