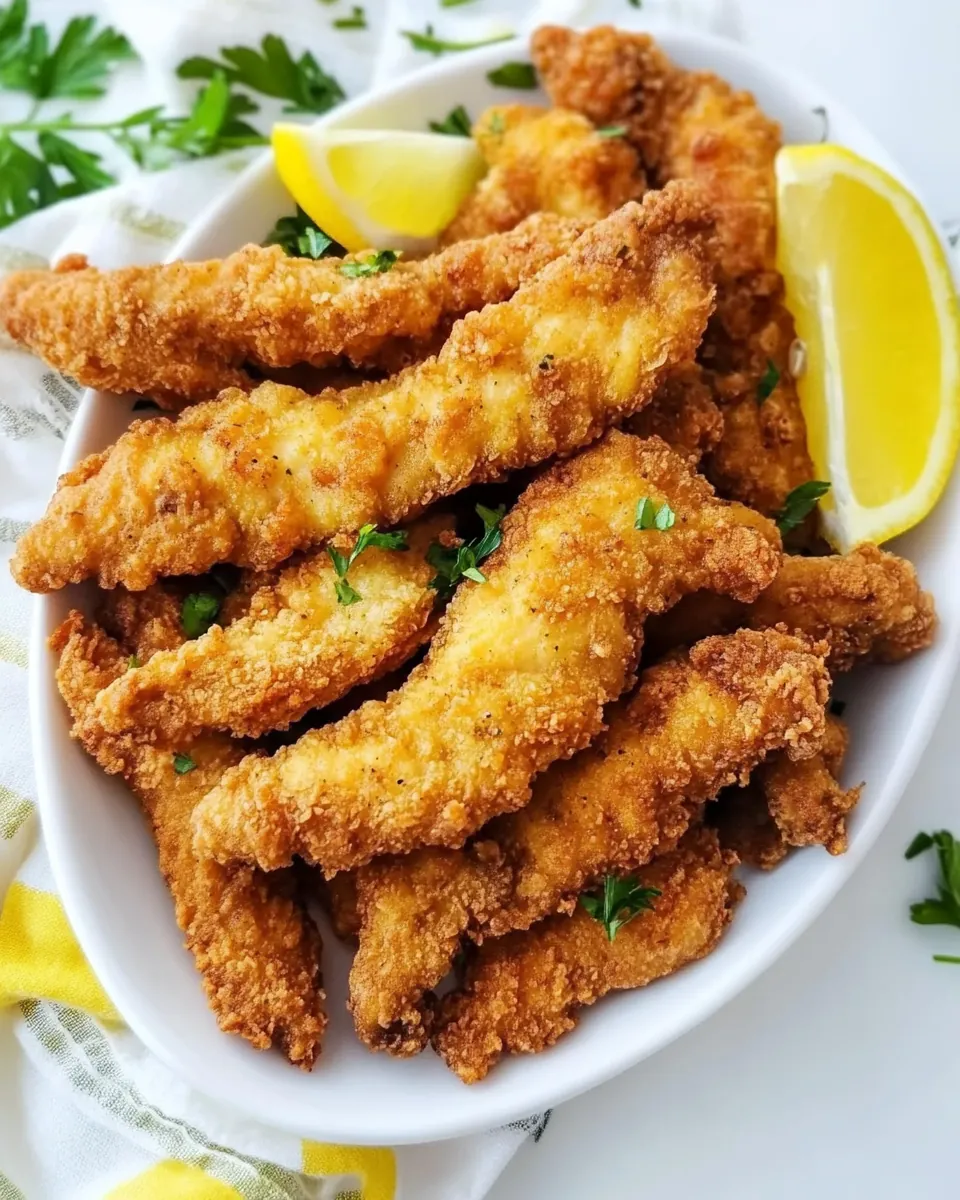
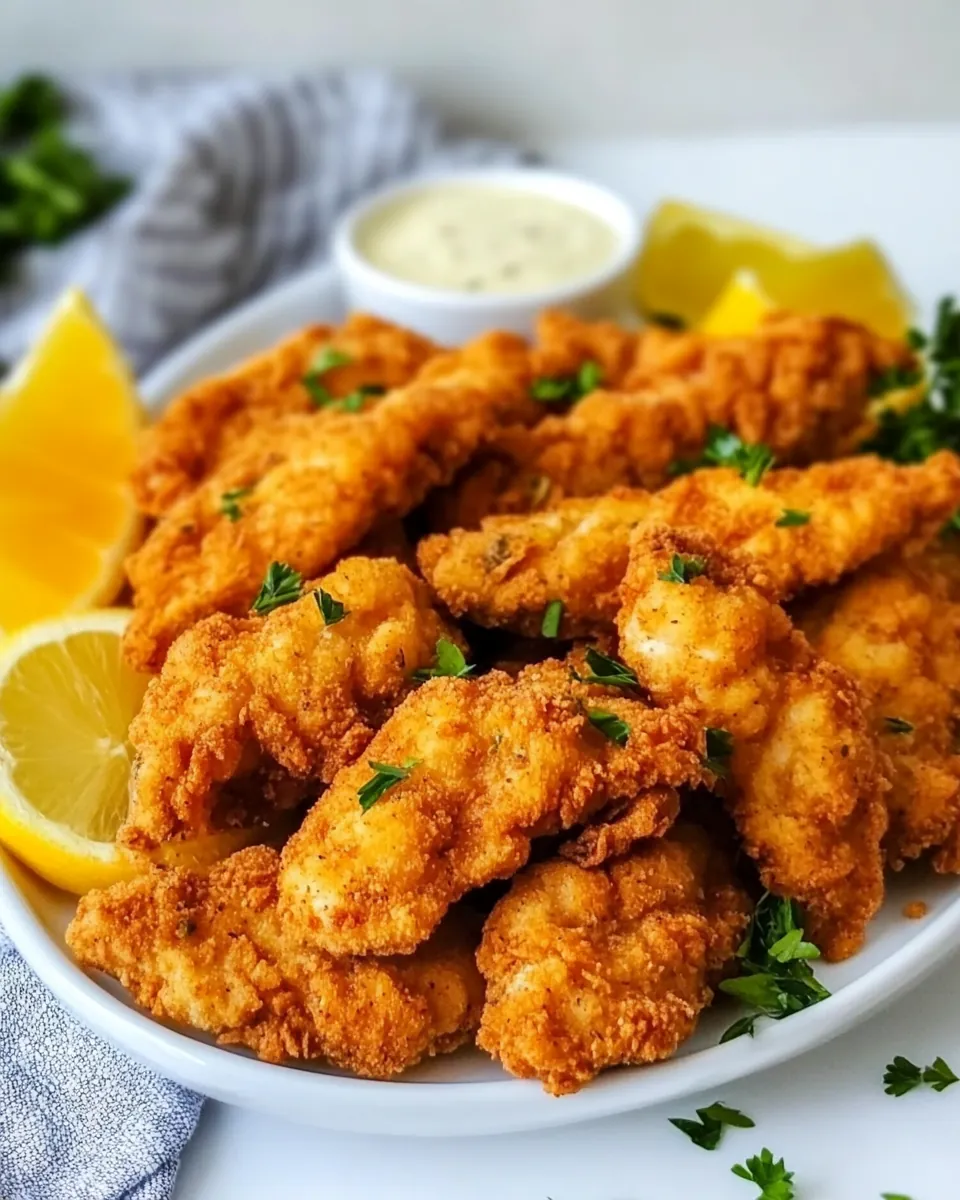
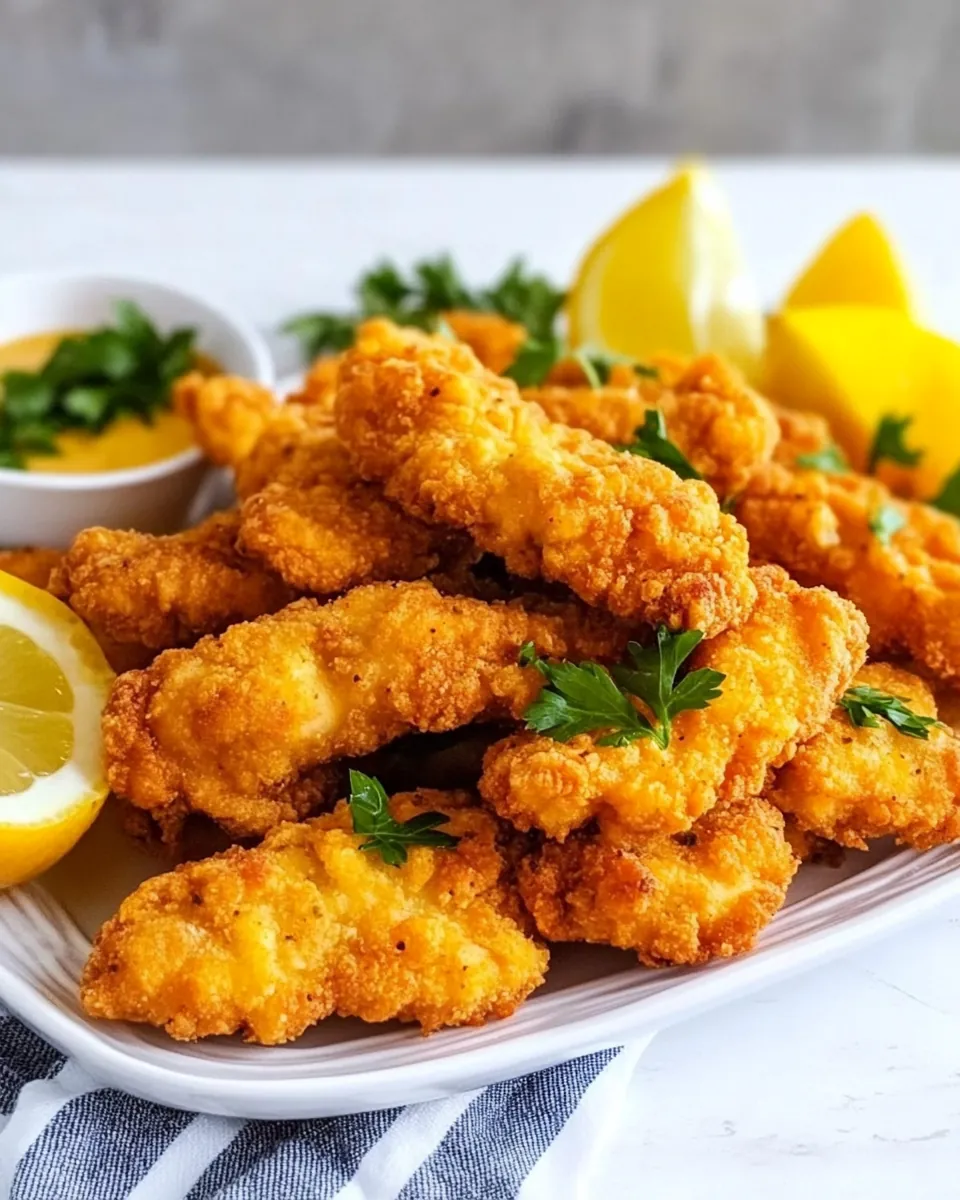
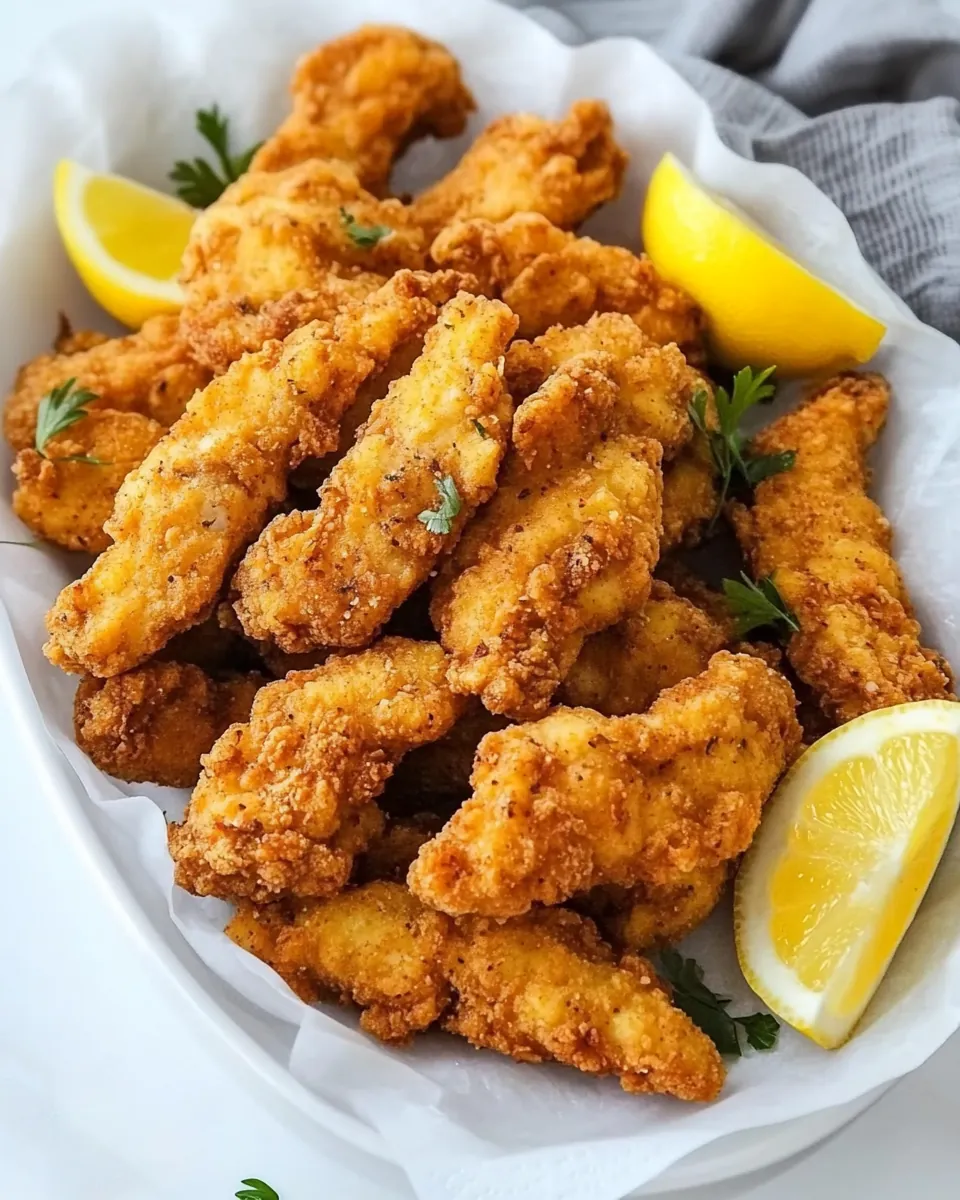
Chicken Fingers
Let me tell you about one of my all-time favorite comfort foods: Chicken Fingers. The first time I made these beauties, I was just a teenager, eager to impress my friends with my culinary skills. I remember the thrill of watching them turn golden brown in the fryer, filling the kitchen with an irresistible aroma. As they came out, crispy on the outside and juicy on the inside, I couldn’t wait for everyone to dig in. The smiles on their faces said it all. Now, every time I make Chicken Fingers, it transports me back to those carefree days of friends, laughter, and delicious food. They’re perfect for game nights, parties, or simply a cozy dinner at home.
Recipe Snapshot
25 mins
15 mins
10 mins
Medium
400 kcal
30 g
Paleo, Whole30, Gluten-Free
15 g
Skillet, Mixing Bowl
Why We Love This Chicken Fingers
Perfect for Any Occasion
Chicken Fingers are more than just a snack; they’re a versatile dish that fits into many occasions. Whether it’s a birthday party, a family gathering, or a casual weeknight dinner, they never fail to please. You can serve them with various dips, making them adaptable to everyone’s tastes.
Crispy Coating
One of the standout features of Chicken Fingers is their deliciously crispy coating. The double dredge method – flour, then egg, and back to flour – ensures that every piece is perfectly coated and fries up beautifully. The crunch you get from the first bite is simply heavenly.
Kid-Friendly
These crispy treats are a hit with kids and adults alike. They’re easy to eat and can be paired with fun dipping sauces like honey mustard, barbecue, or ranch. Kids love to help out in the kitchen when making Chicken Fingers, making it a fun bonding activity.
Flexible Ingredients
You can easily customize Chicken Fingers based on what you have at home. Want a spicier kick? Add cayenne or chili powder. Prefer a milder flavor? Stick to the basics. The recipe is forgiving and allows for creativity.
Perfect for Meal Prep
If you make a double batch, you can freeze the extras for a quick meal later. Just reheat them in the air fryer or oven to bring back that crispy texture, making Chicken Fingers a great meal prep option.
What You Need for Chicken Fingers
The ingredients for Chicken Fingers are simple but work together to create a deliciously satisfying meal. Each ingredient plays a role in achieving that perfect crunch and flavor. The star of the show, of course, is the chicken, which is tender and juicy. The flour for the dredging is essential for a great coating, while seasonings like salt, pepper, and garlic powder are key to enhancing the flavor.
- 2 lbs boneless chicken breasts, cut into strips (size and thickness of your choice)
- 2 cups all-purpose flour
- 1 teaspoon salt
- 1 teaspoon black pepper
- 1 teaspoon garlic powder
- 1 teaspoon onion powder
- 1 teaspoon dried oregano
- 1/2 teaspoon sweet paprika
- 1/4 teaspoon cayenne spice (or to taste)
- 2 eggs (or 1 extra large egg)
- 2 tablespoons honey mustard
- 2 garlic cloves, minced
- 1/4 cup hot sauce (or to taste, optional)
- 3 tablespoons ketchup
- 2 tablespoons lemon juice
- 1/2 teaspoon salt
- 1/2 teaspoon black pepper
- 1/2 teaspoon dried oregano
- 1/2 teaspoon paprika
- 1 teaspoon onion powder
- 1 teaspoon garlic powder
Cooking Instructions for Chicken Fingers
Making Chicken Fingers is a straightforward and enjoyable process. Follow these steps for perfectly crispy chicken every time. Just remember to take your time with the dredging process to ensure every piece is well-coated.
- Start by preparing your workspace. In one wide bowl, mix together the flour, salt, black pepper, garlic powder, onion powder, dried oregano, sweet paprika, and cayenne spice. In another bowl, beat the eggs and mix in the honey mustard and minced garlic.
- Cut the chicken into strips, ensuring they’re uniform in size for even cooking. Aim for pieces that are about an inch wide and a few inches long.
- Coat each piece of chicken first in the seasoned flour mixture, completely covering it. Shake off any excess flour.
- Next, dip the floured chicken into the egg mixture, allowing any extra to drip off.
- Return the chicken to the flour mixture for a second coat, making sure each piece is thoroughly coated and press the flour onto the chicken for a good seal.
- In a deep fryer, heat oil to 375 degrees or heat a small pot with oil over medium-high heat. Make sure the oil is hot enough to fry effectively.
- Carefully place the coated chicken pieces in the hot oil. Fry them in batches to avoid overcrowding. Cook for about 3 to 5 minutes, checking for a golden brown color and ensuring they’re cooked through.
- If using a stovetop, fry 2 to 3 pieces at a time, controlling the temperature. Aim for about 5 to 8 minutes, depending on the thickness of your strips.
- Once golden brown and fully cooked, remove the chicken fingers and place them on a paper towel-lined plate to drain excess oil.
- Serve hot with your favorite dips and enjoy your homemade Chicken Fingers!
Things Worth Knowing
- Tip for Coating: Ensure each piece of chicken is well-dredged in the flour before the egg mixture. This helps the coating stick better.
- Oil Temperature: Keep the oil at the right temperature (around 375°F) to achieve a crispy exterior without overcooking the chicken.
- Batch Frying: Fry in small batches to maintain oil temperature and ensure even cooking.
- Resting Time: Let the fried chicken fingers rest on paper towels to absorb excess oil for a less greasy finish.
- Serving Ideas: Try serving with various sauces like ranch, honey mustard, or spicy mayo for an extra flavor punch.
How to Switch It Up
If you feel like getting creative with your Chicken Fingers, there are plenty of ways to customize the dish. Here’s how you can switch it up:
- Spice it Up: Add a pinch of cayenne or chili powder to the flour for more heat.
- Herbs and Spices: Experiment with different herbs like rosemary or thyme for a fresh flavor twist.
- Different Dips: Serve with a variety of dips like sweet chili sauce, buffalo sauce, or homemade ranch to enhance the experience.
- Air Frying: For a healthier option, try air frying the chicken fingers at 375°F for about 5 minutes.
- Meal Prep: Cook a large batch and freeze for quick weekday meals. Just reheat in the oven or air fryer.
Great Combinations for Chicken Fingers
Pairing Chicken Fingers with the right sides can turn a simple meal into a fantastic feast. Here are some great combinations:
- Classic Fries: Serve with crispy French fries or sweet potato fries for a fun and filling meal.
- Fresh Salads: A refreshing green salad with a tangy vinaigrette complements the richness of the fried chicken.
- Veggie Dippers: Include fresh veggies like carrot sticks or cucumber slices for a crunchy contrast.
- Family Game Night: Perfect for casual gatherings and game nights – set up a platter for everyone to enjoy.
- Quick Lunch: Make a quick lunch by wrapping the chicken fingers in a tortilla with lettuce and your favorite sauce.
FAQ
Conclusion
In conclusion, Chicken Fingers are truly a delightful dish that brings comfort and joy to any table. Their crispy exterior and juicy interior make them a favorite for both kids and adults. I encourage you to try making them at home and experience the fun and satisfaction of creating a dish that everyone loves. Don’t wait—make these Chicken Fingers tonight for a delicious treat that will surely become a family favorite!
Chicken Fingers
Ingredients
Equipment
Method
- Start by preparing your workspace. In one wide bowl, mix together the flour, salt, black pepper, garlic powder, onion powder, dried oregano, sweet paprika, and cayenne spice. In another bowl, beat the eggs and mix in the honey mustard and minced garlic.
- Cut the chicken into strips, ensuring they’re uniform in size for even cooking. Aim for pieces that are about an inch wide and a few inches long.
- Coat each piece of chicken first in the seasoned flour mixture, completely covering it. Shake off any excess flour.
- Next, dip the floured chicken into the egg mixture, allowing any extra to drip off.
- Return the chicken to the flour mixture for a second coat, making sure each piece is thoroughly coated and press the flour onto the chicken for a good seal.
- In a deep fryer, heat oil to 375 degrees or heat a small pot with oil over medium-high heat. Make sure the oil is hot enough to fry effectively.
- Carefully place the coated chicken pieces in the hot oil. Fry them in batches to avoid overcrowding. Cook for about 3 to 5 minutes, checking for a golden brown color and ensuring they’re cooked through.
- If using a stovetop, fry 2 to 3 pieces at a time, controlling the temperature. Aim for about 5 to 8 minutes, depending on the thickness of your strips.
- Once golden brown and fully cooked, remove the chicken fingers and place them on a paper towel-lined plate to drain excess oil.
- Serve hot with your favorite dips and enjoy your homemade Chicken Fingers!