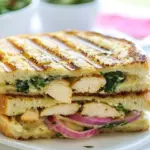
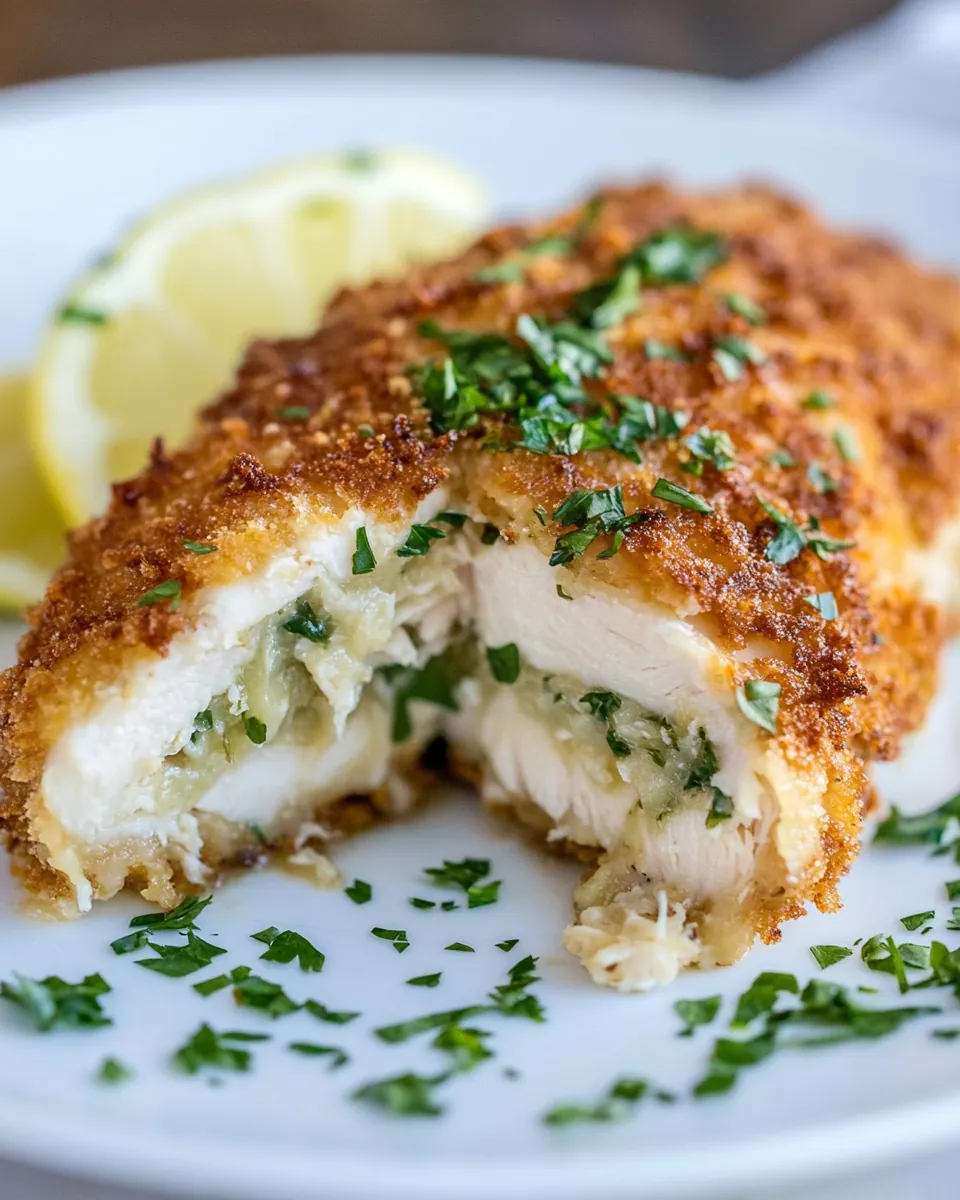
Chicken Kiev
Whenever I think of comfort food, Chicken Kiev always springs to mind. It’s one of those dishes that takes me back to my childhood, where my mom would whip it up for special occasions or cozy family dinners. The moment you cut into the crispy golden crust, the melted butter would burst out, creating a deliciously indulgent moment that’s simply unforgettable. I remember the anticipation of waiting for it to come out of the oven, and the aroma that filled our home was nothing short of heavenly. It’s the kind of dish that not only fills the belly but warms the heart. Whether you’re cooking for family or friends, serving Chicken Kiev always brings smiles and satisfied sighs.
Recipe Snapshot
40 mins
20 mins
20 mins
Easy
450 kcal
30 g
Gluten-Free
25 g
Skillet, Frying Pan, Chef’s Knife
Why You’ll Love This Chicken Kiev
Why Chicken Kiev Stands Out
There’s just something magical about Chicken Kiev that makes it a standout dish for any gathering. Here’s why I love it:
1. Flavor Explosion
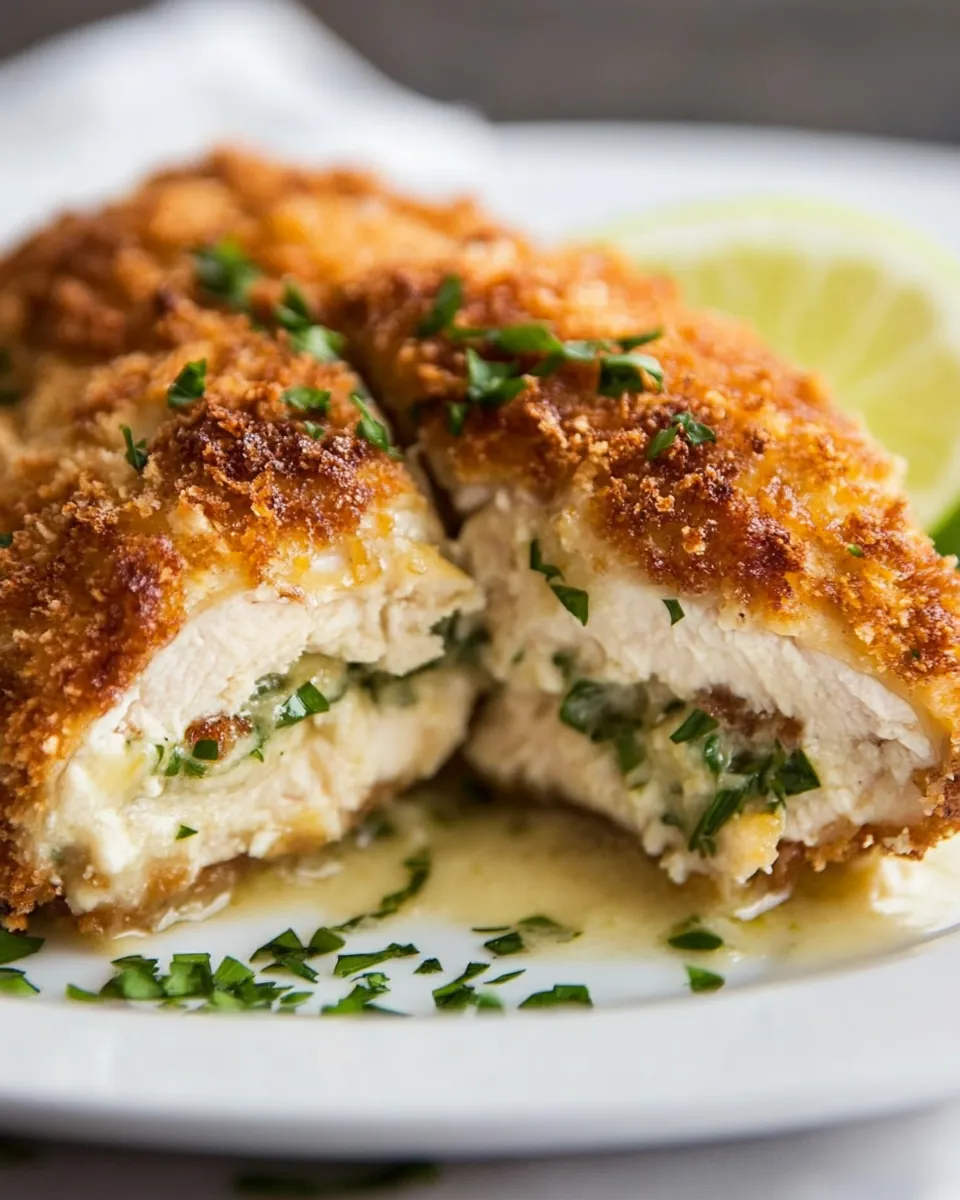
The combination of butter, garlic, and parsley creates a flavor explosion that’s hard to resist. Each bite is a melody of rich and fresh flavors that dance on your palate.
2. Crispy Goodness
That crispy, golden crust is not just for show. It adds a delightful crunch that contrasts beautifully with the tender chicken and the buttery filling. I can hardly wait to dig in!
3. Versatile Dish
Chicken Kiev isn’t just a main dish; it pairs perfectly with a variety of sides. Think mashed potatoes, a fresh green salad, or even some roasted vegetables. You can easily craft an entire meal around it!
4. Impressive Presentation
When served, Chicken Kiev looks stunning on the plate, which makes it perfect for dinner parties or special occasions. Your guests will be asking for the recipe!
5. Nostalgic Comfort
For many, this dish is a nostalgic comfort food that evokes cherished memories. Making Chicken Kiev isn’t just about the food; it’s about creating lasting memories in the kitchen and around the table.
What to Gather for Chicken Kiev
Gathering the right ingredients is essential for making the perfect Chicken Kiev. The ingredients work together harmoniously, with the star players being the succulent chicken breasts and the flavorful garlic herb butter. Every element adds its own character, ensuring the dish is both delicious and satisfying.
- 6 Tbsp unsalted butter, room temp: This is the heart of your filling, providing richness and flavor.
- 1 large garlic clove, minced: Adds a punch of flavor that’s essential in the butter mixture.
- 1 Tbsp lemon juice, plus more lemon wedges to squeeze over the finished chicken: Brightens the dish and balances the richness.
- 2 Tbsp chopped fresh parsley, plus more to garnish: Fresh herbs elevate the flavor and add a touch of color.
- 1/2 tsp salt: Enhances the flavors and helps bring all the ingredients together.
- 1/2 tsp black pepper, freshly ground: Adds a subtle heat and depth to the dish.
- 3 large chicken breasts, 12 oz each: The main component, ensuring a satisfying meal.
- 2 eggs, beaten: Used for breading, giving that irresistible crispy texture.
- 1/2 cup all-purpose flour: Another layer in the breading process, contributing to the ultimate crunch.
- 2 cups Panko bread crumbs: The secret to achieving that perfect, crispy exterior.
- 1/2 tsp Salt and Pepper, or added to taste: Whenever we mention seasoning, it’s always to taste, ensuring you get it just right.
- Extra light olive oil, or Canola oil, to sauté: For frying the chicken to perfection.
Making Chicken Kiev
Creating Chicken Kiev is a rewarding experience that fills your kitchen with incredible aromas. Let’s dive into how to make this mouthwatering dish. Follow these steps carefully to achieve that perfect golden crust and luscious filling.
- Make the Flavored Butter – In a medium bowl, mash together all the Kiev butter ingredients – the unsalted butter, minced garlic, lemon juice, and parsley with a fork. Mix just until the lemon juice is incorporated into the butter. This takes a couple of minutes, but it’s worth the wait to ensure the flavors meld together nicely.
- Prepare Chicken – Using a sharp slim knife, cut the chicken breasts in half lengthwise. Keep both halves equal in size and thickness to ensure even cooking. Carefully cut a pocket into the side of each chicken breast, deep and wide, but try not to cut through the other side (about a 2-inch wide and 3-inch long pocket). Stuff each chicken breast with 1 tablespoon of the Kiev butter, then close the pocket and gently push over the top to disperse the butter. Pinch the opening to seal. Season both sides of the chicken breast with salt and pepper.
- Make your breading stations – Set up three plates for breading: On the first plate, pour 1/2 cup of flour. In the second large bowl, beat together the eggs. In the third large bowl, pour in the Panko bread crumbs. Dredge the stuffed chicken in the flour, dusting off any excess. Next, dip in the beaten eggs, ensuring a good coating all around and letting any excess egg drip off. Finally, coat each piece in the bread crumbs, making sure to cover completely. Transfer to a platter while you form the remaining Chicken Kievs.
- Fry Chicken Kiev – In a large deep skillet, add 1/4 inch of oil and place over medium heat. Once the oil is hot (around 350˚F), add the chicken in a single layer and fry until golden brown, about 4 minutes per side. If the chicken browns too quickly, reduce the heat. Use an instant-read thermometer to check that it reaches 165˚F. Repeat cooking the second batch, ensuring not to overcrowd the pan.
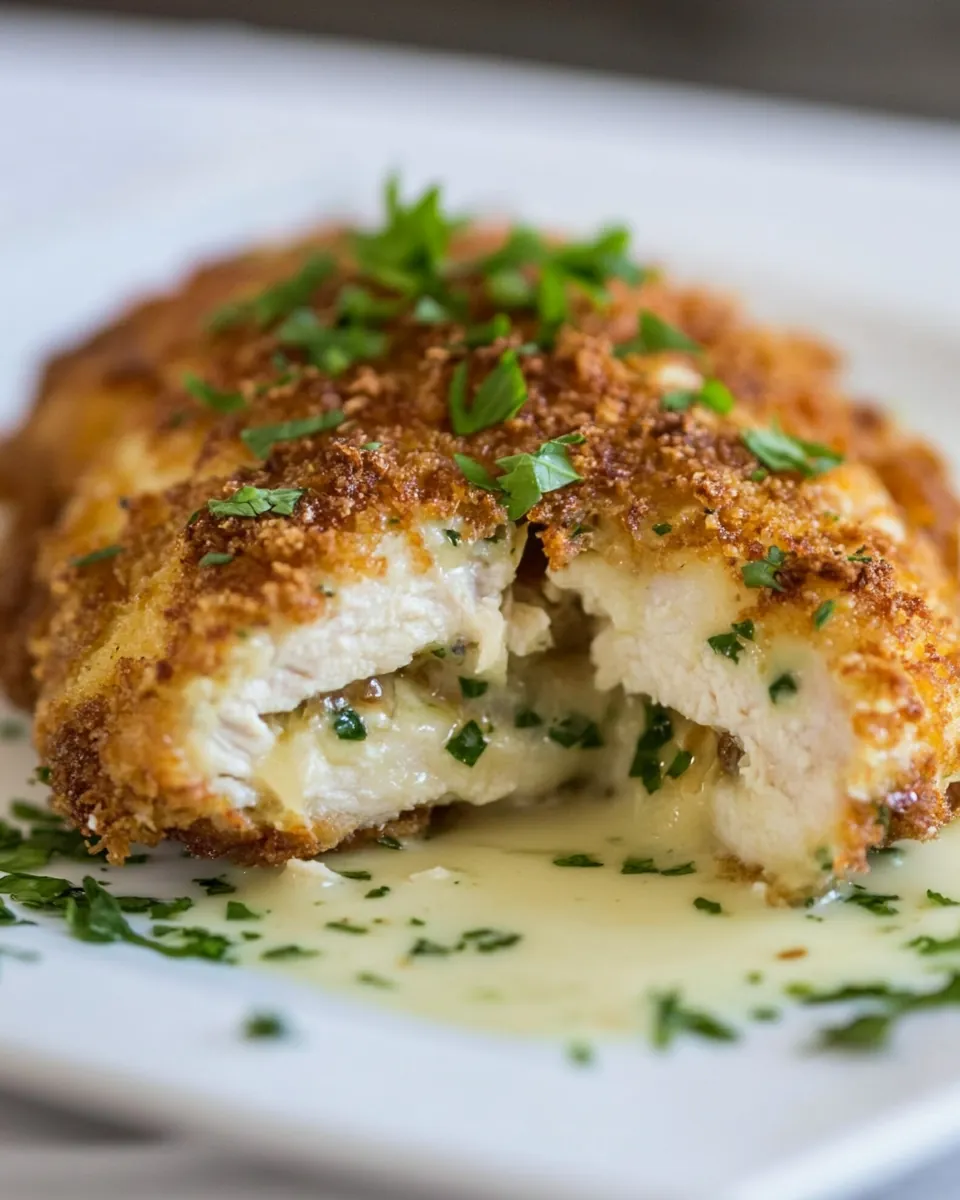
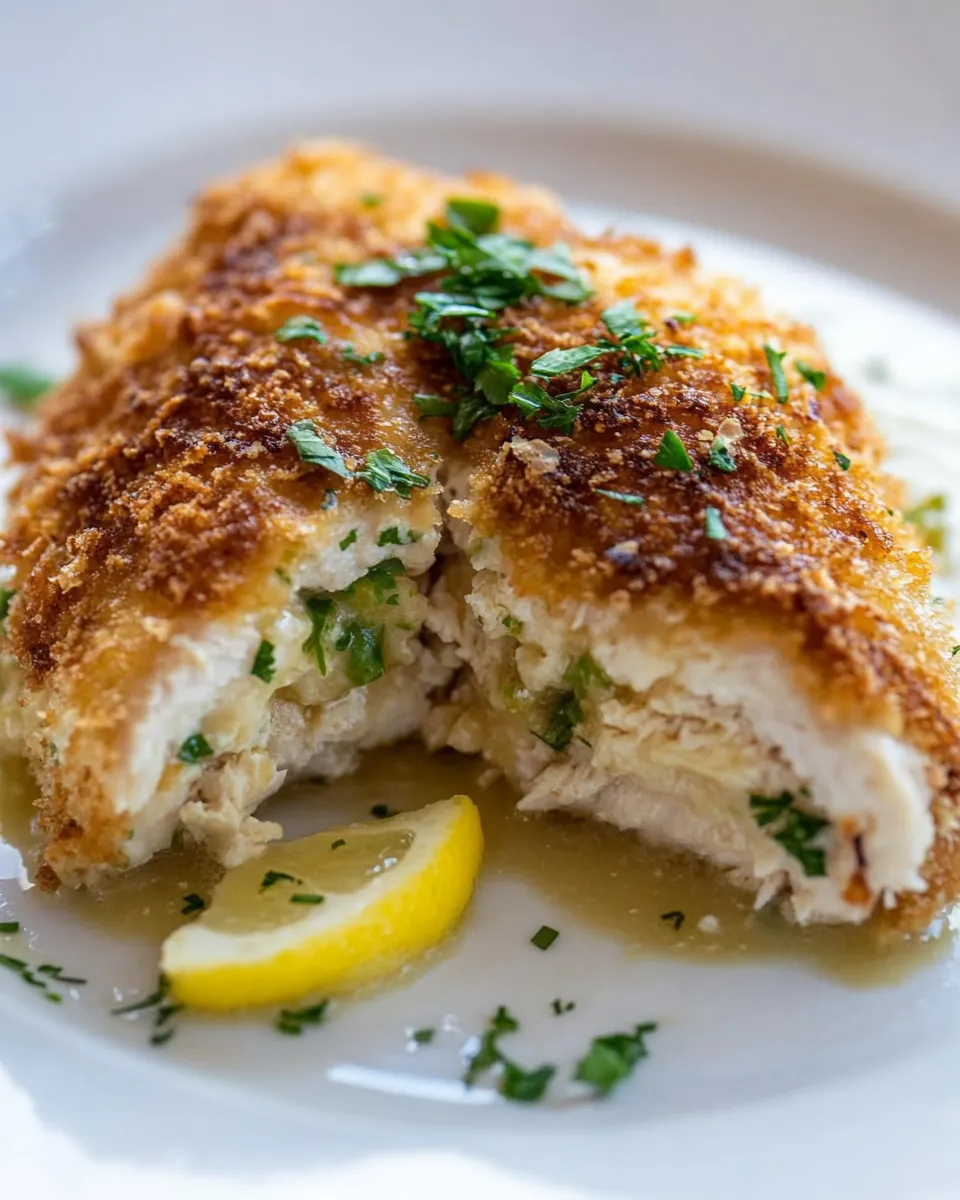
- To Serve – Once your Chicken Kiev is fried to a golden perfection, season it with a sprinkle of salt. Garnish with fresh parsley and squeeze some lemon wedges over the top before serving. Be careful of the first spurt of hot butter when you cut into the chicken; it’s all part of the delicious experience!
Things Worth Knowing
- Don’t rush the butter: Make sure to blend the butter ingredients thoroughly for the best flavor.
- Even cooking: Ensure that the chicken breasts are of uniform thickness for even cooking.
- Check the oil temperature: If the oil isn’t hot enough, the chicken will absorb too much oil and become greasy.
- Rest the chicken: Let the fried chicken rest for a few minutes before cutting into it. This will help the juices redistribute.
Variations to Try
If you’re looking to switch things up with your Chicken Kiev, there are plenty of fun variations to try. Here are some ideas to inspire your culinary creativity:
- Cheesy Variation: For a cheesy twist, add a spoonful of your favorite cheese into the butter mixture before stuffing the chicken.
- Herb Variations: Experiment with different herbs in the butter, such as thyme or dill, for a unique flavor profile.
- Vegetarian Option: Substitute the chicken with thick slices of eggplant or zucchini, and follow the same breading and frying steps.
- Spicy Kick: Add a pinch of cayenne pepper or some chopped jalapeños to the butter for a spicy version.
- Make Ahead: Bread the chicken in step three, then cover and refrigerate until ready to cook, which is great for prepping in advance.
- Serving Suggestions: Serve with a creamy garlic mashed potato or a light salad for a well-rounded meal.
Serving Ideas for Chicken Kiev
When it comes to serving Chicken Kiev, the possibilities are endless! Here are some ideas to enhance your dining experience:
- Classic Pairing: Serve your Chicken Kiev alongside creamy mashed potatoes, which complement the richness of the dish perfectly.
- Fresh Salad: A crisp green salad with a light vinaigrette adds brightness and balances the meal beautifully.
- Roasted Vegetables: Consider roasted seasonal vegetables like asparagus or Brussels sprouts for a hearty side.
- Special Occasion: This dish is perfect for dinner parties or family gatherings, adding an elegant touch to your table.
- Storage Tips: If you have leftovers, allow them to cool completely and store them in an airtight container in the fridge for up to five days.
- Freezing Option: Wrap each leftover Chicken Kiev individually and freeze. They can be stored in an airtight container for up to three months.
- Reheating: Reheat in a sauté pan until warmed through or use an Air Fryer for a quick and crispy reheating method.
FAQ
Conclusion
In conclusion, Chicken Kiev is a delightful dish that brings together flavors and textures in a memorable way. Its crispy exterior and buttery filling make it a favorite for many, and it’s a great choice for both casual dinners and special occasions. I encourage you to try making it yourself; you won’t be disappointed!
Chicken Kiev
Ingredients
Equipment
Method
- Make the Flavored Butter – In a medium bowl, mash together all the Kiev butter ingredients with a fork, just until lemon juice is incorporated into the butter. It takes a couple of minutes but it does come together.
- Prepare Chicken – Using a sharp slim knife, cut chicken breasts in half lengthwise, keeping both halves equal in size and thickness. Carefully cut a pocket into the side of each chicken breast as deep and wide as you can go without cutting through the chicken breast (about a 2" wide x 3" long pocket). Stuff each chicken breast with 1 Tbsp of Kiev butter then close the pocket and push over the top of the chicken breast to disperse the butter. Pinch the opening to seal. Season both sides of the chicken breast with salt and pepper.
- Make your breading stations – Set up 3 plates for breading: In the first plate, pour 1/2 cup flour. In the second large bowl, beat together 2 eggs. In the third large bowl, pour 2 cups panko crumbs. Dredge chicken in flour, dusting off excess then dip in eggs making sure to get a good egg coating all around and letting any excess egg drip off. Finally, dip into the bread crumbs. Transfer to a platter while forming the remaining chicken Kievs.
- Fry Chicken Kiev – Add 1/4" of oil to a large deep skillet and place over medium heat. Once the oil is hot (350˚F or if you add a bread crumb, it should sizzle), add chicken in a single layer and fry until golden brown (4 min per side - if it browns too quickly, reduce the heat). It's done when it reaches 165˚F on an instant-read thermometer. Repeat cooking the second batch.
- To Serve – Season hot fried chicken with a sprinkle of salt, garnish with fresh parsley, and squeeze lemon wedges over the top, then serve. Be careful of the first spurt of hot butter when you cut the chicken.
Notes
- Tip 1: If you accidentally cut through the chicken, turn it over and cut a small flap to fold over and seal the hole from the outside.
- Tip 2: Make ahead by breading the chicken in step 3, then cover the uncooked chicken breasts and store in the fridge until ready to cook.
- Tip 3: Cool leftovers completely and store them in an airtight container in the fridge for up to 5 days.
- Tip 4: To freeze, wrap each individually and flash-freeze. Store frozen chicken breasts in an airtight container for up to 3 months.
- Tip 5: To reheat, sauté in a pan until warmed through or reheat in the Air Fryer.