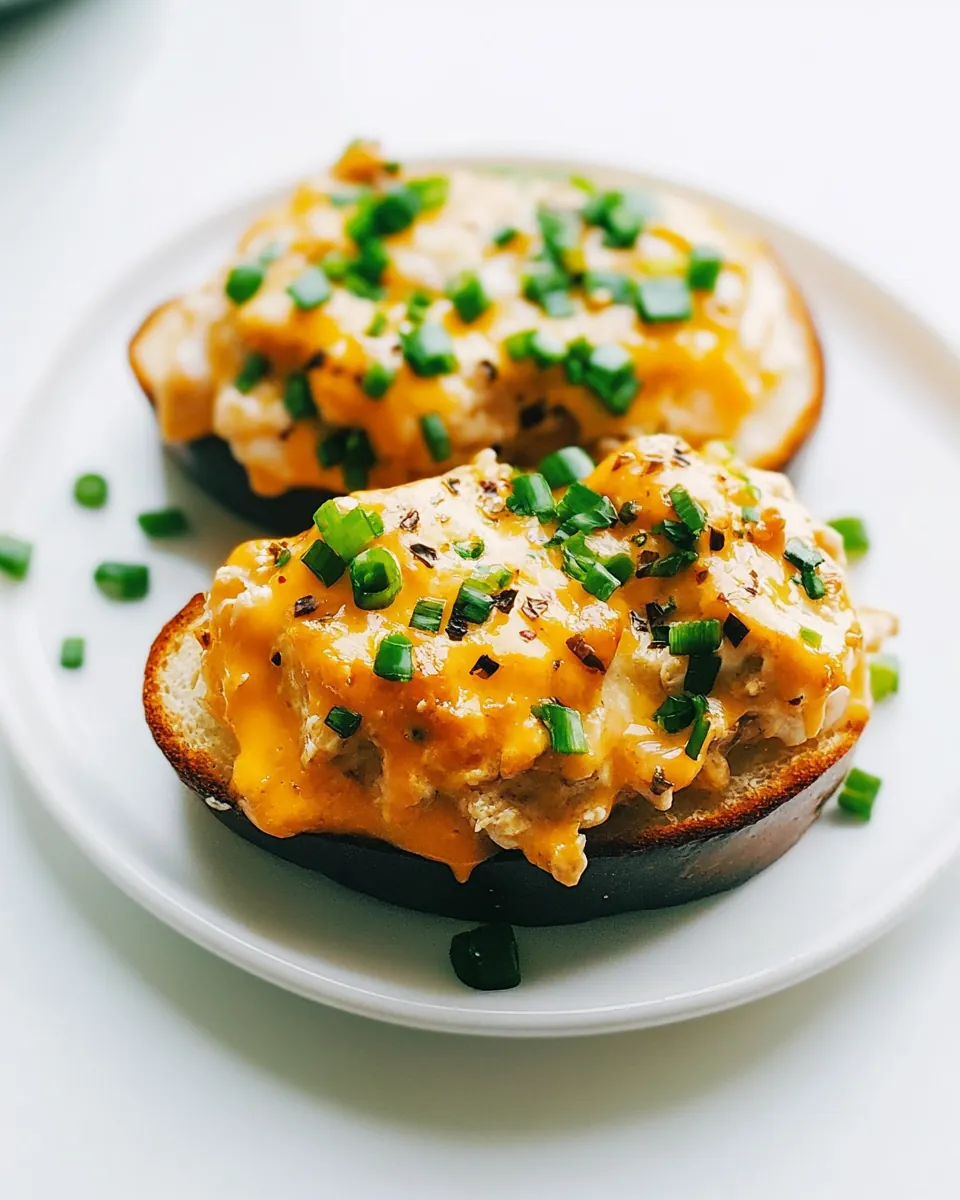
Chicken Melts
There’s something incredibly comforting about a plate of Chicken Melts fresh from the oven. I remember the first time I made them; it was a chilly evening, and I wanted a quick yet delicious meal that would warm me up. My family gathered in the kitchen, drawn by the mouthwatering aroma of melted cheese and seasoned chicken wafting through the air. As I pulled the sheet pan from the oven, the golden brown tops and gooey, cheesy goodness were simply irresistible. Each bite was a perfect blend of flavors and textures, making it a favorite around our dinner table.
When life gets busy, I find myself returning to this recipe time and again. It’s quick, satisfying, and can easily be customized with whatever ingredients I have on hand. The beauty of Chicken Melts lies in their versatility. Whether you’re using leftover rotisserie chicken or prepping fresh ingredients, they come together effortlessly. Plus, they make for a fantastic lunch the next day. I often whip up a batch over the weekend to enjoy throughout the week.
Imagine hosting a casual gathering and serving these delicious melts as an appetizer. They’re perfect for sharing and are bound to impress! Each melt can be garnished simply or dressed up with fresh herbs, a drizzle of hot sauce, or even sliced tomatoes—all depending on your mood. Making Chicken Melts is not just about filling your stomach; it’s about creating memories and sharing joyful moments with loved ones.
Recipe Snapshot
28 mins
20 mins
8 mins
Easy
320 kcal
22 g
Keto, Paleo, Whole30
15 g
Large sheet pan (15″ x 21″), Parchment paper
Why This Chicken Melts Is a Winner
Quick and Easy to Prepare
One of the main reasons I absolutely love making Chicken Melts is how quick they are to prepare. With minimal prep work, you can have these delicious melts ready in no time—a lifesaver on busy weeknights!
Comforting Ingredients
The combination of seasoned chicken, cheddar cheese, and fresh vegetables creates a comforting and hearty dish. Each ingredient plays a role in ensuring every bite is bursting with flavor.
Perfect for Leftovers
If you have leftover chicken from last night’s dinner, this recipe is a great way to use it up. It transforms ordinary leftovers into a satisfying meal that everyone will love.
Customizable
You can easily adapt Chicken Melts based on what you have in your pantry. Want to add some spice? Toss in some jalapeños! Prefer a different cheese? Go for mozzarella or pepper jack. The possibilities are endless!
Great for Gatherings
Hosting a party? These melts are perfect for gatherings. They’re easy to make in large quantities, and you can serve them as finger foods. People will love grabbing these cheesy bites as they mingle.
Ideal for Meal Prep
These Chicken Melts are not only a great meal to enjoy right away but they also freeze beautifully. You can make a big batch and freeze some for later, making weeknight dinners a breeze.
Shopping List for Chicken Melts

When it comes to preparing Chicken Melts, the ingredients are simple yet flavorful. Each item brings something unique to the table, creating a delightful combination that is sure to please everyone. Fresh vegetables and creamy cheese work together to elevate this dish to new heights. Here’s what you’ll need:
- Cooked chicken (like rotisserie, diced): A convenient and flavorful base.
- Shallots (finely diced): Adds a mild onion flavor to enhance the overall taste.
- Celery (finely diced): Provides a nice crunch and freshness.
- Carrots (shredded): A sweet addition that balances the savory elements.
- Sharp cheddar cheese (freshly shredded): Melts beautifully and adds creaminess.
- Sour cream: Adds richness and tanginess to the mixture.
- Mayo: Contributes to the creamy texture.
- Cajun seasoning: Infuses the dish with a kick of flavor.
- Garlic powder: A must-have for depth of flavor.
- Paprika: Adds subtle smokiness.
- Pepper: For seasoning to taste.
- French bread: The perfect vessel for the chicken mixture.
How to Prepare Chicken Melts
Preparing Chicken Melts is a straightforward process that anyone can master. Follow these steps, and you’ll have a delicious dish ready to enjoy in no time!
- First, preheat your oven to 350°F. This temperature will ensure the melts come out perfectly golden and bubbly.
- While the oven is heating up, line a large sheet pan with parchment paper. This will prevent the melts from sticking and make for easy cleanup afterward.
- Next, dice the chicken into small pieces. If you’re using a rotisserie bird, it’s already cooked and saves you a lot of time.
- Finely chop the shallots and celery. These veggies will add flavor and texture to your melts.
- Grate the carrots using the large holes of a grater. This will help them blend in with the filling.
- Now, it’s time to shred the cheddar cheese. Having freshly shredded cheese will enhance the melting quality.
- In a large bowl, combine the diced chicken, shallots, celery, carrots, and 1 cup of the shredded cheddar cheese. This mixture is where all the magic begins.
- In a separate bowl, mix the sour cream, mayo, Cajun seasoning, garlic powder, paprika, and a pinch of pepper. Whisk these together until smooth and creamy.
- Pour the sauce over the chicken and veggie mixture and gently stir until everything is well combined. Take a moment to taste and adjust the seasoning according to your preference.
- Slice the French bread into thick pieces, about 1 to 1-1/2 inches thick, and place them on the prepared sheet pan.
- Add a generous 1/3 cup of the chicken mixture onto each slice of bread, smoothing it into an even layer.
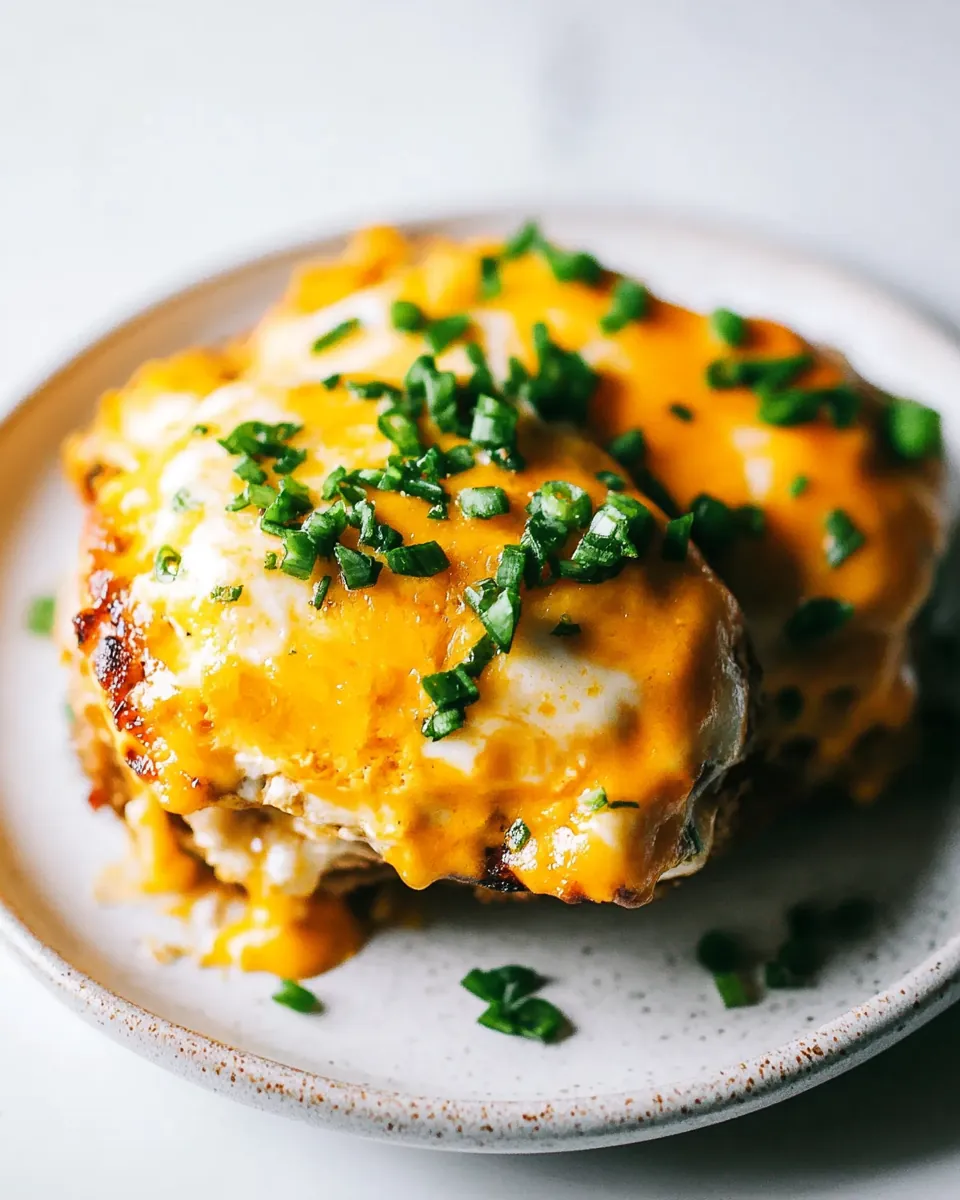
- Top each melt with 1.5 tablespoons of the remaining cheddar cheese. This ensures every bite is cheesy and delicious!
- Pop the sheet pan into the preheated oven and bake for 8 to 10 minutes or until the cheese is melted and bubbly.
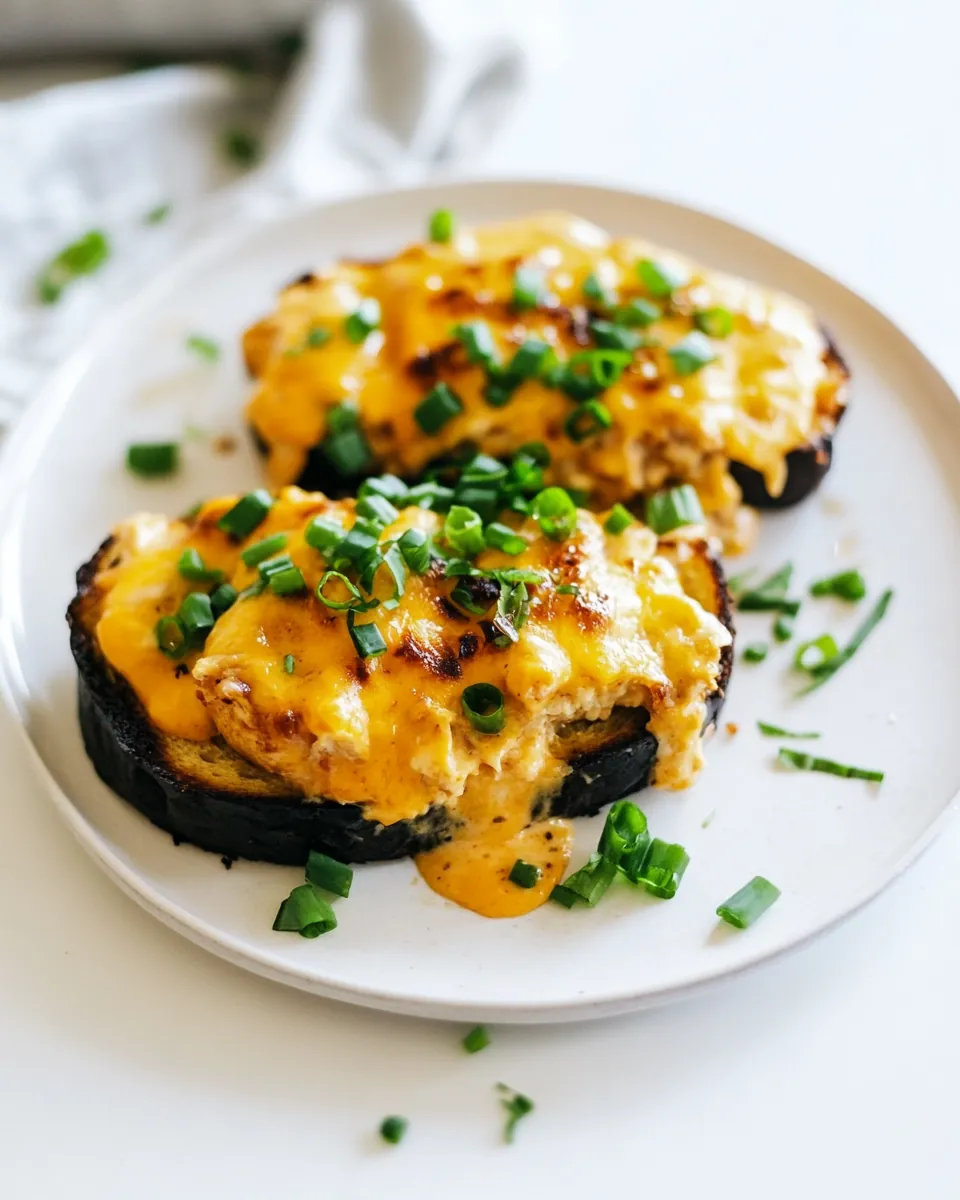
- Once done, remove them from the oven. If you like, garnish with fresh herbs or thin slices of Roma tomatoes. A drizzle of hot sauce is a great way to finish them off!
- Serve them immediately, and watch as everyone digs in!
Things Worth Knowing
- Use Fresh Ingredients: Fresh vegetables and cheese make a significant difference in flavor.
- Adjusting Spice Levels: When using Cajun seasoning, start with less and add more to taste, especially if you prefer a milder flavor.
- Even Cooking: Ensure that the bread slices are evenly spaced on the pan for consistent cooking.
- Storing Leftovers: Store any leftovers in an airtight container in the fridge for up to three days.
Recipe Variations about Chicken Melts
If you’re looking to mix things up with your Chicken Melts, here are some fantastic variations you can try. These tips will help you personalize this dish to your liking!
- Vegetable Add-ins: Consider adding spinach or bell peppers for more nutritional value and flavor.
- Cheese Variations: Swap out the cheddar cheese for Monterey Jack or even a spicy pepper jack for a kick.
- Change the Bread: Try using sourdough bread or baguette slices for a different texture.
- Herb Additions: Mix in fresh herbs like parsley or basil to enhance the overall flavor.
- Serving Suggestions: Serve alongside a fresh salad for a well-rounded meal.
- Make It Spicy: Add chopped jalapeños or a dash of hot sauce to the filling for extra heat.
- Freezing: These melts freeze well. Wrap individual portions tightly and bake from frozen, adding a few extra minutes to the cooking time.
Perfect Matches for Chicken Melts
Pairing your Chicken Melts with the right sides can elevate your meal to new levels. Here are some great suggestions to complement these tasty melts:
- Fresh Salad: A crisp green salad dressed with vinaigrette is a perfect contrast to the richness of the melts.
- Coleslaw: The crunchy texture and tangy flavor of coleslaw provide a delightful balance.
- Vegetable Soup: A warm bowl of vegetable soup makes for a comforting side dish.
- Garlic Bread: If you can’t get enough bread, serve with some garlic bread for extra indulgence.
- Chips: A side of tortilla chips or potato chips can add a fun crunch.
- Occasions: These melts are perfect for casual lunches, family dinners, or even game day snacks.
- Storage Tips: If you have leftovers, store them in an airtight container in the refrigerator for a few days. Reheat in the oven for best results.
FAQ
Conclusion
Chicken Melts are truly a delightful dish that combines comforting flavors and textures in every bite. They’re easy to prepare, making them a fantastic choice for busy weeknights or casual gatherings. Give this recipe a try, and I promise you’ll be back for seconds!
So why wait? Gather your ingredients and get cooking! Your taste buds will thank you.
Chicken Melts
Ingredients
Equipment
Method
- Preheat oven to 350°F. Line a large sheet pan with parchment paper and set aside. Dice the chicken. Finely dice the shallots and celery. Grate the carrots on the large holes of a grater. Shred the cheese.
- Add the chicken, shallots, celery, carrots, and 1 cup (82g) cheese to a large bowl. In a separate bowl, combine the sour cream, mayo, Cajun seasoning, garlic powder, paprika, and a pinch of pepper. Whisk until smooth. Pour sauce over chicken and veggies and gently stir until everything is combined. Taste and adjust to personal preference, adding more Cajun seasoning if desired.
- Slice a loaf of French bread into thick slices, about 1 to 1-1/2 inches thick. Place bread slices on the prepared sheet pan. Add 1/3 cup (82g) of the chicken mixture onto each piece of bread. Smooth into an even layer with the back of a fork. Add 1 and 1/2 tablespoons cheese to the top of each chicken melt to use the remaining 1 cup of shredded cheese.
- Bake for 8–10 minutes or until cheese is melted on top. Remove from the oven. Garnish with fresh herbs and, if desired, a few thin slices of Roma tomato (my favorite!). Add a drizzle of hot sauce if desired. Enjoy immediately.
Notes
- Tip 1: Cajun seasonings vary in spice and salt levels, so add gradually and taste as you go. Most are salty enough on their own, but adjust if needed. I use McCormick®. If you prefer a less-salty dish, try a low-sodium blend.
- Tip 2: Serving suggestions include 2–3 thinly sliced Roma tomatoes, fresh green onions (thinly sliced), fresh cilantro (finely chopped), and hot sauce.
- Tip 3: Store leftovers in an airtight container in the fridge for up to 3 days. For best results, reheat in the oven to keep the bread crispy.
- Tip 4: You can also freeze them for up to 1 month—just wrap tightly and bake from frozen, adding a few extra minutes.