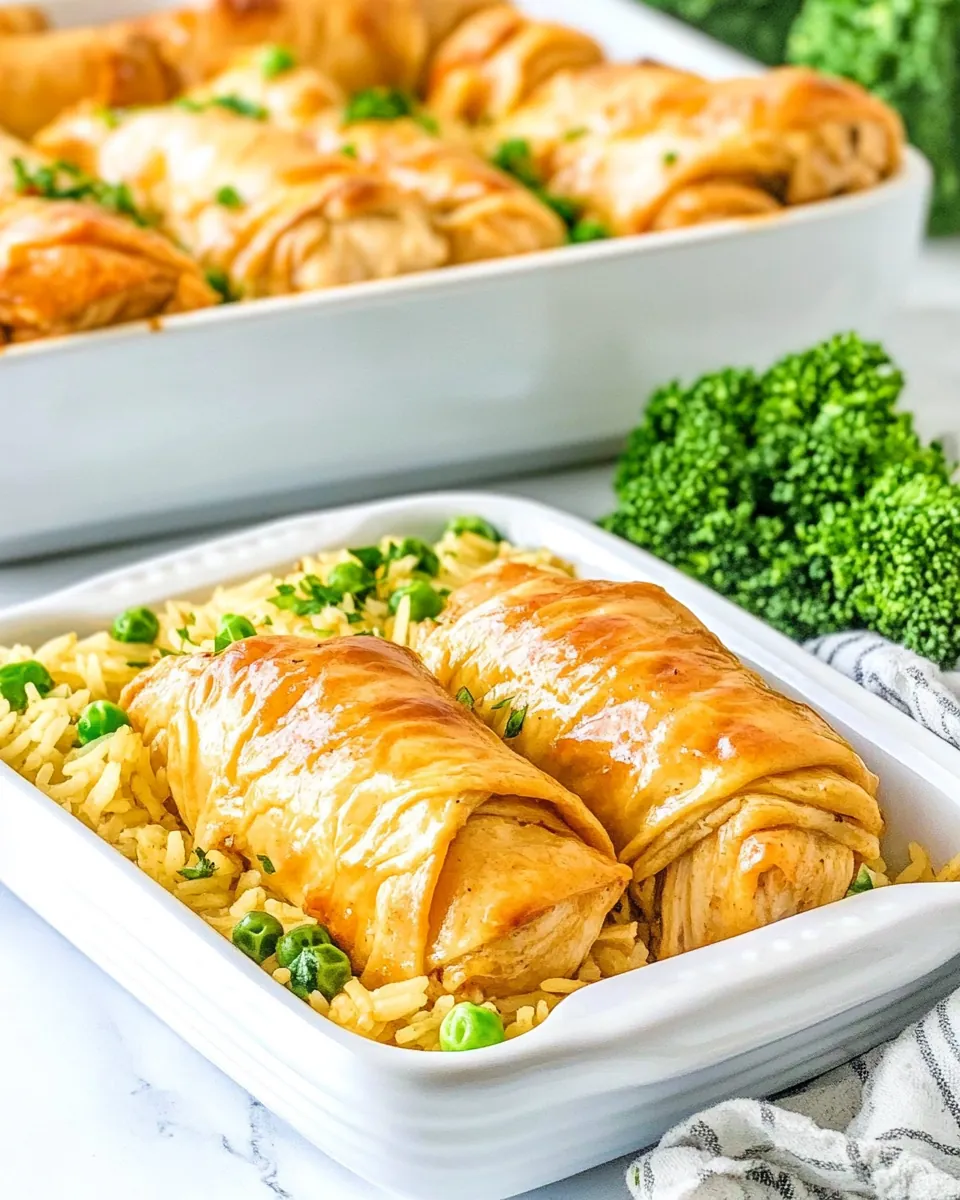
Chicken Roll Ups and Rice
The first time I made Chicken Roll Ups and Rice was during a particularly busy week when I needed to whip up something quick yet satisfying. My family had been running from one activity to another, and I wanted a recipe that would not only fill them up but also bring us together at the dinner table. This dish combines the creamy goodness of cream of chicken soup with tender chicken and fluffy rice, all wrapped up in delicious crescent rolls. It’s a comforting meal that evokes nostalgia and warmth, perfect for those hectic evenings. As I pulled the golden-brown rolls out of the oven and served them, the smiles on my family’s faces said it all. They loved digging into this hearty dish, and it quickly became a staple in our household.
Recipe Snapshot
40 mins
15 mins
25 mins
Easy
450 kcal
25 g
Gluten-Free, Low FODMAP
18 g
Mixing Bowls, Rotary Cheese Grater, Chef Knives, Cutting Board, 9×13-inch Baking Dish
Why This Chicken Roll Ups and Rice Hits Different
Quick and Easy
What I adore about Chicken Roll Ups and Rice is how simple it is to prepare. In just a few steps, you can create a satisfying meal that tastes like it took hours to make. It’s perfect for weeknights when you’re short on time.
Kid-Friendly
This recipe is a hit with kids and adults alike! The crescent rolls are fun to eat, and the creamy filling makes it irresistible. It’s an excellent way to sneak in some protein and veggies, making it a balanced meal.
Versatile Ingredients
The ingredients are flexible, allowing you to swap in your family’s favorites or whatever you have on hand. You can easily adjust the cheese or even add some sautéed vegetables for extra flavor. It’s a canvas for creativity!
Perfect for Parties
If you’re hosting a gathering, Chicken Roll Ups and Rice can be a crowd-pleaser. You can prepare them in advance and bake them just before serving, so they’re fresh and warm for your guests. They’re great for potlucks too!
Leftovers Are Delicious
This dish makes fantastic leftovers! Whether you pack them for lunch or heat them up for dinner the next day, they hold their flavor and texture well, making them just as good the second time around.
Comfort Food
There’s something about curling up with a warm plate of Chicken Roll Ups and Rice that feels incredibly comforting. It’s the kind of meal that wraps you in warmth, making it perfect for chilly nights or when you need a little extra love.
Chicken Roll Ups and Rice Shopping List
When it comes to making Chicken Roll Ups and Rice, the ingredients are both essential and harmonious. Each component plays a crucial role in creating the comforting flavors we crave. The chicken brings protein, while the cream of chicken soup adds richness. The crescent rolls offer a flaky, buttery texture that ties everything together beautifully.
- 1 (6.9-oz) box Chicken Rice-a-Roni: This packaged rice dish is a quick and easy base that adds flavor and texture.
- 1 (10.5-oz) can cream of chicken soup: Adds creaminess and depth to the dish.
- ½ cup milk: Used to dilute the soup and create a creamy filling.
- 2 cups chicken: Cooked and shredded, it’s the heart of the dish, providing flavor and protein.
- 2 oz cream cheese: Contributes to the creamy texture and enhances the overall flavor.
- ¾ cup shredded cheddar cheese: Adds a tasty, melty layer to the rolls.
- 1 tbsp milk: A little extra for the cheese mixture, ensuring it’s smooth.
- ½ tsp onion powder: Gives an aromatic flavor that complements the chicken.
- ½ tsp garlic powder: Adds a savory note to the filling.
- Salt and pepper, to taste: Essential for seasoning the elements of this dish.
- 1 (8-oz) can refrigerated crescent rolls: The outer layer that’s flaky and buttery, wrapping around the tasty filling.
- 1 (4-oz) can refrigerated crescent rolls: Adds more rolls for a heartier meal.
How to Cook Chicken Roll Ups and Rice
Cooking Chicken Roll Ups and Rice is a breeze! You’ll love how simple it is to create this dish, making it perfect for any busy weeknight. Let’s get started with these easy steps to a delicious family meal!
First, preheat your oven to 350ºF. This is the perfect temperature for achieving that golden brown finish on your rolls. While the oven is heating, grab a 9×13-inch baking dish and spray it with nonstick cooking spray to prevent sticking. This step ensures your rolls come out cleanly and beautifully.
Next, prepare the box of Chicken Rice-a-Roni according to the package instructions. This usually involves adding water and a bit of butter, cooking it on the stove until it’s fluffy and flavorful. Once it’s ready, mix in the cream of chicken soup and milk to create a creamy base for your rolls. Stir everything together to combine well.
Spread this rice mixture evenly along the bottom of the prepared baking dish, creating a nice layer that will soak up all the flavors from the rolls. Set this aside as you move on to the filling.
In a separate bowl, combine the shredded chicken, cream cheese, shredded cheddar cheese, milk, garlic powder, onion powder, salt, and pepper. Mix everything together until it’s well-blended and creamy. This filling is what makes the rolls extra special!
Now, it’s time to assemble the rolls. Open up the cans of refrigerated crescent rolls and separate them into 12 triangles. Starting from the wide end of each triangle, place a generous amount of the chicken mixture. Roll the crescent rolls tightly around the filling, tucking in the ends as you go for a neat look.
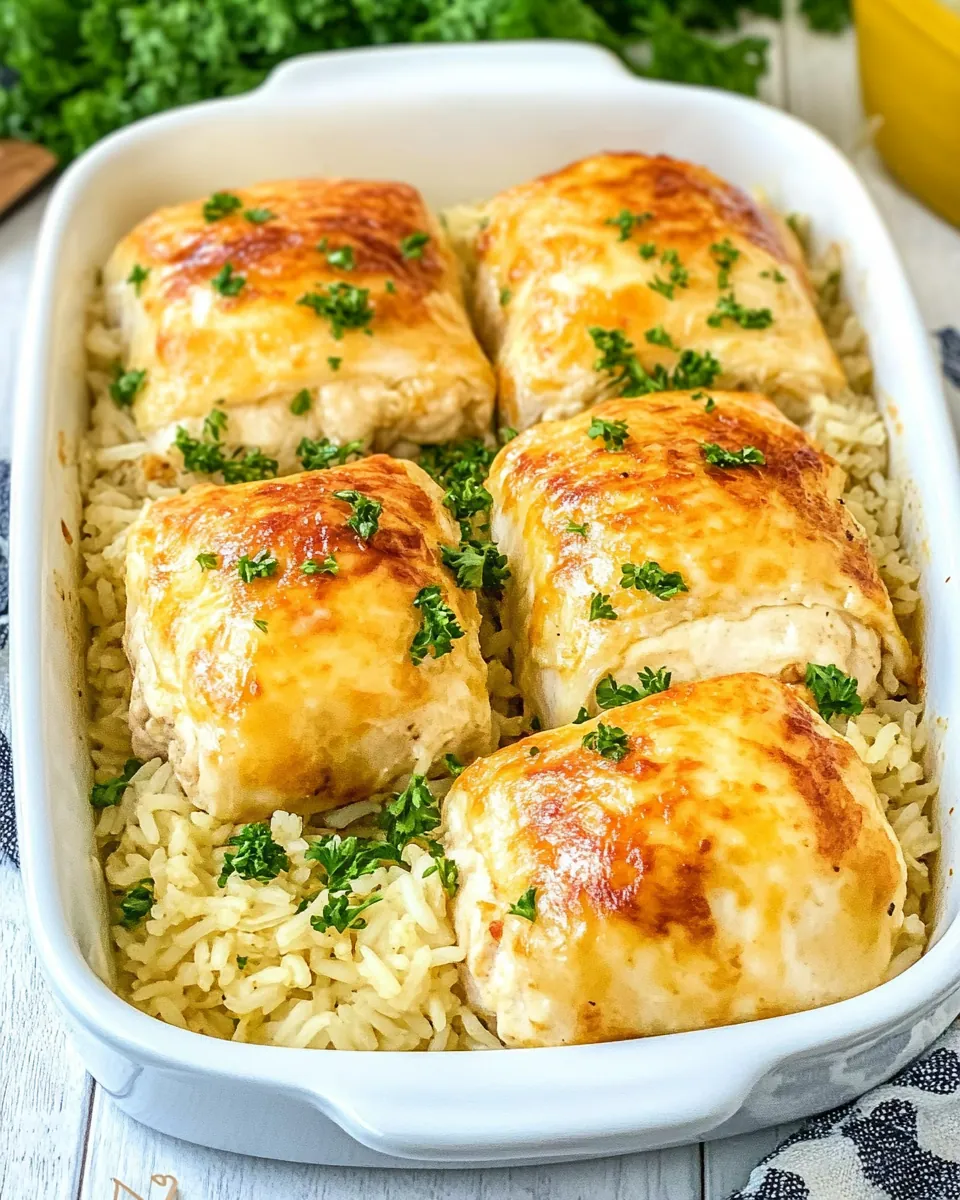
Once all the rolls are assembled, place them on top of the rice mixture in your baking dish. Make sure to space them out for even cooking. If desired, sprinkle some extra shredded cheddar cheese on top for an extra cheesy goodness.
Now it’s time to bake! Place the baking dish in the preheated oven and bake for 20 to 25 minutes. You’re looking for the rolls to be nice and golden brown. The aroma will fill your kitchen, and you’ll know it’s almost time for dinner.
During the last 5 minutes of baking, you can add some more cheese on top if you want it extra gooey. Bake until the cheese is melted and bubbly. Once done, remove the dish from the oven and let it cool for a few minutes.
Finally, garnish with fresh parsley if you like, and serve warm. The lovely combination of chicken, creamy cheese, and flaky rolls is sure to delight everyone at the table!
Things Worth Knowing
- Make it ahead: You can prepare the rice and filling in advance and assemble the rolls just before baking. This makes it easy to enjoy a homemade meal on busy nights.
- Texture matters: Don’t overcook the rice as you want it to blend well with the creamy filling and maintain its structure during baking.
- Customize your filling: Feel free to add cooked veggies, like spinach or mushrooms, to the chicken mixture for added nutrition and flavor.
- Watch the cheese: If you’re a cheese lover, experiment with different types besides cheddar, like mozzarella or pepper jack, for a unique twist!
Ways to Adapt This Recipe
If you’re looking to customize Chicken Roll Ups and Rice, here are some fantastic ways to make it your own. These tips will enhance your cooking experience and suit your family’s tastes.
- Storage: Store any leftovers in an airtight container in the fridge for up to three days. Reheat in the oven for best results.
- Freezing: You can freeze the unbaked rolls in the baking dish, covered tightly with foil. Bake them straight from the freezer for about 30-35 minutes.
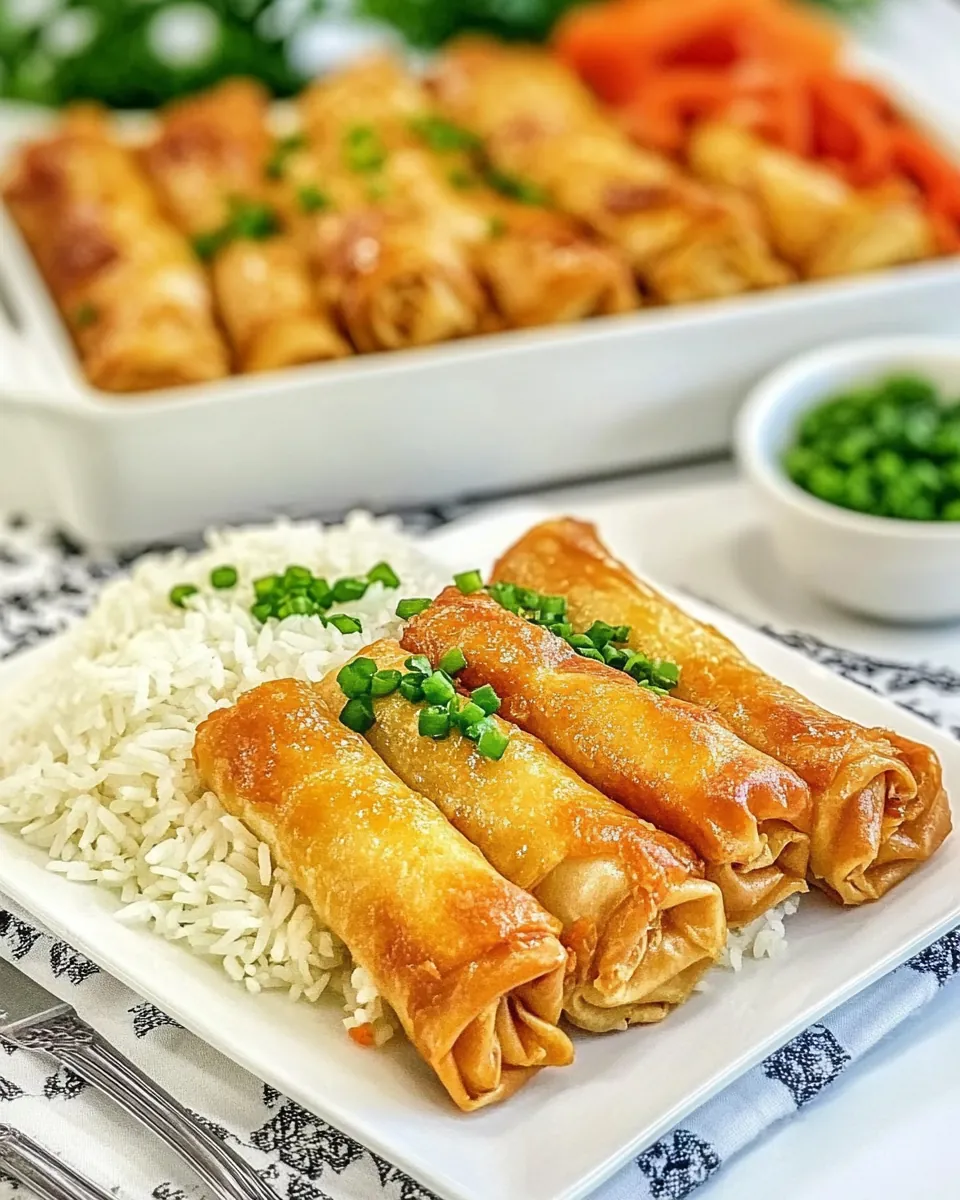
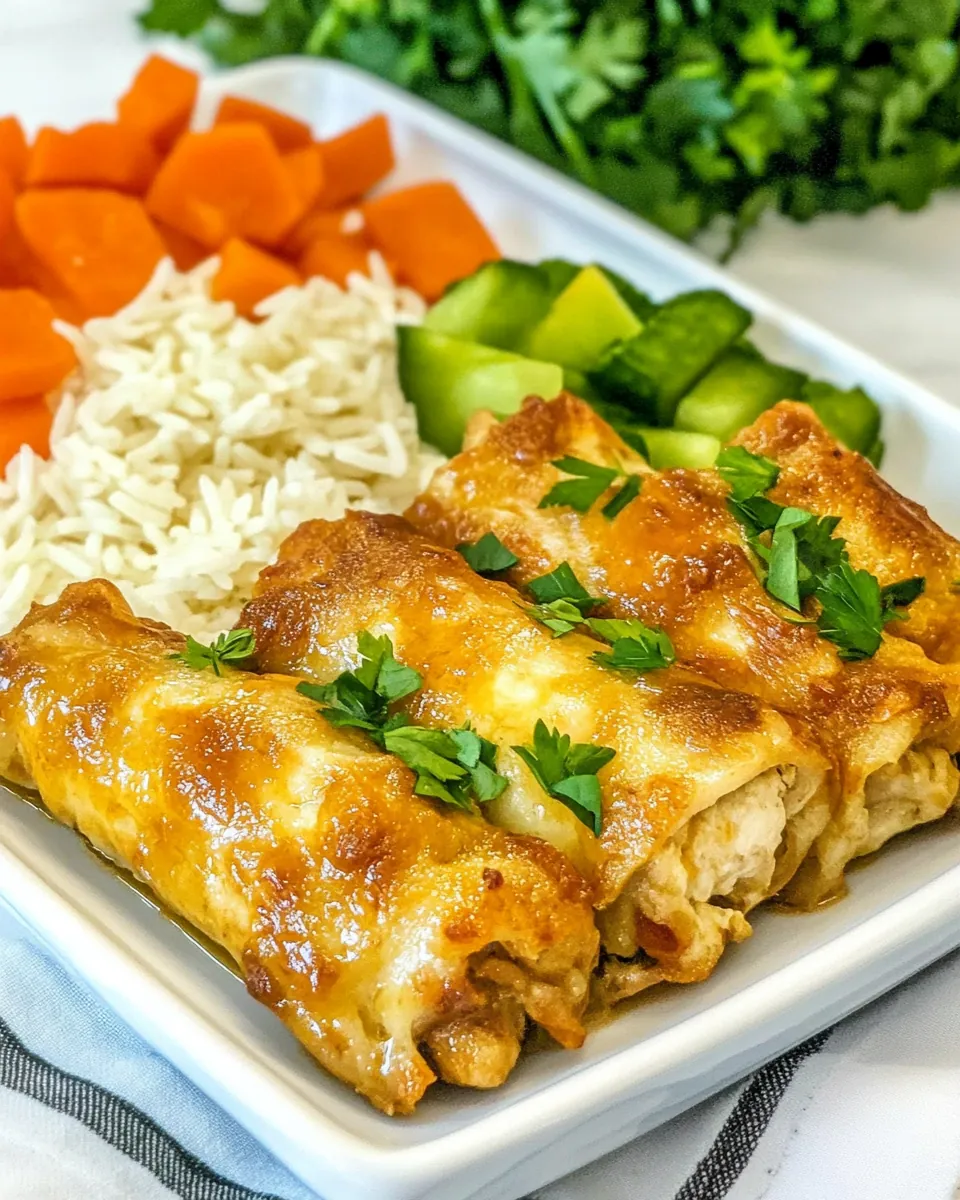
- Pairing: Serve these rolls with a fresh garden salad or steamed veggies for a well-rounded meal.
- Flavor variations: Try using different flavored cream soups or adding spices like paprika or cayenne for a kick.
- Make it gluten-free: Use gluten-free crescent rolls and rice to cater to dietary needs while still enjoying the same flavors.
What to Serve With Chicken Roll Ups and Rice
When it comes to serving Chicken Roll Ups and Rice, the sides can make all the difference. Here are some delicious ideas:
- Green Salad: A refreshing garden salad with mixed greens, cherry tomatoes, and a light vinaigrette pairs beautifully, adding a crisp contrast to the creamy dish.
- Steamed Vegetables: Consider lightly steamed broccoli or green beans. Their bright colors and texture add nutrition and balance.
- Garlic Bread: For those who love carbs, garlic bread can be a delightful accompaniment. It’s perfect for soaking up any extra creamy sauce.
- Fruit Salad: A sweet fruit salad can round out the meal, providing a light, refreshing counterpoint to the rich rolls.
- Occasions: This dish is perfect for family dinners, potlucks, or even unplanned gatherings with friends. Its comforting nature makes it a go-to for any occasion.
- Storage Tips: If you have leftovers, they can be stored in the fridge and enjoyed for lunch the next day, ensuring nothing goes to waste!
FAQ
Conclusion
Chicken Roll Ups and Rice is a hearty dish that combines creamy flavors with comforting textures, making it an instant hit in any household. I encourage you to try making this delightful meal for your family; they’ll appreciate the warmth and love you’ve put into it. Enjoy the smiles at your table as everyone savors every bite!
Chicken Roll Ups and Rice
Ingredients
Equipment
Method
- Preheat oven to 350ºF. Spray a 9×13-inch baking dish with nonstick cooking spray.
- Prepare a box of chicken Rice-a-Roni according to the package directions. Add cream of chicken soup and milk to the cooked rice and stir to combine. Spread the rice mixture into the bottom of a 9×13-inch baking dish and set aside.
- Stir together shredded chicken, cream cheese, shredded cheddar cheese, milk, garlic powder, onion powder, salt, and black pepper.
- Separate crescent rolls into 12 triangles. Top the large part of the crescent triangle with chicken mixture. Roll crescent rolls up and place them on top of the rice mixture.
- Bake for 20-25 minutes, until golden brown. Top the rolls with some extra shredded cheese and bake for an additional 5 minutes or until the cheese has melted. Garnish with fresh parsley.
Notes
- Tip 1: Store any leftovers in an airtight container in the fridge for up to three days. Reheat in the oven for best results.
- Tip 2: You can freeze the unbaked rolls in the baking dish, covered tightly with foil. Bake them straight from the freezer for about 30-35 minutes.
- Tip 3: Serve these rolls with a fresh garden salad or steamed veggies for a well-rounded meal.
- Tip 4: Try using different flavored cream soups or adding spices like paprika or cayenne for a kick.
- Tip 5: Use gluten-free crescent rolls and rice to cater to dietary needs while still enjoying the same flavors.