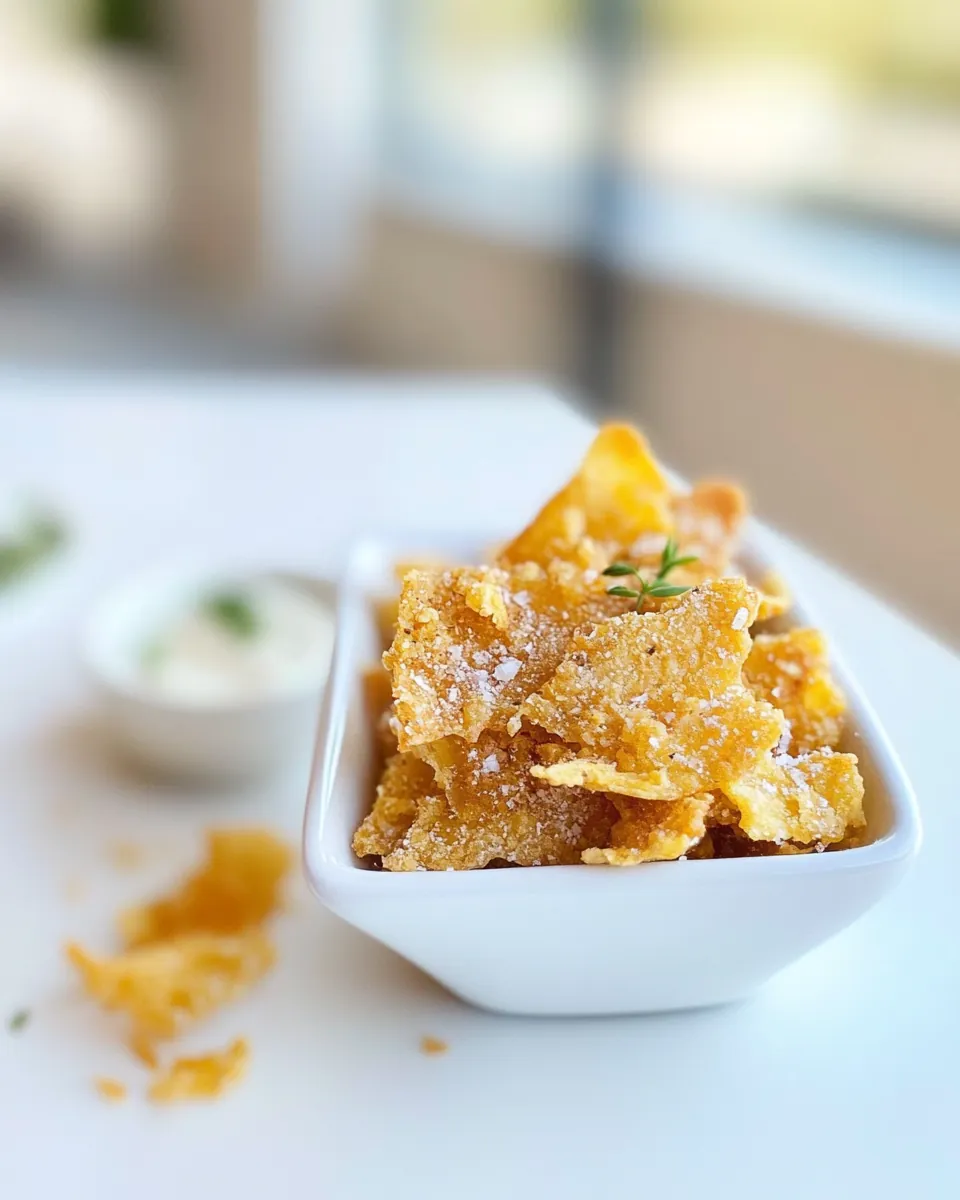
Chicken Skin Chips
The first time I made Chicken Skin Chips, I was astonished at how something so simple could bring such joy. As a self-proclaimed chicken lover, I always found myself discarding the skins during my cooking adventures, not realizing the hidden gem they truly are. One day, while experimenting in my kitchen, I decided to transform these discarded pieces into something crispy and delightful. The result was a snack that not only satisfied my crunchy cravings but also made me feel amazed at my culinary creativity. With each bite, I was greeted by a satisfying crunch, and I couldn’t help but share them with my family. The best part? They were a hit! Everyone gathered around, snapping them up like they were the last chips in the bag. Who knew that these seemingly unremarkable skins could become a star of the show?
Recipe Snapshot
60 mins
0 mins
0 mins
Medium
250 kcal
20 g
Keto, Paleo, Whole30
20 g
Oven, Chef’s Knife
What’s Great About This Chicken Skin Chips
Why You’ll Love These Chicken Skin Chips
There are so many reasons to fall in love with Chicken Skin Chips. Here are a few that I think you’ll find irresistible:
1. Simple to Make
Making Chicken Skin Chips is a breeze! With just a few steps, you can turn ordinary chicken skins into a fantastic snack. It’s a fun project that anyone can tackle, even if you’re new to cooking.
2. Ultimate Crispiness
The technique I use ensures that these chips turn out perfectly crispy every time. By weighing down the skins while they cook, they stay thin and flat, which is key to achieving that delightful crunch. You’ll find yourself reaching for them again and again.
3. Versatile Snack
These chips aren’t just tasty on their own; they can also be used as a topping! Crumble them over salads or poached chicken for an added texture and flavor boost. They elevate any dish they grace!
4. High Protein Treat
If you’re looking for a high-protein snack, Chicken Skin Chips fit the bill perfectly. They’re a satisfying option that keeps you full without unnecessary carbs. You can enjoy them guilt-free!
5. Budget-Friendly
Instead of throwing away your chicken skins, why not make something delicious? This recipe is not only easy but also budget-friendly. You’ll save money while enjoying a gourmet treat at home.
6. Perfect for Sharing
Whether it’s game day, movie night, or just a casual get-together, these chips are sure to be a crowd-pleaser. Everyone will want to know your secret for this delectable snack!
What You’ll Need for Chicken Skin Chips
Gather your ingredients for Chicken Skin Chips—these will work beautifully together to create a delightful snack. The key players here are the chicken skins, which become irresistibly crispy when baked. The simplicity of the ingredients means you can focus on the process of transforming them into something special.
- Chicken Skin: 100 grams — The star of this recipe, these skins are what create the crispy chips. Ensure you select fresh, quality skins for the best results.
The Method for Chicken Skin Chips
Getting ready to make Chicken Skin Chips is part of the fun! You’ll love how straightforward the process is. Follow these steps closely to achieve the perfect crunch and flavor.
Preheat your oven to 180°C. This is an essential step, as a preheated oven sets the stage for even cooking and crisping of your skins.
On a chopping board, lay the chicken skins skin-side down. Use a sharp knife to scrape off any excess fat and remaining meat, leaving just the thin skin. This step is crucial for achieving the desired texture.
Carefully stretch the skins out on a lined baking sheet. This allows for even cooking and ensures they don’t curl up too much. Sprinkle a pinch of flaky sea salt over the skins for flavor.
To keep the skins thin and flat, lay a second sheet of baking paper over them. Weigh it down with a second tray. This will help keep the skins crispy and prevent them from puffing up.
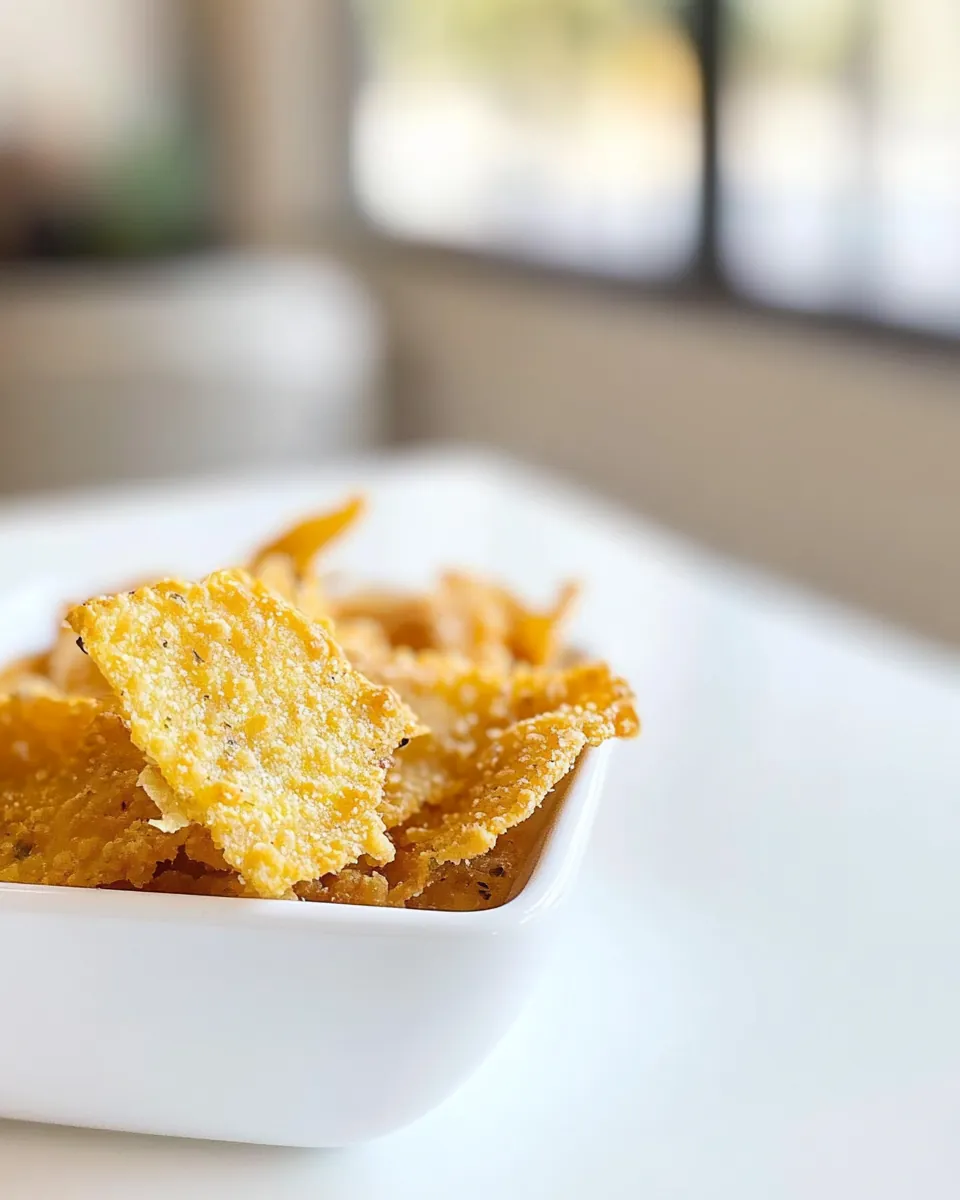
Cook the skins in your preheated oven for about 10 to 15 minutes. They are ready when they turn golden brown and crisp. Keep an eye on them as cooking times may vary depending on your oven.
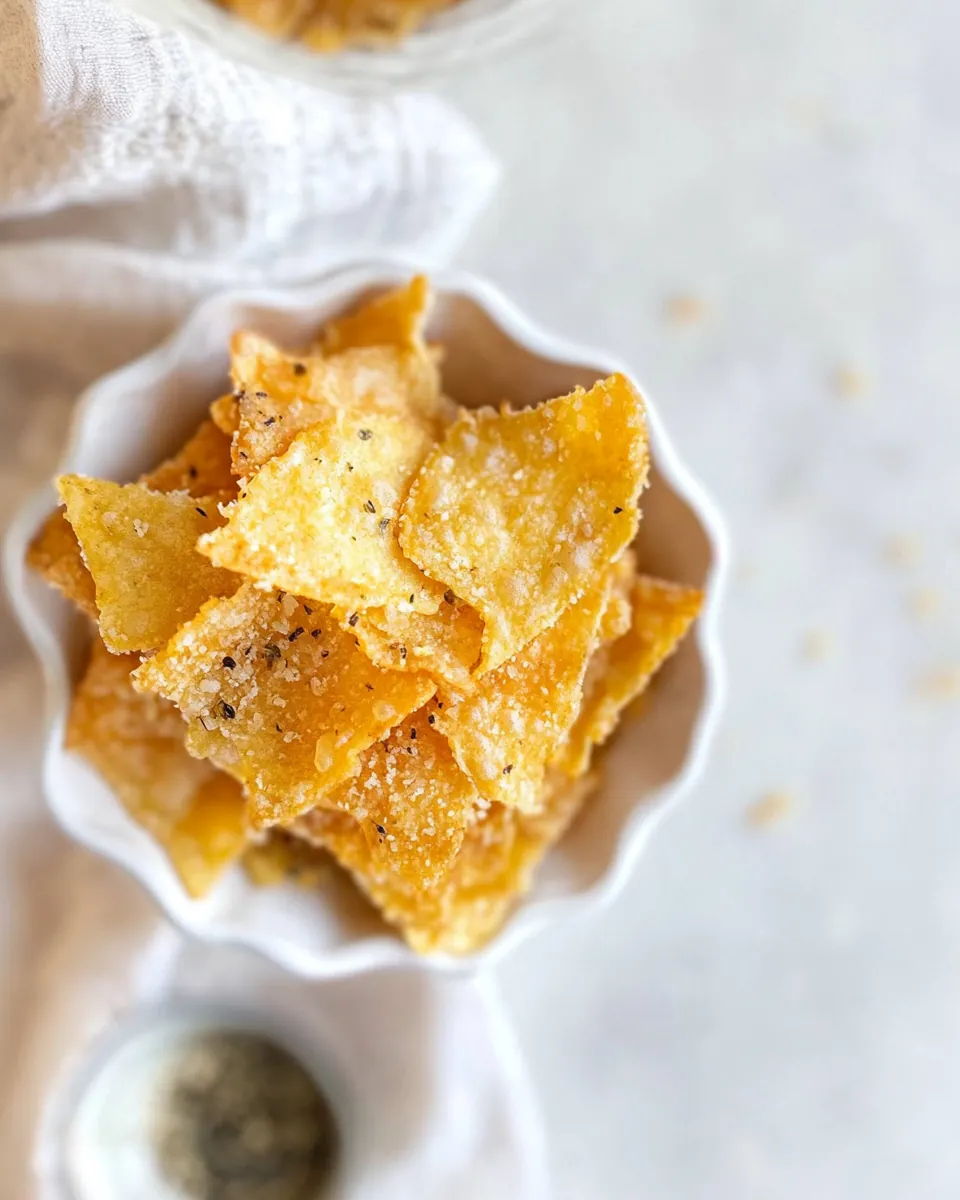
Once done, pop the chicken skins onto a paper towel while they cool. This will absorb any excess fat, enhancing their crunchiness. Then snap them into chips!
Store your chips in an airtight container in a cool, dark place for up to 3 days. They’re best enjoyed fresh but can be stored for a short time.
Don’t forget, these chicken skin chips are delicious when crumbled over poached chicken breast or tossed with green vegetables and a drizzle of lemon sauce.
Things Worth Knowing
- Watch the Color: Keep an eye on the skins while they cook. They should be golden brown and crisp. If they start browning too quickly, reduce the heat.
- Don’t Overcrowd: If you’re making a larger batch, bake in batches. Overcrowding the pan can lead to uneven cooking.
- Texture Focus: The texture is key. The skins should be thin and crispy, so remove any excess fat carefully.
- Flavor Variations: Feel free to experiment with different seasonings. Try adding paprika or garlic powder for an extra kick!
Variations to Try
If you’re excited to explore all the possibilities with Chicken Skin Chips, here are some ideas to elevate your snack experience!
- Storage: Properly store your chips in an airtight container to maintain their crispiness. They can last for up to 3 days, but they’re best enjoyed fresh.
- Freezing: While it’s not common to freeze cooked chips, you can freeze raw skins before baking. Just make sure they’re well-wrapped to avoid freezer burn.
- Pairing: Serve these chips as a crunchy topping on salads or soups for added texture and flavor.
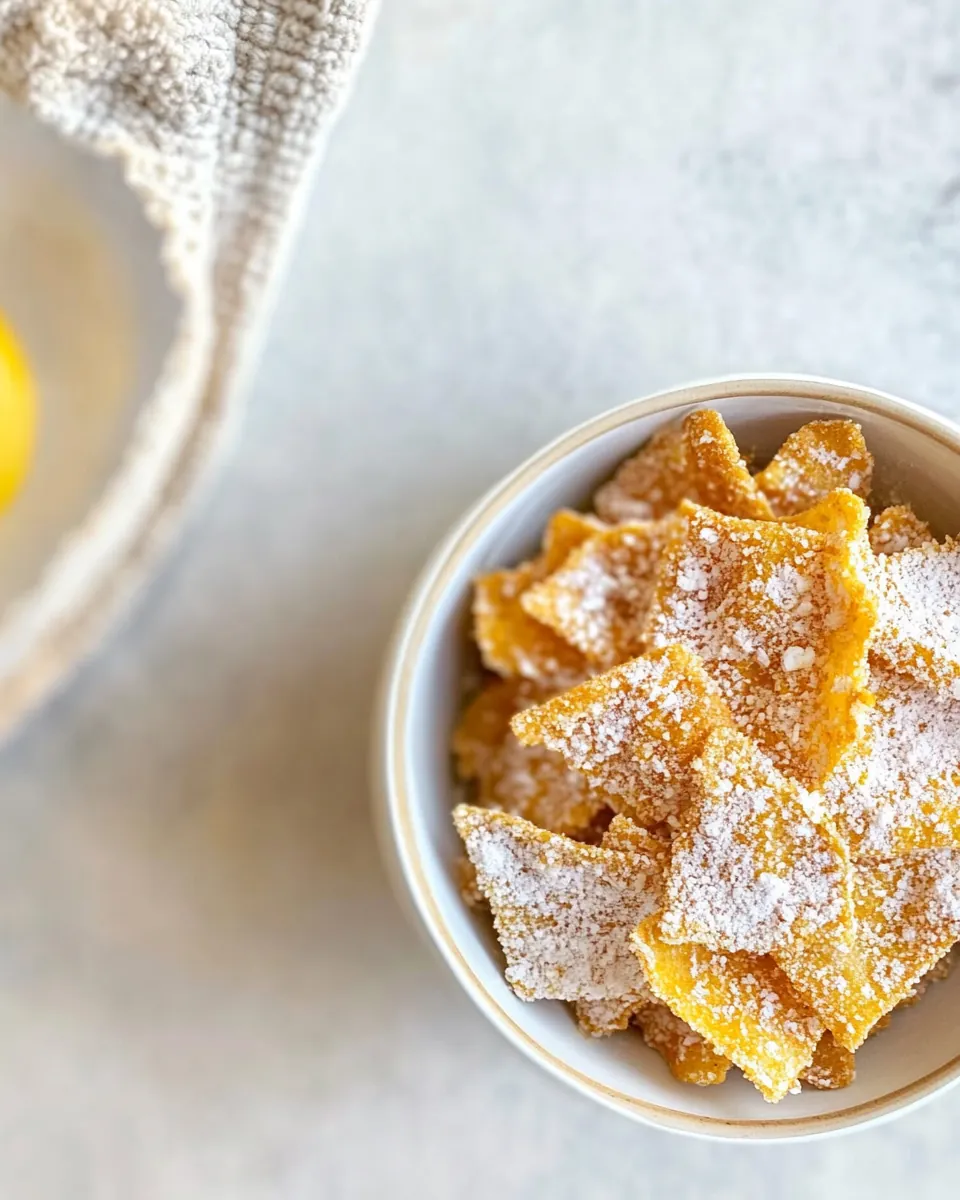
- Seasoning Variations: Experiment with different spices like chili powder, cumin, or even a sprinkling of cheese powder for a cheesy twist.
- Serving Styles: These chips work great as appetizers or snacks for parties or movie nights. Everyone loves a good crunchy munch!
- Dipping Sauces: Pair with aioli or a spicy dipping sauce to add another layer of flavor to your Chicken Skin Chips.
Side Dish Ideas for Chicken Skin Chips
When serving Chicken Skin Chips, consider pairing them with a variety of dishes and flavors to create a complete meal experience. Here are some ideas:
- Salads: Add your chips as a topping to fresh green salads for a delightful crunch.
- Soups: Serve them alongside creamy soups to enhance the texture and flavor.
- Main Courses: They’re a fantastic side to grilled or poached chicken dishes, adding a crispy element to your meal.
- Dips: Serve with dips like ranch, guacamole, or hummus for a fun snack platter.
- Occasions: Perfect for game days, movie nights, or casual gatherings with friends and family.
- Seasonal Pairings: In the summer, serve with fresh corn on the cob or a lovely watermelon salad. In fall, enjoy with pumpkin soup.
FAQ
Conclusion
These Chicken Skin Chips are a unique and delicious way to enjoy chicken skins that would otherwise go to waste. Their crispy texture and rich flavor make them perfect for snacking or topping various dishes. I encourage you to try making these chips at home and share them with friends and family; you won’t be disappointed!
Chicken Skin Chips
Ingredients
Equipment
Method
- Preheat your oven to 180°C. This is an essential step, as a preheated oven sets the stage for even cooking and crisping of your skins.
- On a chopping board, lay the chicken skins skin-side down. Use a sharp knife to scrape off any excess fat and remaining meat, leaving just the thin skin. This step is crucial for achieving the desired texture.
- Carefully stretch the skins out on a lined baking sheet. This allows for even cooking and ensures they don’t curl up too much. Sprinkle a pinch of flaky sea salt over the skins for flavor.
- To keep the skins thin and flat, lay a second sheet of baking paper over them. Weigh it down with a second tray. This will help keep the skins crispy and prevent them from puffing up.
- Cook the skins in your preheated oven for about 10 to 15 minutes. They are ready when they turn golden brown and crisp. Keep an eye on them as cooking times may vary depending on your oven.
- Once done, pop the chicken skins onto a paper towel while they cool. This will absorb any excess fat, enhancing their crunchiness. Then snap them into chips!
- Store your chips in an airtight container in a cool, dark place for up to 3 days. They’re best enjoyed fresh but can be stored for a short time.
- Don't forget, these chicken skin chips are delicious when crumbled over poached chicken breast or tossed with green vegetables and a drizzle of lemon sauce.
Notes
- Storage: Properly store your chips in an airtight container to maintain their crispiness. They can last for up to 3 days, but they’re best enjoyed fresh.
- Freezing: While it’s not common to freeze cooked chips, you can freeze raw skins before baking. Just make sure they’re well-wrapped to avoid freezer burn.
- Pairing: Serve these chips as a crunchy topping on salads or soups for added texture and flavor.
- Seasoning Variations: Experiment with different spices like chili powder, cumin, or even a sprinkling of cheese powder for a cheesy twist.
- Serving Styles: These chips work great as appetizers or snacks for parties or movie nights. Everyone loves a good crunchy munch!
- Dipping Sauces: Pair with aioli or a spicy dipping sauce to add another layer of flavor to your Chicken Skin Chips.