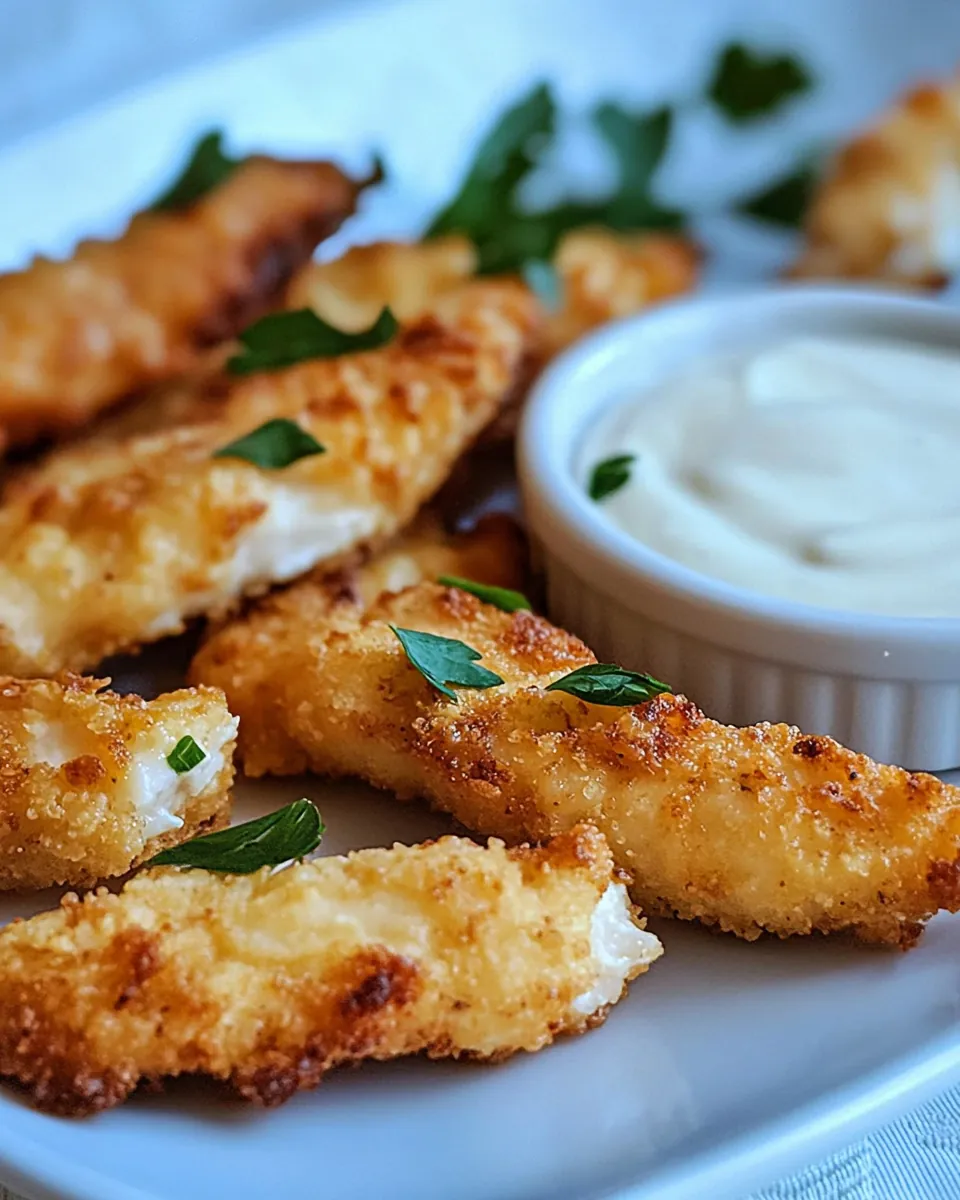
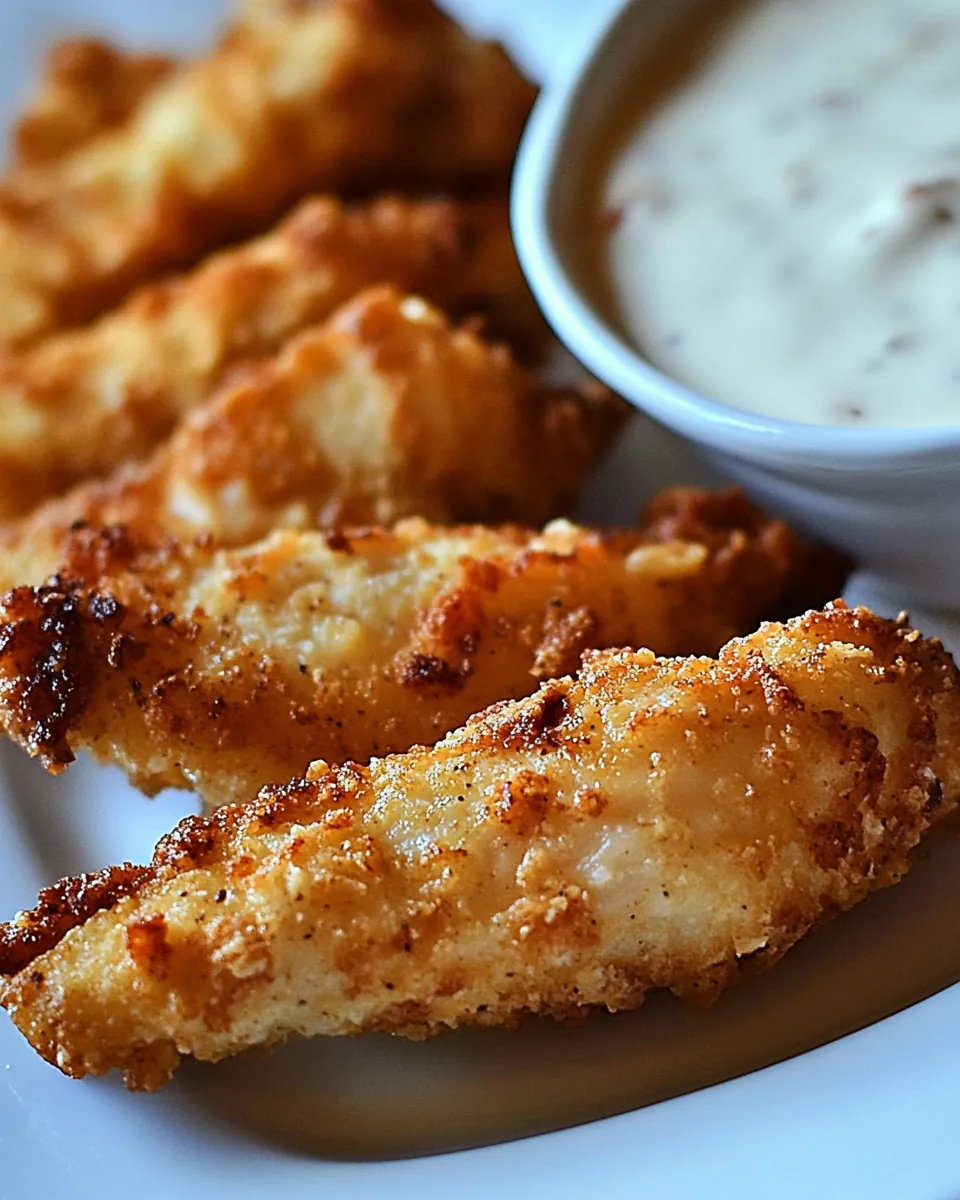
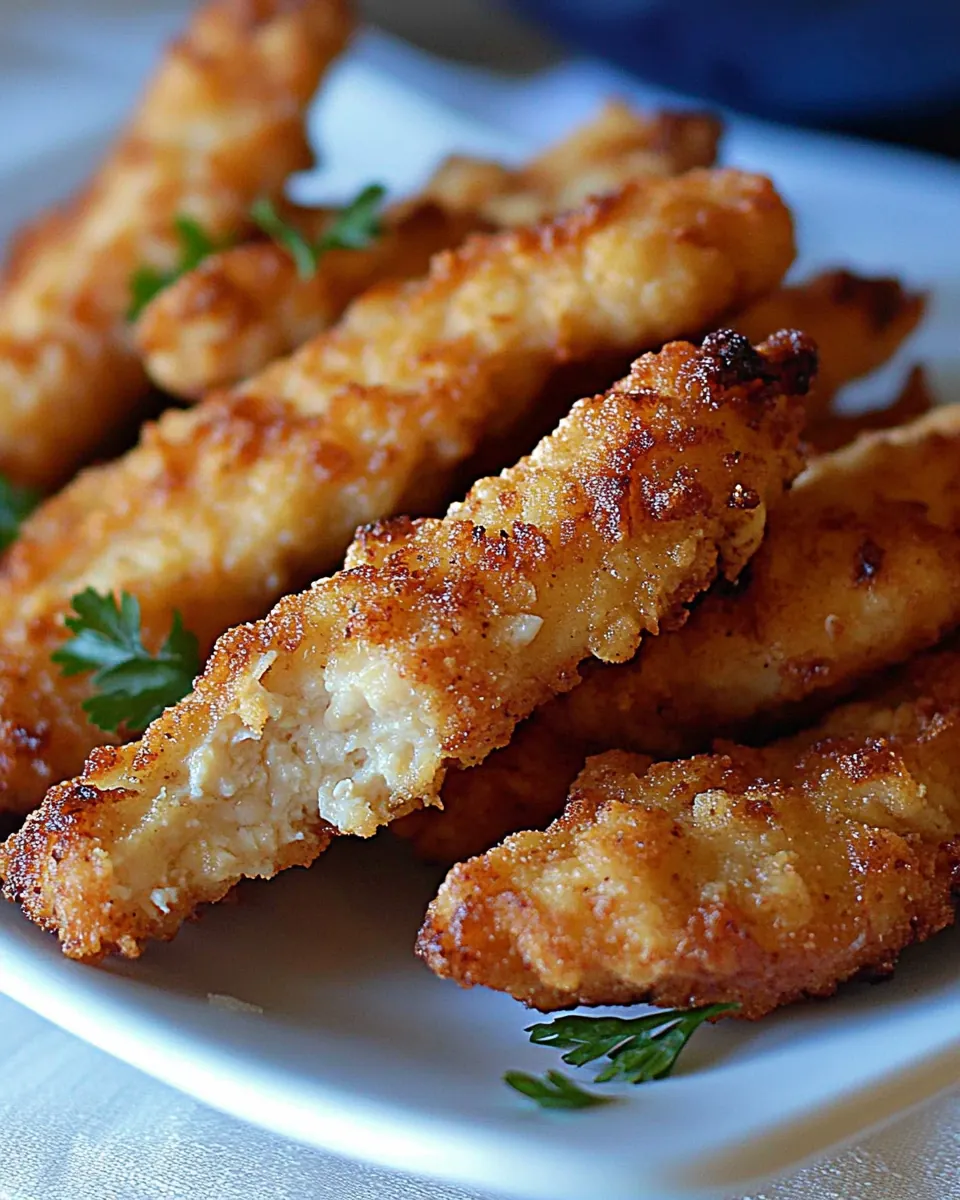
Chicken Strips
The Chicken Strips recipe is one I’ve cherished over the years. It often takes me back to those quick weeknight dinners when my children were little, and their laughter filled the kitchen. I remember the joy of watching them dip the crispy strips into their favorite sauces, faces lighting up with each bite. The delightful crunch paired with the juicy tenderness of the chicken creates an irresistible combination that everyone loves. I always keep my pantry stocked with the essential ingredients, as these strips are not just a meal; they’re a memory in the making.
Recipe Snapshot
40 mins
10 mins
30 mins
Medium
350 kcal
30 g
Paleo, Whole30, Gluten-Free
15 g
Mixing Bowl, Oven, Skillet, Frying Pan, Whisk
The Magic of This Chicken Strips
Perfect for Any Occasion
One of the main reasons I adore Chicken Strips is their versatility. Whether it’s a casual family dinner, a party appetizer, or a picnic treat, these strips never disappoint. They can be enjoyed in so many ways, making them a staple in my kitchen.
Kid-Friendly and Fun
Kids love to help in the kitchen, and this recipe is perfect for little hands. They can assist with dredging the chicken, and it’s always fun to watch them get involved. Plus, who can resist that crunchy coating? It’s the ultimate crowd-pleaser!
Freezes Well
These strips are fantastic for meal prep. You can make a big batch, freeze them, and then just pop them in the oven or air fryer when you’re ready to eat. This makes dinner planning so much easier!
Endless Dipping Options
What makes these Chicken Strips even more exciting is the variety of dips you can serve them with. From classic ranch and honey mustard to zesty buffalo sauce, the possibilities are endless! You can cater to different tastes and make every meal unique.
Healthier Homemade Version
Making Chicken Strips at home allows you to control the ingredients, making it a healthier option compared to store-bought versions. You can even experiment with whole-grain flour or add herbs to the batter for an extra flavor boost.
Main Ingredients for Chicken Strips
The ingredients for Chicken Strips are simple yet effective. Each plays a crucial role in achieving that perfect balance of flavor and texture that elevates the dish. Here’s a closer look at these key players:
- Boneless Skinless Chicken Breasts: The star of the dish, these provide a tender and juicy base for your strips.
- Buttermilk: This ingredient not only helps tenderize the chicken but also adds a rich flavor that complements the spices.
- All-Purpose Flour: The coating that gives the strips their lovely crispy texture. It’s the perfect vehicle for the seasonings!
- Seasonings: A mix of thyme, cayenne pepper, seasoned salt, and black pepper adds depth to the flavor profile of the strips.
- Canola Oil: Used for frying, it helps achieve a golden, crispy exterior.
Cooking Instructions for Chicken Strips
Cooking Chicken Strips is a delightful process that fills your kitchen with mouthwatering aromas. Follow these steps to create your own delicious batch:
- Preheat the oven to 375º F. This ensures that your chicken will cook evenly in the oven later.
- Butterfly the chicken breasts by cutting them in half horizontally. This helps them cook more evenly. After that, cut each half into strips, aiming for about 6 to 8 strips per breast.
- Prepare the buttermilk mixture by pouring buttermilk into a shallow dish. Add Sriracha sauce and whisk together until combined. This adds flavor and moisture to the chicken.
- In another dish, combine the dry ingredients: flour, thyme, cayenne pepper, seasoned salt, and black pepper. Whisk them together thoroughly to ensure an even coating.
- Coat the chicken strips by dipping each one first into the buttermilk mixture, allowing excess to drip off, then into the flour mixture. Make sure each strip is well-coated for maximum crunch!
- Let the coated strips rest on a kitchen sheet pan while you prepare to cook. This helps the coating stick better during frying.
- Heat the oil in a skillet over medium heat. You’ll know it’s ready when it shimmers slightly, and water dropped into it sizzles.
- Carefully place a few chicken strips into the skillet, depending on its size. Avoid overcrowding to ensure they cook evenly. Fry until browned on one side, about 3 minutes, then turn and cook the other side for another 3 minutes.
- Once browned, remove the chicken strips and place them onto a clean kitchen sheet pan. Repeat until all strips are cooked.
- Transfer the pan to the preheated oven. Bake for about 12 to 18 minutes until the juices run clear when pricked with a knife. This helps finish cooking and keeps them juicy.
- Allow the strips to rest for about 3 minutes before serving. This helps the juices redistribute, making them even more succulent!
Things Worth Knowing
- Choose the right oil: Canola oil is a great choice for frying due to its high smoke point, but you can also use vegetable oil.
- Cut uniformly: Make sure your chicken strips are of even thickness to ensure they cook uniformly.
- Resting is key: Allowing the coated chicken to rest before frying helps the breading adhere better.
- Monitor frying temperature: If the oil is too hot, the coating may burn before the chicken cooks through. If it’s too cool, the strips will absorb too much oil.
How to Switch It Up
There are countless ways to switch up your Chicken Strips to keep things fresh and exciting. Here are some ideas:
- Storage: Store leftover chicken strips in an airtight container in the refrigerator for up to three days.
- Freezing: You can freeze cooked chicken strips for up to three months. Just reheat in the oven for a crispy finish.
- Flavor variations: Experiment with different seasonings in the flour, like garlic powder or smoked paprika, for a unique twist.
- Baking option: For a healthier version, bake the strips instead of frying. Just drizzle with oil and bake at 425º F for about 20-25 minutes.
- Serving suggestions: Pair with fresh veggies or a crisp salad to balance out the meal.
What Complements This Chicken Strips
When considering sides to serve with your Chicken Strips, there are a plethora of options that can elevate your meal:
- French Fries: A classic side, crispy fries are always a hit.
- Coleslaw: The crunch of coleslaw pairs perfectly with the tender chicken.
- Vegetable Sticks: Serve with a side of carrots and celery for a fresh crunch.
- Mac and Cheese: Creamy, cheesy mac is a comforting side that kids love.
- Garlic Bread: A slice of garlic bread complements the dish well for a hearty meal.
- Seasonal Salads: Toss together a refreshing salad in the summer for a light and vibrant option.
- Easy Dips: Offer a variety of dips, such as ranch, barbecue, or honey mustard, to please everyone’s taste buds.
FAQ
Conclusion
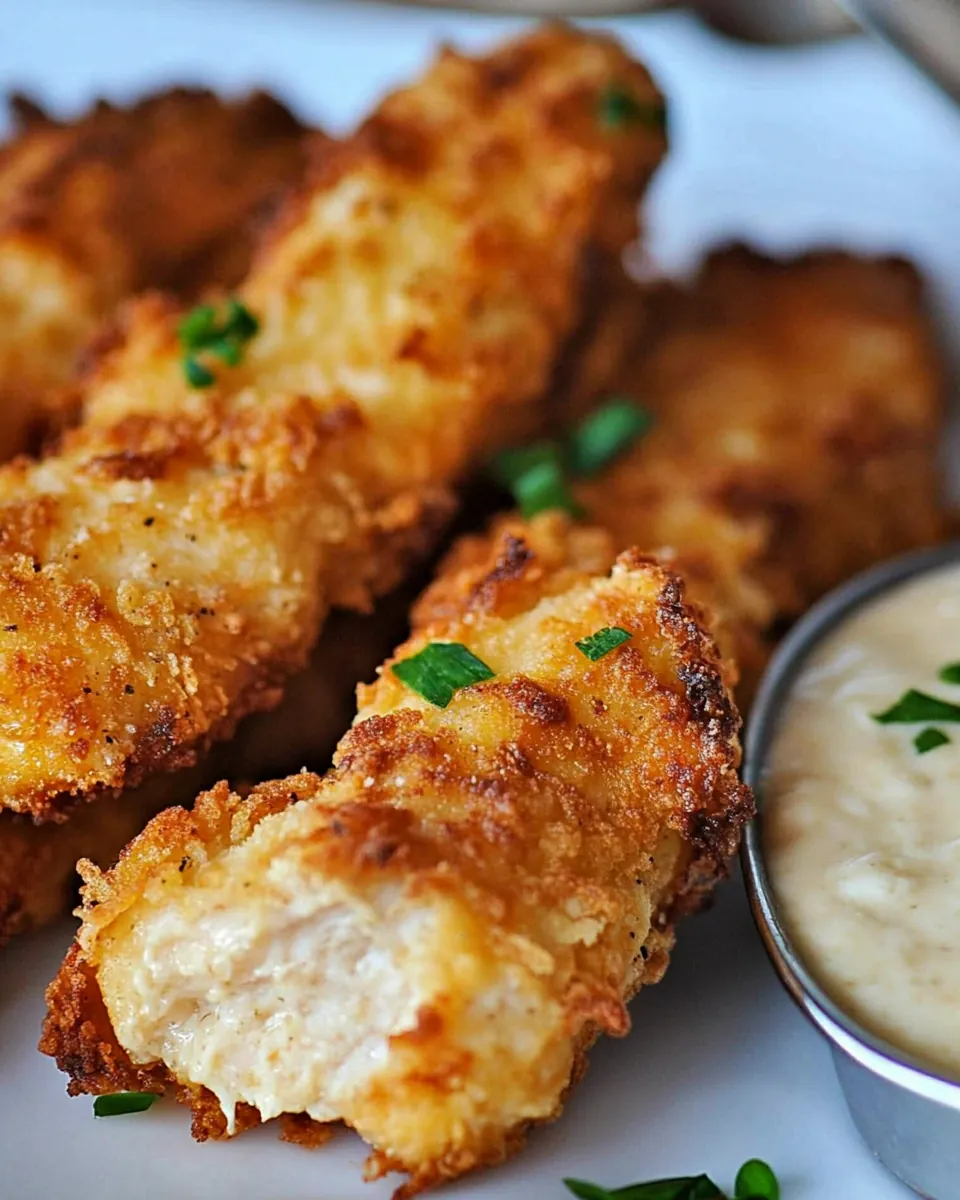
In conclusion, Chicken Strips bring together the perfect blend of crispy texture and juicy flavor that appeals to everyone. They’re simple to prepare and offer a nostalgic touch to family meals. I encourage you to try making them tonight for a delicious dinner that’s sure to impress!
Chicken Strips
Ingredients
Equipment
Method
- Preheat the oven to 375º F. This ensures that your chicken will cook evenly in the oven later.
- Butterfly the chicken breasts by cutting them in half horizontally. This helps them cook more evenly. After that, cut each half into strips, aiming for about 6 to 8 strips per breast.
- Prepare the buttermilk mixture by pouring buttermilk into a shallow dish. Add Sriracha sauce and whisk together until combined. This adds flavor and moisture to the chicken.
- In another dish, combine the dry ingredients: flour, thyme, cayenne pepper, seasoned salt, and black pepper. Whisk them together thoroughly to ensure an even coating.
- Coat the chicken strips by dipping each one first into the buttermilk mixture, allowing excess to drip off, then into the flour mixture. Make sure each strip is well-coated for maximum crunch!
- Let the coated strips rest on a kitchen sheet pan while you prepare to cook. This helps the coating stick better during frying.
- Heat the oil in a skillet over medium heat. You’ll know it’s ready when it shimmers slightly, and water dropped into it sizzles.
- Carefully place a few chicken strips into the skillet, depending on its size. Avoid overcrowding to ensure they cook evenly. Fry until browned on one side, about 3 minutes, then turn and cook the other side for another 3 minutes.
- Once browned, remove the chicken strips and place them onto a clean kitchen sheet pan. Repeat until all strips are cooked.
- Transfer the pan to the preheated oven. Bake for about 12 to 18 minutes until the juices run clear when pricked with a knife. This helps finish cooking and keeps them juicy.
- Allow the strips to rest for about 3 minutes before serving. This helps the juices redistribute, making them even more succulent!
Notes
- Tip 1: Store leftover chicken strips in an airtight container in the refrigerator for up to three days.
- Tip 2: You can freeze cooked chicken strips for up to three months. Just reheat in the oven for a crispy finish.
- Tip 3: Experiment with different seasonings in the flour, like garlic powder or smoked paprika, for a unique twist.
- Tip 4: For a healthier version, bake the strips instead of frying. Just drizzle with oil and bake at 425º F for about 20-25 minutes.
- Tip 5: Pair with fresh veggies or a crisp salad to balance out the meal.