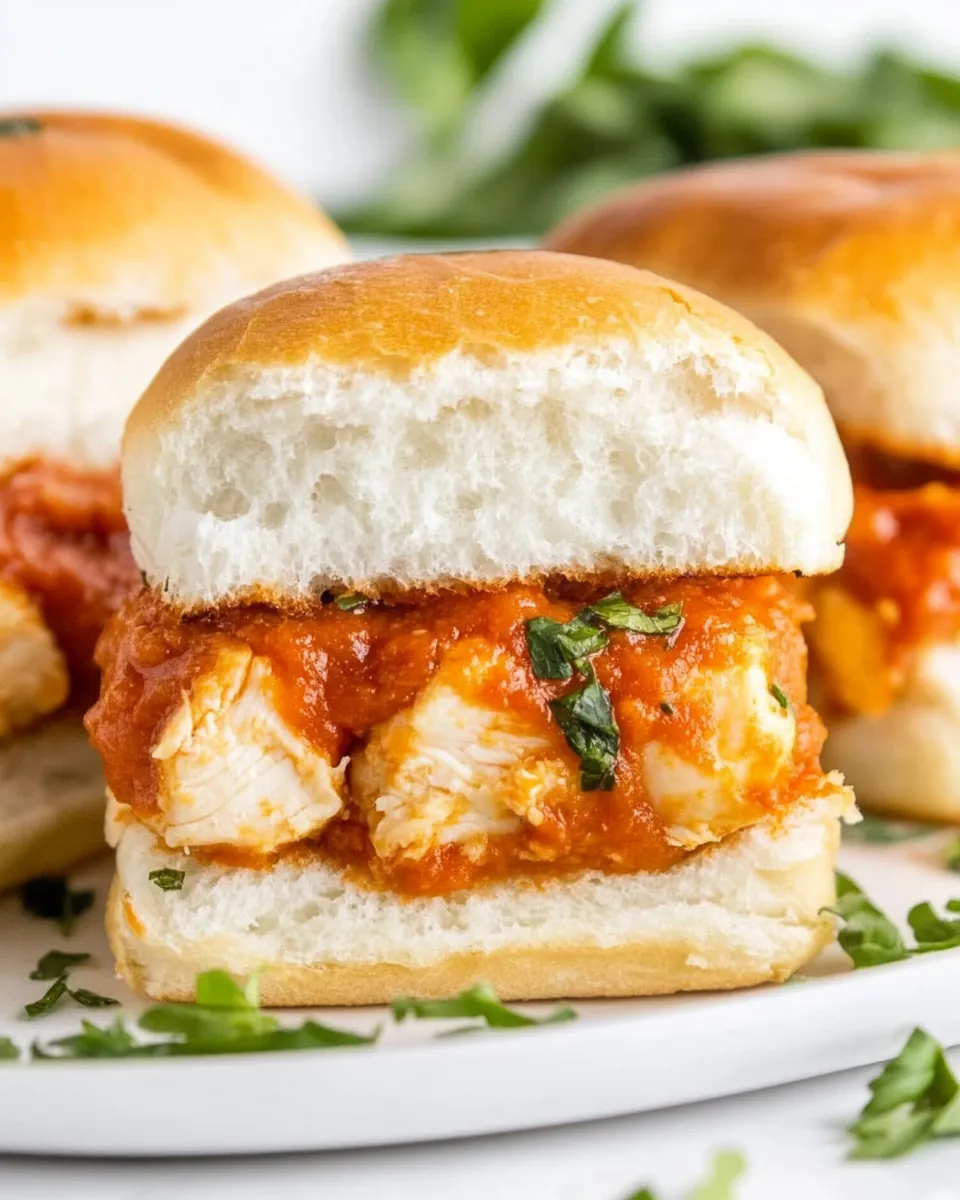
Chicken Parmesan Sliders
The Chicken Parmesan Sliders are the perfect blend of comfort and convenience. Picture this: it’s game day, and friends are gathering at your place. You want to impress them with a dish that’s both delectable and easy to handle, something they can munch on while cheering for their team. That’s when I first discovered these sliders. They combine all the flavors of a classic chicken parmesan sandwich into a fun, bite-sized treat that everyone loves. The crispy exterior paired with gooey cheese and savory marinara sauce always brings a smile to my face.
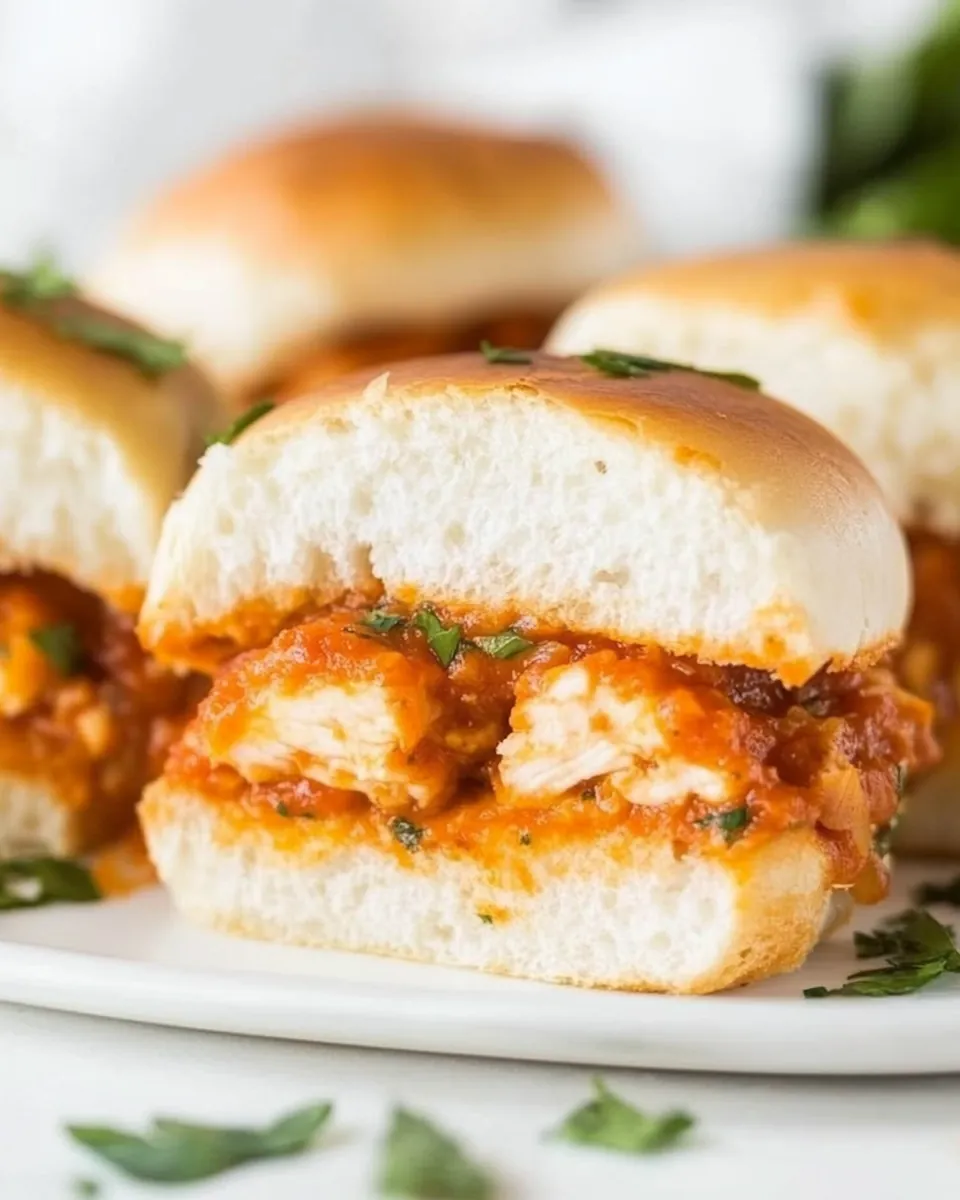
With a few simple ingredients, you can whip up a batch of these sliders in no time. It’s a delightful way to bring a taste of Italy to your gathering while keeping things casual and relaxed. Each bite of these little gems is packed with flavor, and the fact that they can be prepared ahead of time makes them a go-to recipe for any occasion, from parties to potlucks or even a cozy family dinner at home. So, let’s dive into this delicious journey and make some Chicken Parmesan Sliders that will leave everyone asking for seconds!
Recipe Snapshot
45 mins
20 mins
25 mins
Medium
350 kcal
18 g
Keto, Gluten-Free, Low FODMAP
20 g
Oven, Grater, Frying Pan, Chef’s Knife, Baking Sheet
Why This Chicken Parmesan Sliders Shines
They’re Easy to Make
One of the best things about these Chicken Parmesan Sliders is how straightforward they are. With just a handful of ingredients, you can create a mouthwatering dish that looks like it took hours to prepare. It’s perfect for those busy weeknights when you want something delicious but don’t have the time to spend hours in the kitchen.
Great for Sharing
No one wants to be stuck at the dinner table with a complicated dish. These sliders are perfect for sharing! When I make a batch of Chicken Parmesan Sliders, I always make sure to have enough for everyone. They’re just the right size for passing around, making them a hit at any gathering.
Perfect for Any Occasion
Whether it’s game day, a family gathering, or just a simple weeknight dinner, these sliders fit the bill. They can easily be made ahead of time and baked just before serving, so you can enjoy the company of your guests rather than spending all your time in the kitchen.
Customizable
What I love about these sliders is how versatile they are. You can easily add or swap out ingredients based on personal preferences or dietary restrictions. Whether it’s adding some veggies for an extra crunch or swapping the cheese to fit your taste, the options are endless.
Delicious Comfort Food
There’s something so comforting about the combination of tender chicken, melted cheese, and hearty marinara sauce. Each bite of these Chicken Parmesan Sliders reminds me of home-cooked meals growing up, making them a nostalgic choice that everyone can appreciate.
Easy Clean-Up
With all the ingredients baked together in one dish, clean-up is a breeze! I love that I can enjoy a delicious meal without the hassle of too many dishes after. It’s a win-win for me!
Main Ingredients for Chicken Parmesan Sliders

The beauty of the ingredients used in these Chicken Parmesan Sliders lies in their simplicity and flavor. Each component plays an essential role, blending together to create a mouthwatering experience. From the succulent chicken tenders to the rich marinara sauce, they all harmonize to deliver a delightful taste in every bite.
- 12 ounces frozen chicken tenders: These are the star of the show. Pre-cooked and ready to go, they save time without sacrificing flavor.
- 1 (12 count) package Hawaiian sweet rolls: Their soft, slightly sweet flavor pairs perfectly with the savory chicken and sauce.
- 12 slices sliced Provolone cheese: This creamy cheese melts beautifully, adding richness to the sliders.
- 1 cup marinara sauce: The heart of the dish, providing that classic Italian flavor that everyone loves.
- 1/4 cup butter, melted: Brushing the rolls with melted butter adds a golden color and enhances their flavor.
- 1/2 teaspoon garlic powder: A touch of garlic for that aromatic depth.
- 1/2 teaspoon crushed red pepper: This adds a hint of heat to balance the flavors.
- 2 tablespoons grated Parmesan cheese: A sprinkle on top for that finishing touch.
Recipe Directions for Chicken Parmesan Sliders
Making these Chicken Parmesan Sliders is an enjoyable experience, and I can’t wait to guide you through it step by step. The process is simple and straightforward, allowing you to focus on enjoying the moment as the wonderful aromas fill your kitchen.
- First, prepare the chicken tenders according to the package directions. This usually involves baking them until they’re golden brown and heated through. You want them nice and crispy, as they will add a delightful texture to your sliders.
- While the chicken is baking, preheat your oven to 350 degrees F (175 degrees C) and grease a 9×13 baking dish. This step ensures that your sliders won’t stick.
- Next, slice the Hawaiian sweet rolls horizontally in half. Place the bottom halves in the prepared baking dish. This is where all the delicious fillings will be layered.
- Now, add half of the Provolone cheese slices onto the bottom half of the rolls. Make sure to cover them completely so that every slider has that cheesy goodness.
- On top of the cheese, layer half of the marinara sauce, roughly 1/2 cup. This sauce is the heart of the Chicken Parmesan Sliders, infusing each bite with rich flavor.
- Next, place the baked chicken tenders evenly across the sauce-covered rolls. This gives each slider a hearty filling.
- Add the remaining marinara sauce on top of the chicken, spreading it to coat every piece.
- Top everything with the remaining Provolone cheese slices. This will create a beautiful, gooey layer that melts into your sliders as they bake.
- Now, place the top halves of the rolls back on top. This creates the perfect sandwich structure for your sliders.
- In a small bowl, combine the melted butter, garlic powder, and crushed red pepper. Brush this mixture generously over the top of the rolls. This will give them a delicious golden crust.
- Sprinkle the Parmesan cheese over the top for added flavor. This final touch elevates your sliders to a whole new level.
- Cover the baking dish with foil and bake for 20 to 25 minutes, uncovering for the last 5 minutes to allow the tops to brown slightly. Your kitchen will fill with the mouthwatering aroma of melting cheese and savory chicken.
- Once baked, serve your Chicken Parmesan Sliders immediately. Enjoy the crispy exterior with gooey cheese and tender chicken!
Things Worth Knowing
- Use fresh ingredients: Always aim to use fresh ingredients for the best flavor. Fresh garlic and homemade marinara can elevate your sliders significantly.
- Let it rest: Allow the sliders to rest for a few minutes after baking. This helps the cheese set slightly, making them easier to cut and serve.
- Experiment with flavors: Don’t hesitate to add your favorite herbs or spices to the melted butter mixture for additional flavor.
- Check doneness: Ensure the chicken is fully cooked before layering, as this ensures food safety and optimal flavor.
Ways to Customize
One of the fantastic things about Chicken Parmesan Sliders is their versatility. You can easily make them your own with a few simple tweaks. Here are some ideas to enhance your sliders:
- Add veggies: Sauté some spinach or bell peppers to add a fresh crunch to your sliders.
- Different cheeses: Swap out the Provolone for mozzarella or cheddar for a unique flavor twist.
- Make it spicy: Add jalapeños or switch to a spicy marinara sauce for an extra kick.
- Herbs and spices: Experiment with different herbs like basil or oregano to enhance the Italian flavor profile.
- Use different rolls: Try using other types of rolls, such as ciabatta or baguette, for a different texture.
- Make it vegetarian: Substitute the chicken with grilled vegetables or a hearty black bean patty.
- Make it ahead: Prepare the sliders in advance and refrigerate. Just bake when you’re ready to serve!
Side Dish Ideas for Chicken Parmesan Sliders
When it comes to serving Chicken Parmesan Sliders, the options are limitless! Here are some delightful side dishes and serving ideas that complement these sliders beautifully:
- Garlic bread: Serve alongside warm garlic bread for a comforting Italian meal.
- Caesar salad: A fresh Caesar salad adds a crisp contrast to the richness of the sliders.
- Vegetable sticks: Pair with crunchy vegetable sticks and a dipping sauce for a light, healthy option.
- Potato wedges: Crispy potato wedges seasoned with herbs make a hearty side that everyone will enjoy.
- Coleslaw: A tangy coleslaw can provide a refreshing balance to the rich flavors of the sliders.
- Fruit salad: A light fruit salad can cleanse the palate between bites of savory sliders.
- Soup: Consider serving a light soup, like minestrone, as a starter for a more substantial meal.
FAQ
Conclusion
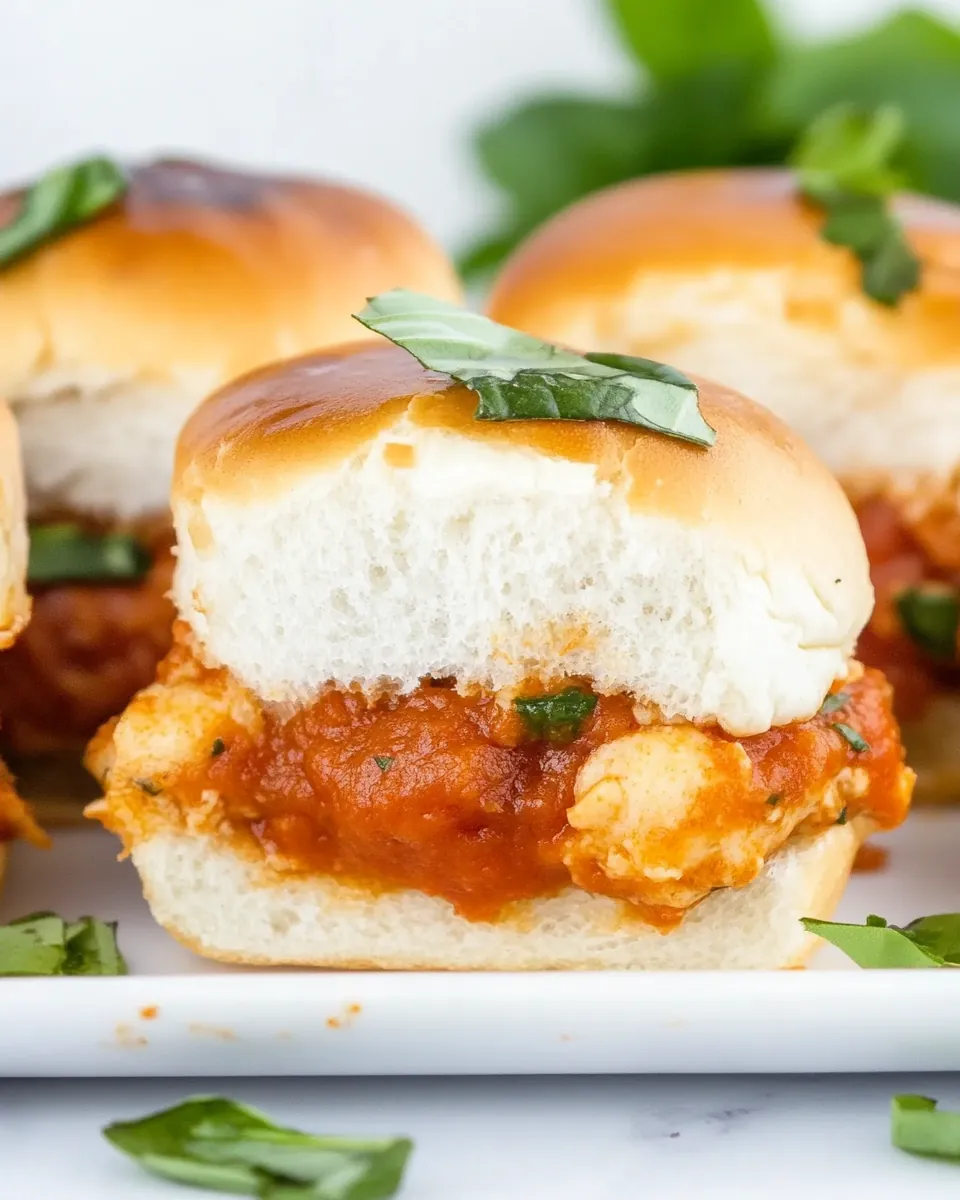
The Chicken Parmesan Sliders are a fantastic way to enjoy the classic flavors of chicken parmesan in a fun and convenient format. Whether you’re hosting a game night or just need a quick weeknight dinner, this recipe will not disappoint. I encourage you to give it a try and enjoy the satisfying crunch and gooey cheese with every bite. Your family and friends will be asking for this recipe again and again!
Chicken Parmesan Sliders
Ingredients
Equipment
Method
- Prepare the chicken tenders according to the package directions.
- Preheat oven to 350 degrees F and grease a 9x13 baking dish.
- Slice the Hawaiian sweet rolls horizontally in half and place the bottom half in the pan.
- Add half of the Provolone cheese on the bottom half of the rolls covering completely.
- Layer half of the marinara sauce (1/2 cup) on top of the cheese.
- Place the baked chicken tenders on top of the marinara sauce.
- Spread the remaining marinara sauce over the chicken tenders.
- Top with the remaining Provolone cheese slices.
- Place the top halves of the rolls on top.
- In a small bowl, combine melted butter, garlic powder, and crushed red pepper. Brush on top of the rolls.
- Sprinkle with the Parmesan cheese.
- Cover rolls with foil and bake for 20-25 minutes, uncovering for the last 5 minutes to slightly brown the rolls.
- Serve immediately.