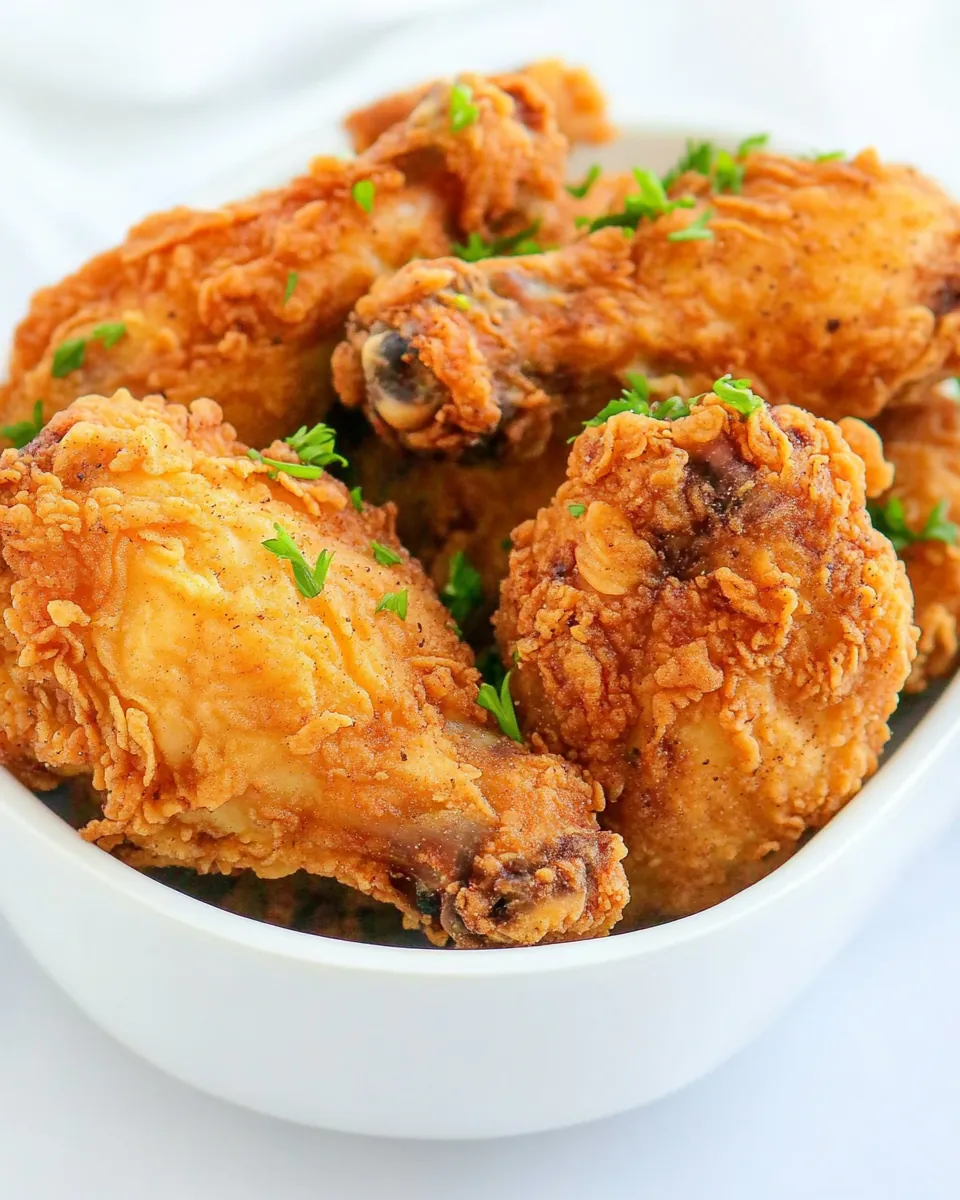
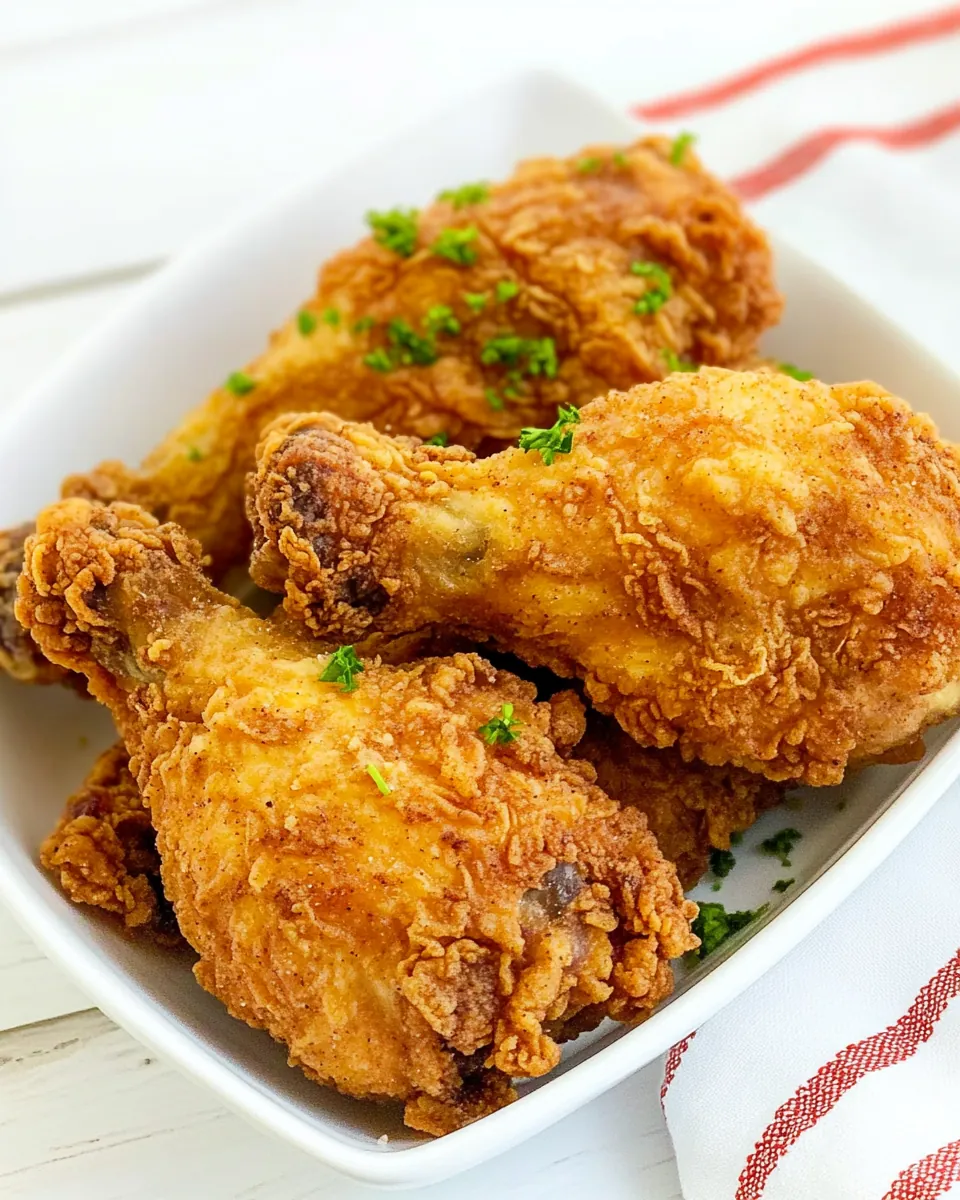
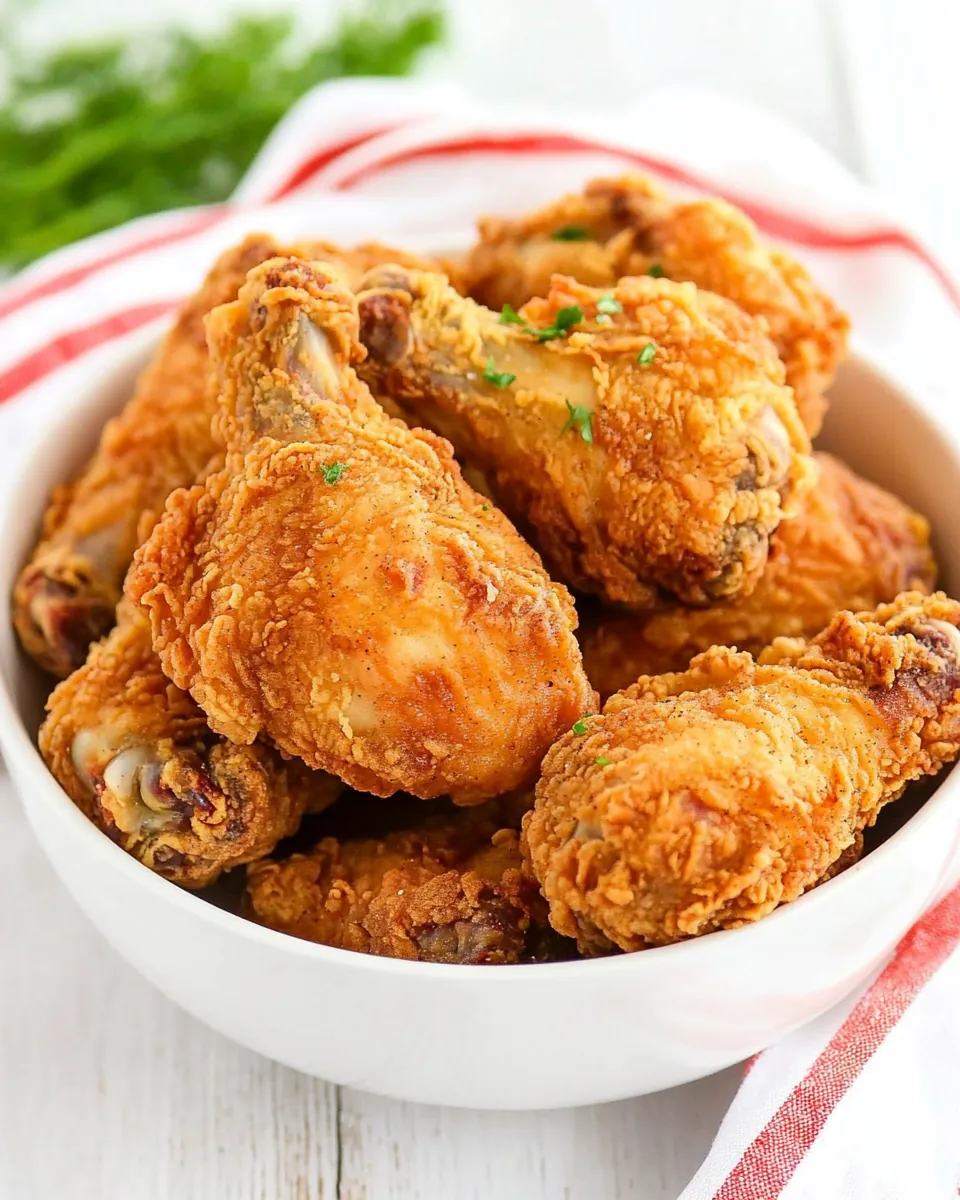
Buttermilk Fried Chicken
There’s something irresistibly comforting about a plate of Buttermilk Fried Chicken. Growing up, my family would often gather around the table for Sunday dinners, and this dish was always the star. The aroma of the chicken frying filled the house, teasing our senses and bringing a sense of warmth and love. I can still hear the sizzle as the chicken pieces hit the hot oil, and the anticipation was palpable as we waited for that golden, crispy skin to form. Each bite was a perfect blend of crunchy exterior and juicy, tender meat, making it the ultimate comfort food.
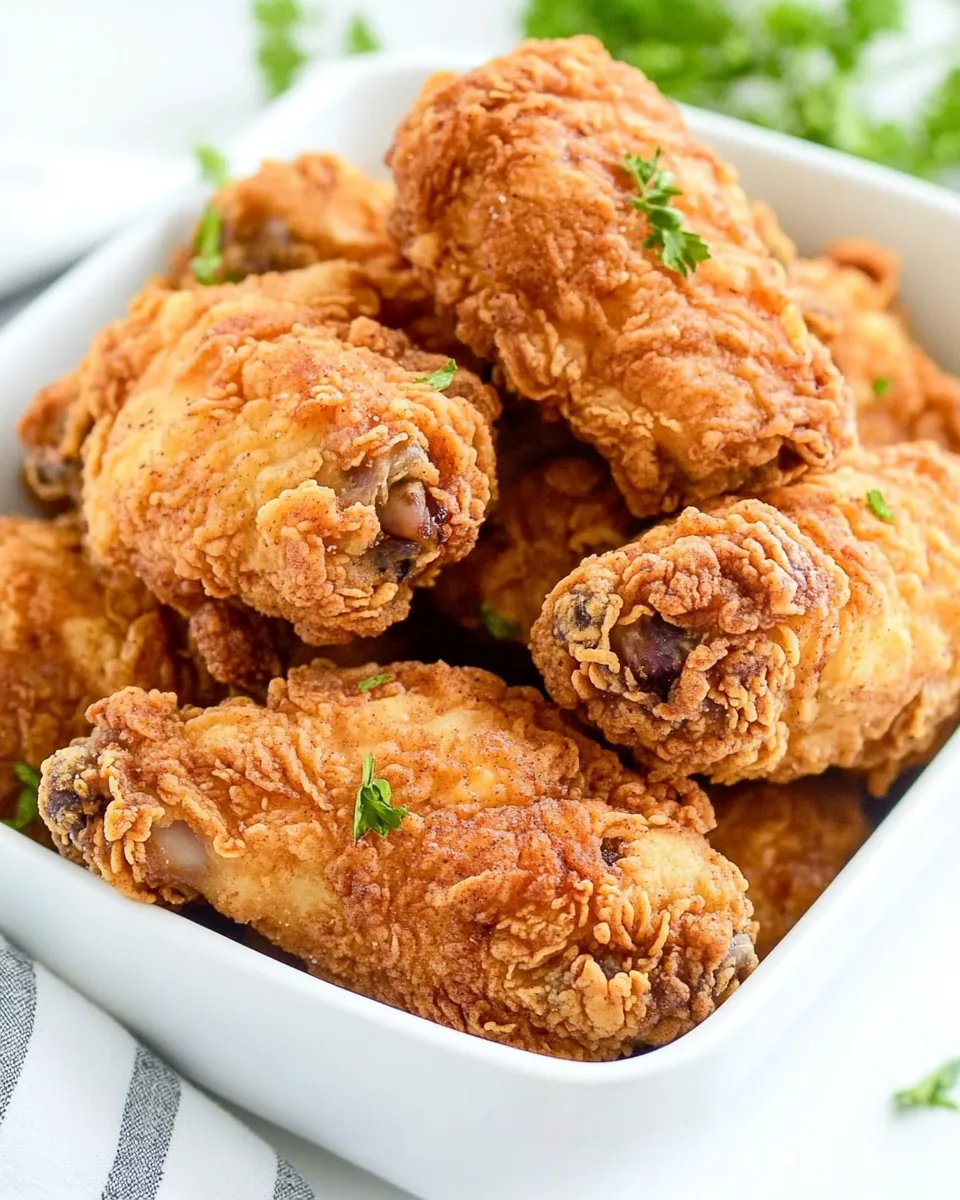
In my quest to recreate that nostalgic meal, I’ve developed a method that’s become my go-to for making Buttermilk Fried Chicken. The buttermilk marinade is the secret weapon here—it not only tenderizes the chicken but also infuses it with a creamy richness that pairs beautifully with the spices. What I love most is how versatile this recipe is; it’s perfect for everything from family dinners to outdoor barbecues. The crispy coating is always a crowd-pleaser, and there’s something magical about serving it fresh from the fryer, with steam rising, inviting everyone to dig in.
Sharing this dish with friends and family has become a cherished tradition for me, whether it’s a casual get-together or a festive celebration. The joy on their faces as they take that first bite is everything. There’s a sense of connection that comes from gathering around good food, and Buttermilk Fried Chicken is the perfect reason to bring everyone together. So, let’s dive into this recipe and create memories that will last a lifetime!
Recipe Snapshot
40 mins
10 mins
30 mins
Medium
420 kcal
32 g
Whole30, Gluten-Free
20 g
Candy thermometer, Deep fry thermometer
What We Adore About This Buttermilk Fried Chicken
It’s All About Flavor
The flavors in Buttermilk Fried Chicken truly shine through, thanks to the buttermilk marinade and the careful blend of spices. The tanginess from the buttermilk helps to tenderize the chicken, allowing it to absorb all those delicious flavors. I can’t emphasize enough how this combination elevates the dish from ordinary to extraordinary.
Perfectly Crispy Every Time
What sets my recipe apart is the technique I use for coating the chicken. The two-step breading process ensures every piece is generously coated, resulting in that crunchy, golden crust we all crave. By letting the breading sit for a while, it forms a paste-like consistency that clings perfectly to the chicken, preventing any of that hard-to-avoid sogginess.
Great for Any Occasion
Whether you’re hosting a family gathering or just treating yourself to a comforting meal, Buttermilk Fried Chicken fits the bill. It’s versatile enough to be served with a variety of sides, making it a staple for many occasions. Plus, it’s an impressive dish to serve guests that will surely have them raving.
Easy to Make in Batches
Cooking in batches is another reason why I love this recipe. Whether you’re frying a whole chicken or just a few pieces, it’s easy to scale up or down. If you happen to have leftovers, they make for an amazing lunch the next day. Just reheat in the oven to regain that crispy texture, and you’ll be in heaven!
Perfectly Juicy
When done right, the chicken should be juicy and tender on the inside while maintaining that crispy exterior. By monitoring the internal temperature and frying in batches, you can ensure that every piece turns out perfect. The payoff is well worth the effort, and your taste buds will thank you.
Kids Love It
Let’s face it—kids are often the toughest critics at the dinner table. However, Buttermilk Fried Chicken is a sure-fire hit with little ones. The crispy coating is fun to eat, and the tender meat is easy for them to enjoy, making it a family favorite that pleases palates of all ages.
What’s In This Buttermilk Fried Chicken
When it comes to the ingredients for Buttermilk Fried Chicken, simplicity is key. Each component plays an essential role in creating that delicious flavor and texture. The main players—the chicken and buttermilk—work harmoniously to deliver a mouthwatering experience. Let’s dive into what we need.
- 4-6 pound whole chicken, cut into pieces: The star of the show! Choosing a whole chicken allows for different cuts, each with its unique texture and flavor. A larger chicken will yield more servings, making it perfect for gatherings.
- 1 cup buttermilk: This ingredient not only tenderizes the chicken but also adds a rich, tangy flavor that enhances the overall taste.
- 2 cups all-purpose flour, for coating chicken: The flour forms the crispy crust that we all love. It’s important to use a good amount to ensure proper coating.
- 1 teaspoon paprika: This spice adds a beautiful color and a subtle sweetness, rounding out the flavor profile.
- Garlic salt (with parsley flakes): This seasoning brings in a savory kick that complements the other flavors beautifully.
- Black pepper: Freshly cracked black pepper adds a bit of heat and depth to the seasoning mix.
- Vegetable oil: Used for frying, it’s essential for achieving that perfect crispy texture. Make sure to use an oil with a high smoke point for best results.
How to Cook Buttermilk Fried Chicken
Frying chicken at home can be incredibly rewarding, and once you’ve tried this method for Buttermilk Fried Chicken, you’ll never want to go back. Let’s get our hands a little dirty and dive into the frying process!
- Start by cutting the chicken into pieces if you haven’t done so already. For a large chicken, halving the breasts can help it cook more evenly. Make sure to remove the skin if you prefer a lighter option, though the skin adds flavor.
- Next, in a mixing bowl, combine the flour, paprika, garlic salt, and black pepper. This will be the dry mixture that gives the chicken its crispy coating. Mix it well to ensure even seasoning.
- In another bowl, pour in the buttermilk. This will be the marinade for the chicken. Dip each piece into the buttermilk, ensuring it’s fully coated and then allow the excess to drip off.
- Now, it’s time to coat the chicken. Take your buttermilk-dipped chicken and place it into the flour mixture. Seal the bag and shake it around to ensure that every piece is evenly coated. This double-coating method is crucial for that crunch!
- Once all pieces are coated, place them on a foil-lined cookie sheet. Cover them with wax paper and let them sit for about 10 to 15 minutes. This waiting time allows the flour to adhere to the chicken, creating a paste-like consistency that promotes crispiness.
- Next, heat a large skillet over medium-high heat and add enough vegetable oil to submerge the chicken pieces halfway. You’ll want the oil hot enough that it sizzles when you add the chicken. A good temperature to aim for is around 350°F.
- Carefully add the coated chicken into the hot oil in batches, making sure not to overcrowd the skillet. Let it fry undisturbed for about 5 to 7 minutes until it’s golden brown.
- Once golden, flip the chicken to brown the other side. Keep a close eye on the color; you want a beautiful, rich golden hue without burning.
- Once both sides are perfectly golden, reduce the heat slightly. Continue cooking until the internal temperature reaches 165°F. Different parts of the chicken may require varying cooking times—wings and legs typically take about 15 minutes, while thighs and breasts may take around 20 to 25 minutes.
- Once cooked, remove the chicken from the skillet and place it on a paper towel-lined plate to drain any excess oil. Keep it warm in the oven while you finish frying the remaining pieces. The key is to serve them hot for that ultimate experience!
Things Worth Knowing
- Always monitor the oil temperature: Keeping the oil at the right temperature is crucial for perfect frying. Too low and the chicken will absorb too much oil; too high and it will burn.
- Let the chicken rest: After frying, allowing the chicken to rest for a few minutes helps to maintain its juicy texture.
- Batch cooking: Frying in batches prevents temperature drops in the oil, ensuring even cooking and browning.
- Use a thermometer: A candy or deep-fry thermometer is an essential tool for getting the oil temperature just right.
How to Switch It Up
Even though Buttermilk Fried Chicken is perfect just as it is, there are plenty of ways to switch it up! Here are some fun ideas:
- Storage: Leftover fried chicken can be stored in an airtight container in the fridge for 3 to 4 days. Make sure it’s completely cooled before sealing to maintain crispiness.
- Freezing: You can freeze leftover chicken for up to 3 months. Place it in an airtight container or freezer bag. Make sure to label it with the date!
- Pairing: Serve with classic sides like coleslaw, mashed potatoes, or cornbread to complete your meal.
- Spice it up: Experiment with different seasonings in the flour mixture to change the flavor profile. Adding cayenne pepper can give it a nice kick!
- Go gluten-free: Swap out the all-purpose flour for a gluten-free alternative to cater to dietary restrictions.
- Try different marinades: While buttermilk is traditional, experimenting with yogurt or even pickle juice can yield interesting flavors.
Serving Ideas for Buttermilk Fried Chicken
When it comes to serving Buttermilk Fried Chicken, the possibilities are endless! Here are some delightful ideas to consider:
- Classic Southern Meal: Pair your fried chicken with collard greens, cornbread, and a side of sweet tea for a true Southern experience that everyone will love.
- Picnic Perfect: Take your fried chicken to a picnic! It’s easy to pack and travels well. Just add some potato salad or a fresh garden salad.
- Game Day Treat: Serve Buttermilk Fried Chicken during game nights. It’s finger-licking good and perfect for sharing with friends.
- Comforting Dinner: Offer it as a comforting dinner option during the colder months, paired with creamy mashed potatoes and gravy.
- Leftover Lunch: Enjoy leftover chicken in a sandwich with lettuce, tomato, and your favorite sauce for a quick and satisfying lunch.
- Seasonal Sides: For summer, complement your fried chicken with fresh fruits like watermelon or a light cucumber salad.
FAQ
Conclusion
This Buttermilk Fried Chicken recipe is a cherished favorite that combines rich flavors with a crispy texture, perfect for any occasion. I encourage you to gather your loved ones and try making this dish; the joy it brings is truly worth it. You’ll not only satisfy your cravings but also create lasting memories around the dinner table. Enjoy every bite!
Buttermilk Fried Chicken
Ingredients
Equipment
Method
- Start by cutting the chicken into pieces if you haven’t done so already. For a large chicken, halving the breasts can help it cook more evenly. Make sure to remove the skin if you prefer a lighter option, though the skin adds flavor.
- Next, in a mixing bowl, combine the flour, paprika, garlic salt, and black pepper. This will be the dry mixture that gives the chicken its crispy coating. Mix it well to ensure even seasoning.
- In another bowl, pour in the buttermilk. This will be the marinade for the chicken. Dip each piece into the buttermilk, ensuring it’s fully coated and then allow the excess to drip off.
- Now, it’s time to coat the chicken. Take your buttermilk-dipped chicken and place it into the flour mixture. Seal the bag and shake it around to ensure that every piece is evenly coated. This double-coating method is crucial for that crunch!
- Once all pieces are coated, place them on a foil-lined cookie sheet. Cover them with wax paper and let them sit for about 10 to 15 minutes. This waiting time allows the flour to adhere to the chicken, creating a paste-like consistency that promotes crispiness.
- Next, heat a large skillet over medium-high heat and add enough vegetable oil to submerge the chicken pieces halfway. You’ll want the oil hot enough that it sizzles when you add the chicken. A good temperature to aim for is around 350°F.
- Carefully add the coated chicken into the hot oil in batches, making sure not to overcrowd the skillet. Let it fry undisturbed for about 5 to 7 minutes until it’s golden brown.
- Once golden, flip the chicken to brown the other side. Keep a close eye on the color; you want a beautiful, rich golden hue without burning.
- Once both sides are perfectly golden, reduce the heat slightly. Continue cooking until the internal temperature reaches 165°F. Different parts of the chicken may require varying cooking times—wings and legs typically take about 15 minutes, while thighs and breasts may take around 20 to 25 minutes.
- Once cooked, remove the chicken from the skillet and place it on a paper towel-lined plate to drain any excess oil. Keep it warm in the oven while you finish frying the remaining pieces. The key is to serve them hot for that ultimate experience!
Notes
- Tip 1: Leftover fried chicken can be stored in an airtight container in the fridge for 3 to 4 days. Make sure it’s completely cooled before sealing to maintain crispiness.
- Tip 2: You can freeze leftover chicken for up to 3 months. Place it in an airtight container or freezer bag. Make sure to label it with the date!
- Tip 3: Serve with classic sides like coleslaw, mashed potatoes, or cornbread to complete your meal.
- Tip 4: Experiment with different seasonings in the flour mixture to change the flavor profile. Adding cayenne pepper can give it a nice kick!
- Tip 5: Swap out the all-purpose flour for a gluten-free alternative to cater to dietary restrictions.
- Tip 6: While buttermilk is traditional, experimenting with yogurt or even pickle juice can yield interesting flavors.