Start by cutting the chicken into pieces if you haven’t done so already. For a large chicken, halving the breasts can help it cook more evenly. Make sure to remove the skin if you prefer a lighter option, though the skin adds flavor.
Next, in a mixing bowl, combine the flour, paprika, garlic salt, and black pepper. This will be the dry mixture that gives the chicken its crispy coating. Mix it well to ensure even seasoning.
In another bowl, pour in the buttermilk. This will be the marinade for the chicken. Dip each piece into the buttermilk, ensuring it’s fully coated and then allow the excess to drip off.
Now, it’s time to coat the chicken. Take your buttermilk-dipped chicken and place it into the flour mixture. Seal the bag and shake it around to ensure that every piece is evenly coated. This double-coating method is crucial for that crunch!
Once all pieces are coated, place them on a foil-lined cookie sheet. Cover them with wax paper and let them sit for about 10 to 15 minutes. This waiting time allows the flour to adhere to the chicken, creating a paste-like consistency that promotes crispiness.
Next, heat a large skillet over medium-high heat and add enough vegetable oil to submerge the chicken pieces halfway. You’ll want the oil hot enough that it sizzles when you add the chicken. A good temperature to aim for is around 350°F.
Carefully add the coated chicken into the hot oil in batches, making sure not to overcrowd the skillet. Let it fry undisturbed for about 5 to 7 minutes until it’s golden brown.
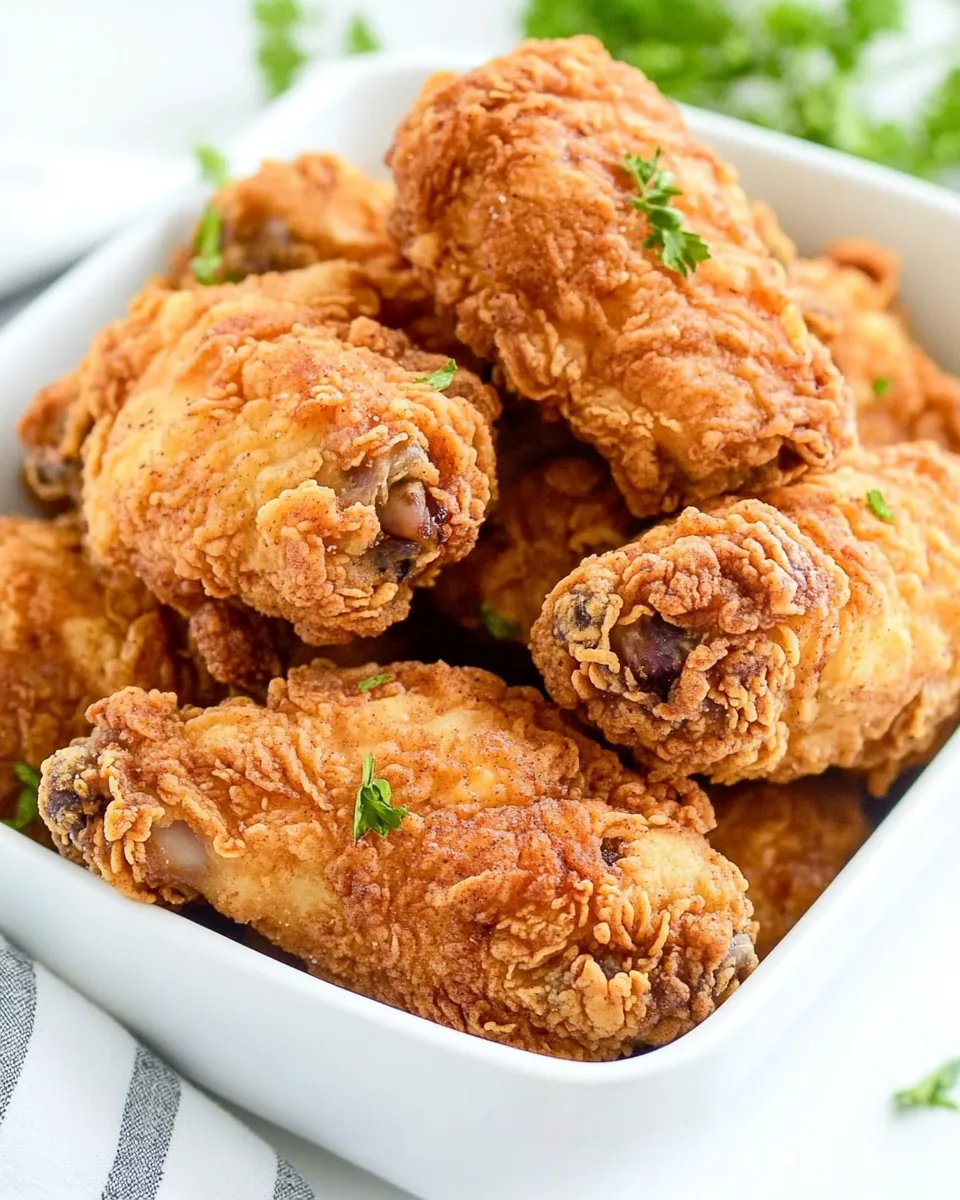
Once golden, flip the chicken to brown the other side. Keep a close eye on the color; you want a beautiful, rich golden hue without burning.
Once both sides are perfectly golden, reduce the heat slightly. Continue cooking until the internal temperature reaches 165°F. Different parts of the chicken may require varying cooking times—wings and legs typically take about 15 minutes, while thighs and breasts may take around 20 to 25 minutes.
Once cooked, remove the chicken from the skillet and place it on a paper towel-lined plate to drain any excess oil. Keep it warm in the oven while you finish frying the remaining pieces. The key is to serve them hot for that ultimate experience!