Chicken Brine Recipe
The Chicken Brine Recipe has become a staple in my kitchen over the years. One memorable Thanksgiving, I decided to take my roast chicken to the next level, and that’s when I discovered the magic of brining. Friends and family were amazed at how juicy and flavorful the chicken turned out. It was a simple technique, yet it made all the difference. Since then, I’ve honed my brining skills, experimenting with various herbs and spices to create the perfect balance. Whether it’s a festive gathering or a simple family dinner, this Chicken Brine Recipe ensures a moist and tender bird every time.
Recipe Snapshot
15 mins
15 mins
0 mins
Medium
350 kcal
50 g
Gluten-Free, AIP, Low FODMAP
15 g
Mixing Bowl, Peeler, Large Pot, Frying Pan, Chef’s Knife, Whisk
The Magic of This Chicken Brine Recipe
Enhances Flavor
Brining is one of the best ways to infuse flavors deeply into the meat. The Chicken Brine Recipe utilizes ingredients like kosher salt and honey, which not only season the chicken but also help to break down proteins, ensuring maximum flavor.
Moisture Retention
One of the most significant advantages of brining is its ability to retain moisture. The salt in the brine helps the chicken absorb water, resulting in a juicy roast. I’ve noticed that this technique prevents the dreaded dry chicken syndrome that can occur when cooking.
Customizable
Another reason I adore this Chicken Brine Recipe is its versatility. You can adjust the flavor profile by adding different herbs and spices. Want a citrusy kick? Throw in extra lemon slices. Prefer a more savory touch? Add garlic and bay leaves for depth.
Simple Steps
The instructions are straightforward, making the process accessible for anyone. Even if you’re new to cooking, you can master this technique quickly. Just a bit of planning is all you need to achieve impressive results.
Health Benefits
Brining can also be a healthier option. By preparing your chicken in this way, you can control the amount of salt you use and avoid the preservatives found in some store-bought options. It’s a simple way to elevate your cooking while keeping it wholesome.
Ingredients to Make Chicken Brine Recipe
When it comes to the Chicken Brine Recipe, each ingredient plays a crucial role in ensuring a perfectly brined chicken. The combination of water, salt, and various flavorings creates a delicious soaking solution that penetrates the chicken, enhancing its flavor and moisture. Let’s break down these essential elements.
- Whole Chicken (4 to 5 pounds) – The star of the show, a whole chicken will soak up the brine beautifully, resulting in tender and flavorful meat.
- Water (8 cups) – This is the base of your brine, and it will help dissolve the salt and distribute flavors evenly throughout the chicken.
- Kosher Salt (1 cup or 80g) – This is vital for flavoring and tenderizing the chicken. It helps to draw moisture into the meat.
- Lemons (2 medium, sliced) – Adding a bright, citrusy element, lemons help balance the saltiness of the brine.
- Honey (or Sugar, 1/2 cup or 113g) – This adds a touch of sweetness and helps with browning during cooking.
- Garlic (4 cloves, smashed and peeled) – Infuses the brine with savory notes. You can never go wrong with garlic!
- Black Peppercorns (1 tablespoon) – For a hint of spice, peppercorns round out the flavor profile.
- Bay Leaves (3) – Adds depth and complexity to the brine.
- Fresh Mixed Herbs (10 sprigs, like parsley, rosemary, thyme) – Use your favorite herbs to customize the flavor.
How to Make Chicken Brine Recipe
Creating your own brine is easier than you think! The Chicken Brine Recipe is straightforward, and soon you’ll see how simple it is to achieve that perfectly juicy chicken. Follow these steps, and you’ll be amazed at the results.
In a large pot or saucepan, combine ½ cup of water, kosher salt, and the rest of the ingredients for your brine. If you want to add flavorings, this is the perfect time to do so. Heat the mixture over medium heat until it begins to boil. As it heats, use a whisk to stir until both the salt and any sugar you add fully dissolve. Watching the steam rise is a good indicator that you are getting close!
Once the brine is boiling and the ingredients are incorporated, remove the pot from the heat. This is a critical step; you don’t want to skip it! Next, pour in the remaining water. If you are in a hurry, adding a few ice cubes can expedite the cooling process. If you can, let it cool down completely to room temperature. This could take some time, but it’s well worth the wait!
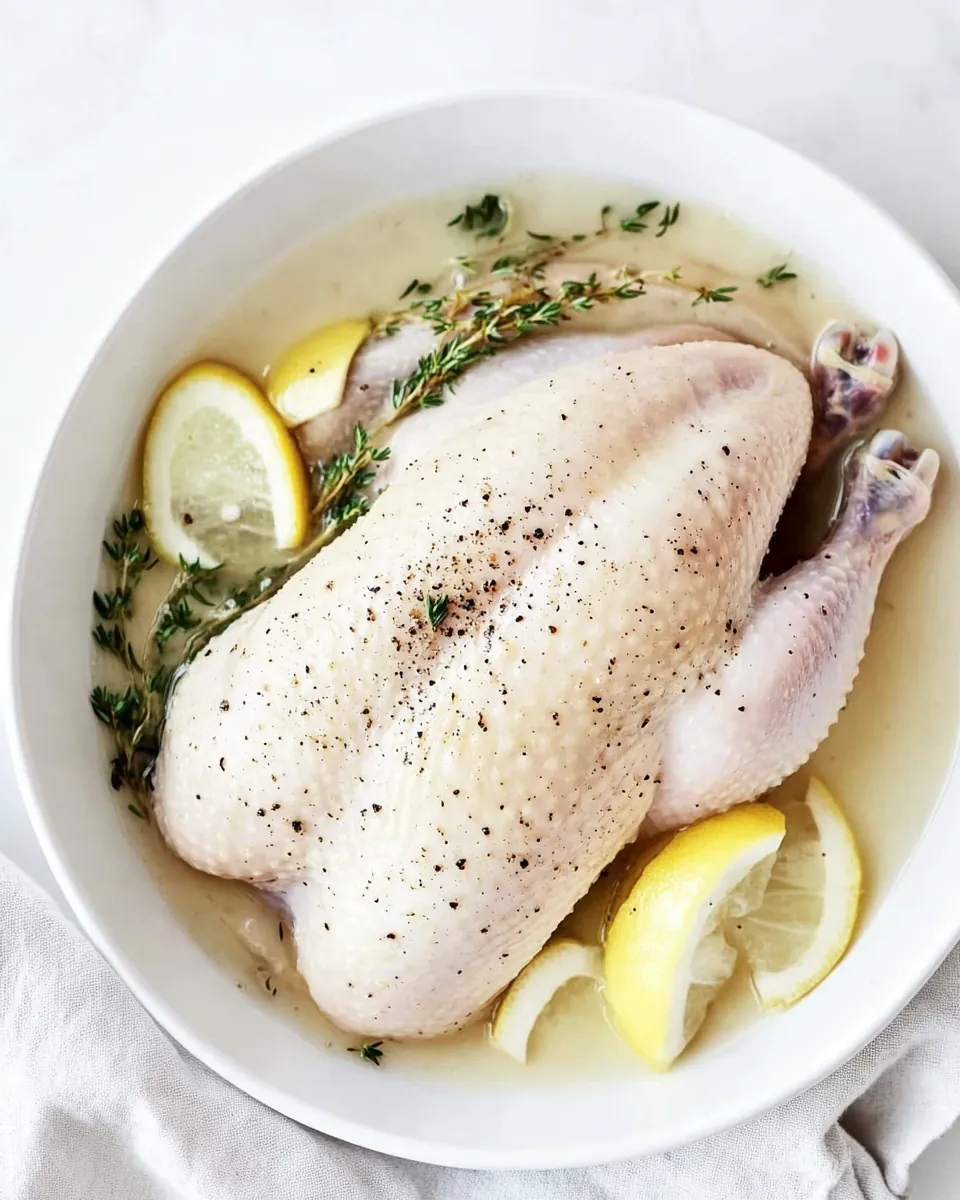
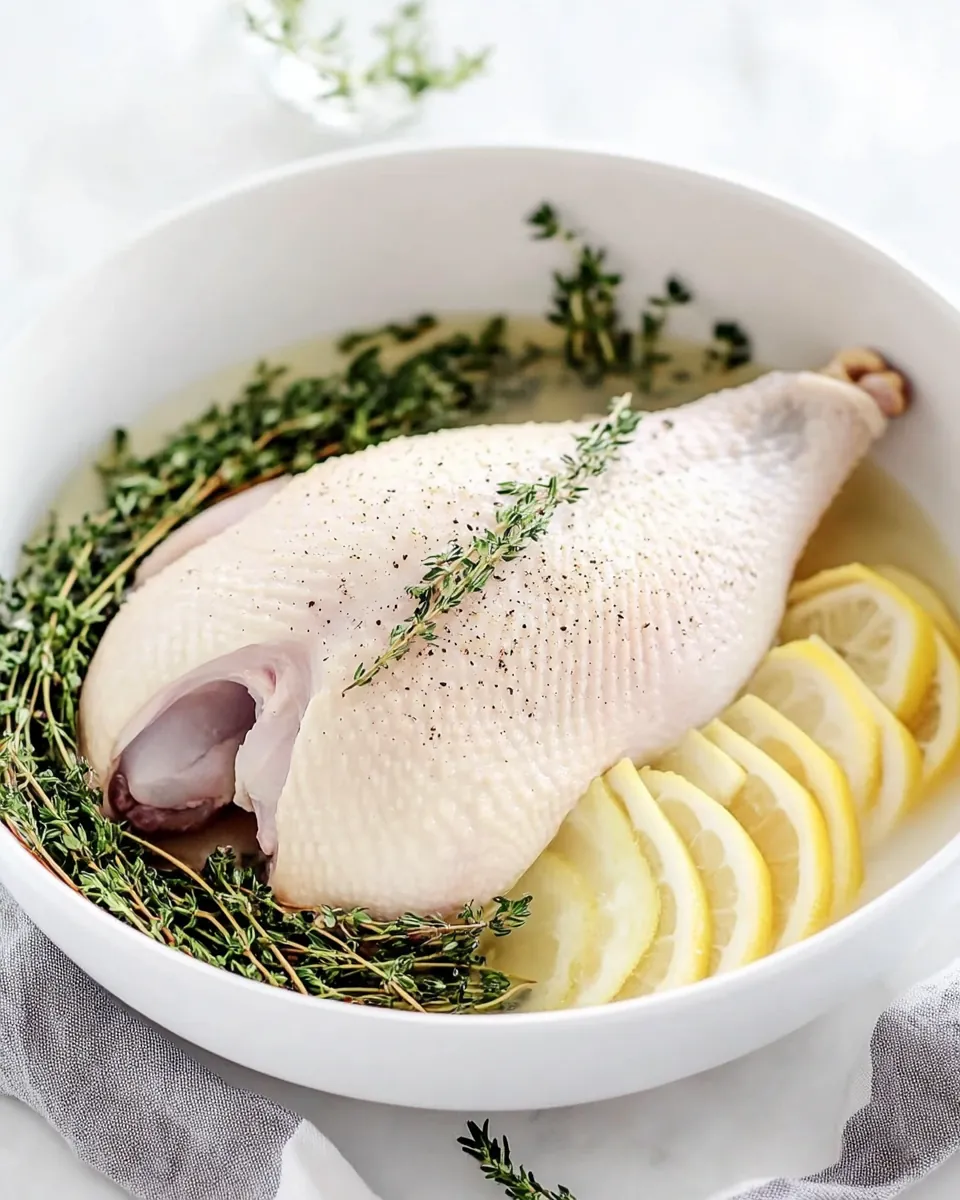
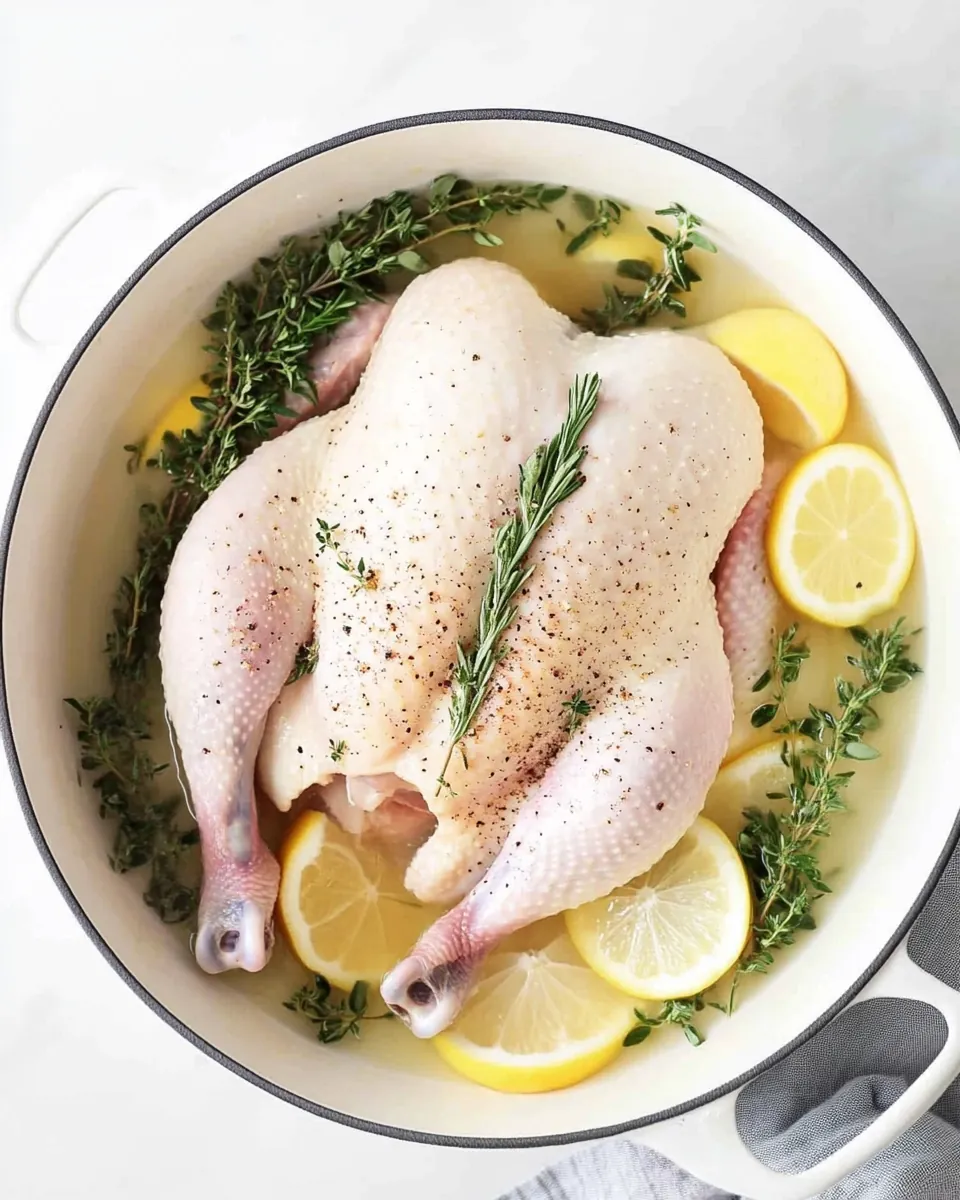
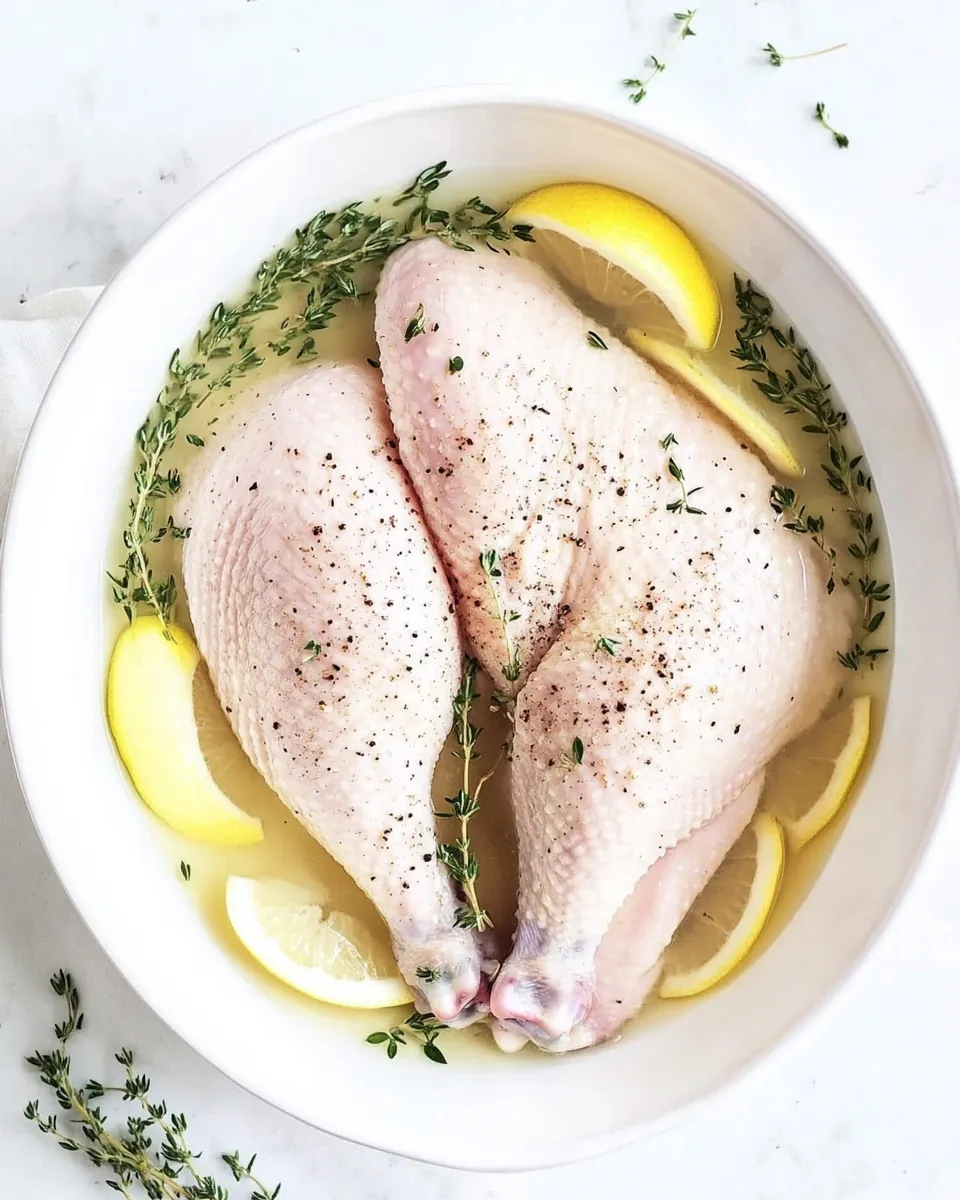
When the brine is cool, it’s time to prepare the chicken. Submerge the whole chicken in the brine, ensuring that it is breast side down. This helps the brine penetrate the meat better. It’s essential to cover the chicken with the brine entirely.
Next, cover the pot with a lid or plastic wrap and refrigerate. You should leave the chicken in the brine for at least 12 hours and up to 24 hours, depending on the size. This resting period is where the magic happens as the flavors meld together. Every time I open the fridge, the anticipation builds for the delicious meal ahead!
After the brining time is up, remove the chicken from the brine and rinse it under cold water to remove excess salt. It’s a small step, but it makes a big difference in flavor balance. Pat the skin dry with paper towels. This helps achieve that golden, crispy skin when you roast it.
Now that your chicken is brined, you can season it lightly with additional salt and your favorite spices if desired. Roast it in the oven according to your preferred cooking method. The brine will keep the meat juicy and flavorful, making this meal a family favorite!
Enjoy the fruits of your labor! When you slice into the chicken, you’ll notice the tender, juicy texture that comes from the brining process. Serve it with your favorite sides and watch as everyone comes back for seconds!
Things Worth Knowing
- Brining Time: Make sure to brine the chicken for at least 12 hours, but not more than 24 hours to avoid excessive saltiness.
- Cooling the Brine: Always allow the brine to cool completely before adding the chicken. This is crucial to avoid any bacterial growth.
- Flavor Adjustments: Feel free to experiment with different herbs and spices based on your flavor preferences.
- Using Leftover Brine: While it’s not recommended to reuse brine, you can use it to flavor vegetables for roasting or grilling.
How to Switch It Up
There are so many ways you can customize the Chicken Brine Recipe to fit your taste preferences! Here are some ideas:
- Spice It Up: Add crushed red pepper flakes to your brine for a spicy kick!
- Herb Variations: Experiment with different herbs like oregano or thyme for diverse flavor profiles.
- Citrus Options: Try using oranges or grapefruits instead of lemons for a unique twist.
- Sweetener Substitutes: Instead of honey, you could use brown sugar or maple syrup for different sweet undertones.
- Smoky Flavor: Incorporate some smoked paprika in your brine for a hint of smoky flavor.
Best Served With
When it comes to serving your beautifully brined chicken, there are endless delicious pairings. Here are some ideas to elevate your meal:
- Roasted Vegetables: Pair your chicken with a medley of roasted vegetables for a colorful and healthy side.
- Mashed Potatoes: The creamy texture of mashed potatoes complements the savory notes of the chicken.
- Fresh Salad: A light salad with vinaigrette adds a refreshing touch to balance the richness of the chicken.
- Rice Pilaf: Fluffy rice pilaf with herbs can absorb the juices from the chicken beautifully.
- Grilled Corn: During summer, grilled corn on the cob makes a delightful addition to your table.
- Fruit Chutney: Serve with a side of fruit chutney or a fruity sauce for a sweet contrast to the savory chicken.
- Holidays and Gatherings: This Chicken Brine Recipe is perfect for family gatherings, holiday feasts, or any special occasion.
FAQ
Conclusion
This Chicken Brine Recipe is a game-changer for anyone who enjoys beautifully cooked chicken. The brining process infuses flavor and ensures each bite is succulent and juicy. I encourage you to give it a try—your family and friends will be impressed with the results. Remember, it’s not just a recipe; it’s a cooking technique that elevates your culinary skills and enhances your dishes, making every meal special.
Chicken Brine Recipe
Ingredients
Equipment
Method
- In a large pot or saucepan, combine ½ cup of water, kosher salt, and the rest of the ingredients for your brine. If you want to add flavorings, this is the perfect time to do so. Heat the mixture over medium heat until it begins to boil. As it heats, use a whisk to stir until both the salt and any sugar you add fully dissolve. Watching the steam rise is a good indicator that you are getting close!
- Once the brine is boiling and the ingredients are incorporated, remove the pot from the heat. This is a critical step; you don’t want to skip it! Next, pour in the remaining water. If you are in a hurry, adding a few ice cubes can expedite the cooling process. If you can, let it cool down completely to room temperature. This could take some time, but it’s well worth the wait!
- When the brine is cool, it’s time to prepare the chicken. Submerge the whole chicken in the brine, ensuring that it is breast side down. This helps the brine penetrate the meat better. It’s essential to cover the chicken with the brine entirely.
- Next, cover the pot with a lid or plastic wrap and refrigerate. You should leave the chicken in the brine for at least 12 hours and up to 24 hours, depending on the size. This resting period is where the magic happens as the flavors meld together. Every time I open the fridge, the anticipation builds for the delicious meal ahead!
- After the brining time is up, remove the chicken from the brine and rinse it under cold water to remove excess salt. It’s a small step, but it makes a big difference in flavor balance. Pat the skin dry with paper towels. This helps achieve that golden, crispy skin when you roast it.
- Now that your chicken is brined, you can season it lightly with additional salt and your favorite spices if desired. Roast it in the oven according to your preferred cooking method. The brine will keep the meat juicy and flavorful, making this meal a family favorite!
- Enjoy the fruits of your labor! When you slice into the chicken, you’ll notice the tender, juicy texture that comes from the brining process. Serve it with your favorite sides and watch as everyone comes back for seconds!
Notes
- Tip 1: Nutrition values are calculated per serving for a roasted 4lb chicken that serves 6.
- Tip 2: Don’t leave the chicken in brine for longer than 24 hours as it will become too salty.
- Tip 3: Only submerge the chicken in the brine, when the brine has COMPLETELY cooled down. Warm brine can be a great environment for bacteria to grow, and it’s not a safe thing to do. So never use warm brine!
- Tip 5: He uses 10% salt, and then air dries the chicken for 2-3 days in the fridge for crispy skin and better texture.