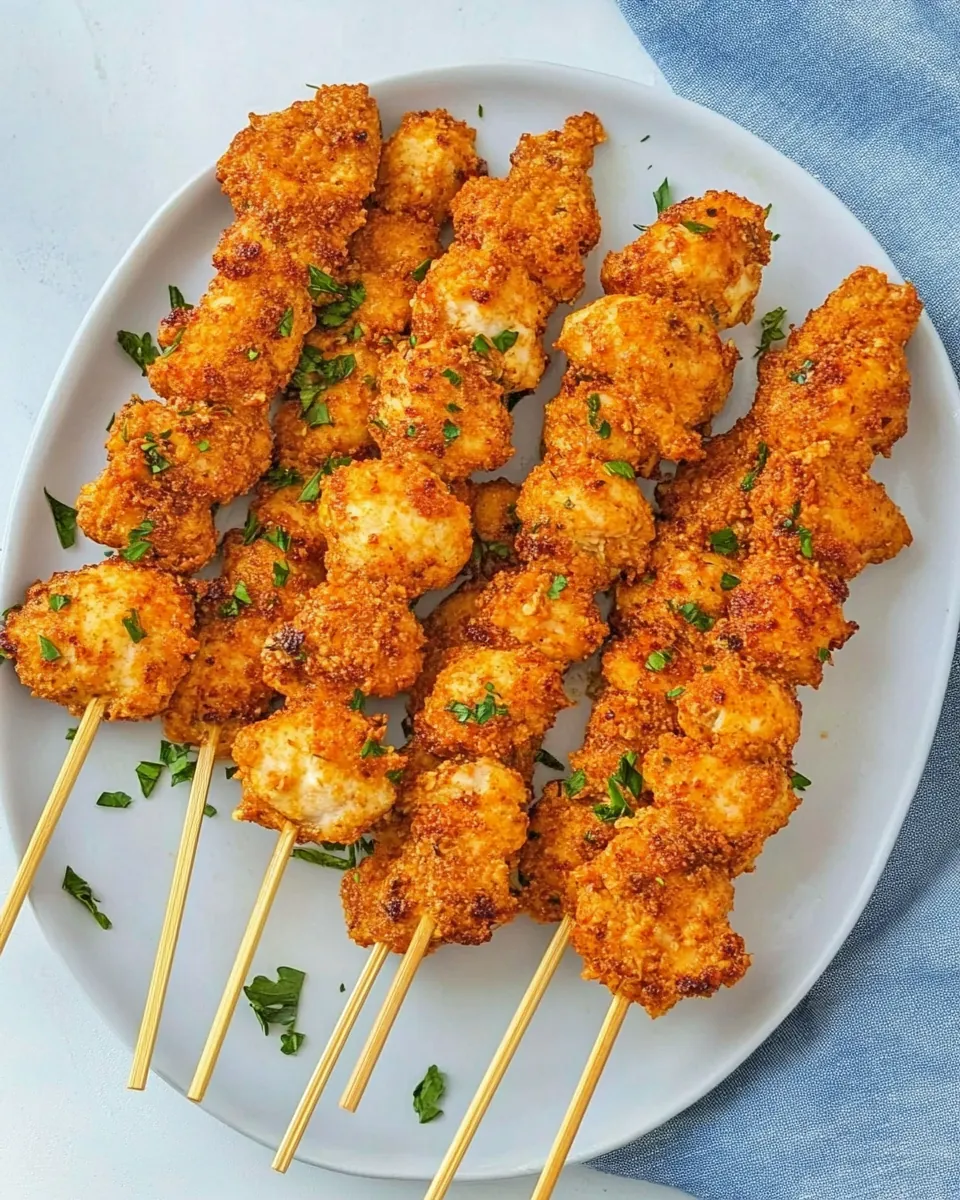
Chicken on a Stick
There’s something about the fun of holding your meal on a stick that makes Chicken on a Stick a favorite at family gatherings and casual get-togethers. I remember the first time I made this dish; it was a sunny Saturday afternoon, and the kids were buzzing with excitement. As I skewered the tender morsels of chicken onto popsicle sticks, they hovered around me, eager to help. The sound of crunching cornflakes as we prepared the coating filled the kitchen with anticipation. This dish isn’t just about food; it’s about creating memories and enjoying the process together.
Recipe Snapshot
28 mins
10 mins
18 mins
Medium
350 kcal
30 g
Vegan
15 g
Baking Sheet, Food Processor, Oven
Why Try This Chicken on a Stick
Perfect for Any Occasion
One of the things I love most about Chicken on a Stick is its versatility. Whether you’re hosting a backyard barbecue or simply looking for a quick weeknight dinner, this recipe fits the bill perfectly. It’s easy to whip up and can be served with a variety of dips, making it a hit with kids and adults alike.
Fun and Interactive
Cooking becomes a fun activity when you’re making Chicken on a Stick. Kids love to get involved by helping to skewer the chicken onto sticks, and it’s a great way to teach them about cooking. Plus, who doesn’t enjoy food on a stick? It’s just more fun to eat!
A Crunchy Delight
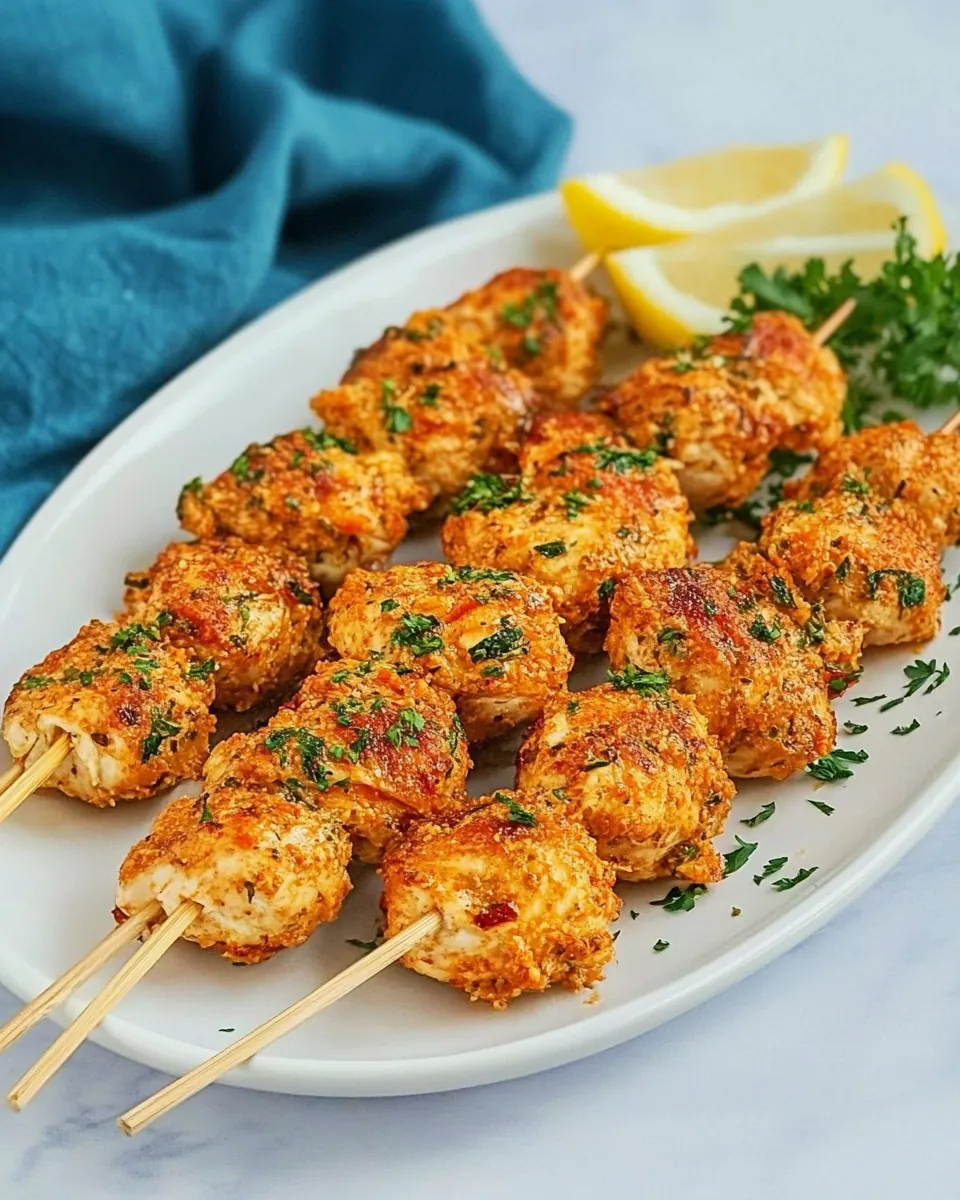
Coated in crispy cornflakes, each bite of Chicken on a Stick delivers a satisfying crunch that contrasts beautifully with the juicy tenderness of the chicken. The buttermilk marinade adds a subtle tang, ensuring that the flavors are both rich and delightful. It’s a texture experience that everyone will love.
Make Ahead and Freeze
If you’re looking to save time, this dish is perfect for meal prep. You can prepare the chicken, coat it, and freeze it. Just pop it in the oven when you need a quick meal. This makes Chicken on a Stick a convenient option for busy weeknights or unexpected guests.
Perfectly Paired with Dips
Another reason to adore this recipe is that it pairs excellently with dips. Whether it’s ranch, barbecue sauce, or honey mustard, the choice is yours. Each dip brings its unique flair, making every bite a new experience. It’s wonderful how such a simple dish can become a canvas for creativity!
Kid-Approved
Let’s face it; kids can be picky eaters. However, when food comes on a stick, they seem to be more likely to enjoy it. Chicken on a Stick has been a total game changer in my house, and I’m sure it will be in yours too!
What to Buy for Chicken on a Stick
When preparing Chicken on a Stick, it’s essential to have the right ingredients on hand. Each component plays a crucial role in achieving that perfect balance of flavor and texture. The star of the show, of course, is the chicken, which becomes tender and juicy when cooked to perfection. The cornflakes provide a satisfying crunch, while the buttermilk keeps everything moist and flavorful. Together, they create a dish that’s not only delicious but also incredibly easy to make.
- 2 cups cornflakes: This crunchy coating is what gives the chicken its delightful texture. You can also use whole wheat flakes or other flakey cereal if preferred.
- 2 teaspoons kosher salt: Essential for enhancing flavor, this salt is divided to season the chicken and the cornflakes.
- 1 pound chicken tenders: The main ingredient, these chicken tenders are easy to handle and cook quickly.
- 1 cup buttermilk: This helps tenderize the chicken and adds a rich flavor to the dish.
- 1 package popsicle sticks: These will be used to skewer the chicken for a fun presentation.
- Cooking oil spray: A light coating to ensure the chicken doesn’t stick to the baking sheet.
Cooking Instructions for Chicken on a Stick
Making Chicken on a Stick is surprisingly simple and a lot of fun. Follow these steps closely to ensure a delicious outcome. You’ll find the process quick and satisfying, and it’s a great way to get the family involved in cooking.
- Preheat your oven to 375 degrees Fahrenheit. This temperature is perfect for cooking the chicken thoroughly while achieving that golden-brown color on the coating.
- In a zip lock bag, add the cornflakes and 1 teaspoon of the kosher salt. Crush the cornflakes using a rolling pin or place them in a food processor to achieve breadcrumbs-like consistency. This crunchy coating will become the star of your dish.
- In one bowl, pour the buttermilk, creating a wet station for the chicken. In another bowl, have your crushed cornflakes ready. This setup will help you easily coat the chicken.
- Take the popsicle sticks and carefully skewer the chicken tenders, ensuring to leave about a 1-inch handle at the bottom. This will help you hold them easily while eating. Sprinkle the remaining teaspoon of kosher salt over the skewered chicken.
- Roll each skewer of chicken in the buttermilk, ensuring every piece is well-coated. Following this, dip it into the crushed cornflakes, pressing down gently to make sure the coating sticks well to the chicken.
- Prepare a baking sheet by lining it with foil or parchment paper. Lightly spray the surface with cooking oil to prevent sticking. Place the skewered chicken on the tray, leaving space between each piece.
- Once all your skewers are lined up on the baking tray, lightly spray the top of the skewers with cooking oil. This step ensures they become nice and crispy as they bake.
- To prevent the stick handles from burning, cover them with a small piece of foil. This precaution allows the chicken to cook perfectly without any burnt edges.
- Bake the chicken for 16 to 18 minutes or until they reach an internal temperature of 165 degrees Fahrenheit. The outside should be golden and crispy, which indicates it is done.
- Once cooked, serve your Chicken on a Stick with your favorite dipping sauce, such as ranch or barbecue sauce, for added flavor. Enjoy the crunchy, tender deliciousness!
- For future meals, after step 5, place the skewered chicken on another tray and freeze for 30 minutes. After freezing, transfer to a ziplock bag, label, and freeze for up to four months. When ready to eat, simply follow steps 6-9, adding 3 to 5 minutes to the cooking time without thawing.
Things Worth Knowing
- Tip for Coating: Ensure the buttermilk coats the chicken thoroughly before rolling them in the cornflakes. This helps the crumbs stick better.
- Checking Doneness: Use a meat thermometer to check that the internal temperature of the chicken reaches 165 degrees Fahrenheit for safe consumption.
- Variations: Feel free to experiment with different seasonings in the cornflakes, such as paprika or garlic powder, to add extra flavor to your chicken.
- Skewering Technique: For a more secure hold, you can double skewer each piece of chicken using two popsicle sticks instead of one.
Ways to Adapt This Recipe

When it comes to adapting Chicken on a Stick, the possibilities are endless! Here are some ideas to customize this dish to your liking:
- Storage: To store leftovers, place them in an airtight container in the refrigerator for up to three days. Reheat in the oven for the best texture.
- Freezing: You can freeze uncooked skewers for up to four months. Just ensure they are tightly wrapped to prevent freezer burn.
- Pairing: These skewers pair wonderfully with fresh vegetables, dips, or even a light salad for a balanced meal.
- Seasoning: Feel free to add your favorite spices to the cornflakes coating. A little chili powder or Italian seasoning can bring a whole new flavor profile.
- Cooking Methods: If you prefer a healthier option, try air frying the skewers instead of baking for a lower-fat version.
- Vegetarian Option: Substitute the chicken with firm tofu or vegetables like zucchini and bell peppers for a vegetarian twist.
How to Serve Chicken on a Stick
Serving Chicken on a Stick can be as creative as making it! Here are some fun ideas on how to enjoy this dish:
- Appetizer Style: Serve skewers as an appetizer at parties or gatherings. They are easy to grab and eat, making them perfect finger food.
- Family Dinner: Pair the skewers with sides like mashed potatoes or steamed vegetables for a complete family meal.
- Picnic Option: Pack Chicken on a Stick for a picnic, along with a selection of dips and fresh fruit for an enjoyable outdoor dining experience.
- Game Day Snack: These skewers make for an excellent game day snack. Serve with a variety of sauces for dipping, keeping everyone satisfied during the big game.
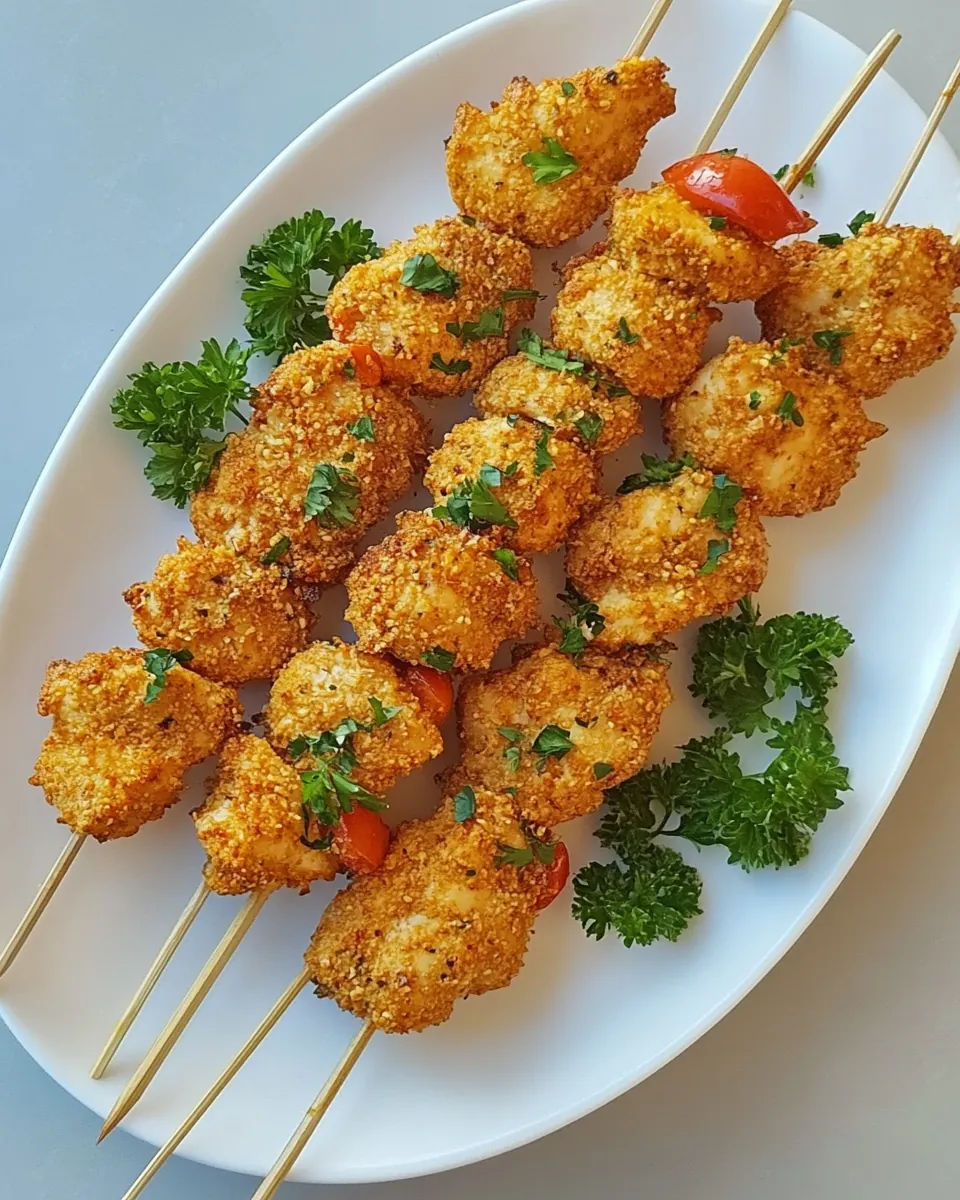
- Seasonal Touch: Incorporate seasonal vegetables into your skewers. Bell peppers, zucchini, and cherry tomatoes can add color and freshness.
- Leftover Creativity: Use leftover skewers to top a salad or in wraps, transforming them into entirely different meals!
FAQ
Conclusion
Chicken on a Stick is not just a meal; it’s an experience that brings families together in the kitchen. With its crunchy coating and juicy chicken, it’s a dish that never fails to impress. I encourage you to try this recipe tonight and enjoy the memories you create around the table together!
Chicken on a Stick
Ingredients
Equipment
Method
- Preheat your oven to 375 degrees Fahrenheit. This temperature is perfect for cooking the chicken thoroughly while achieving that golden-brown color on the coating.
- In a zip lock bag, add the cornflakes and 1 teaspoon of the kosher salt. Crush the cornflakes using a rolling pin or place them in a food processor to achieve breadcrumbs-like consistency. This crunchy coating will become the star of your dish.
- In one bowl, pour the buttermilk, creating a wet station for the chicken. In another bowl, have your crushed cornflakes ready. This setup will help you easily coat the chicken.
- Take the popsicle sticks and carefully skewer the chicken tenders, ensuring to leave about a 1-inch handle at the bottom. This will help you hold them easily while eating. Sprinkle the remaining teaspoon of kosher salt over the skewered chicken.
- Roll each skewer of chicken in the buttermilk, ensuring every piece is well-coated. Following this, dip it into the crushed cornflakes, pressing down gently to make sure the coating sticks well to the chicken.
- Prepare a baking sheet by lining it with foil or parchment paper. Lightly spray the surface with cooking oil to prevent sticking. Place the skewered chicken on the tray, leaving space between each piece.
- Once all your skewers are lined up on the baking tray, lightly spray the top of the skewers with cooking oil. This step ensures they become nice and crispy as they bake.
- To prevent the stick handles from burning, cover them with a small piece of foil. This precaution allows the chicken to cook perfectly without any burnt edges.
- Bake the chicken for 16 to 18 minutes or until they reach an internal temperature of 165 degrees Fahrenheit. The outside should be golden and crispy, which indicates it is done.
- Once cooked, serve your Chicken on a Stick with your favorite dipping sauce, such as ranch or barbecue sauce, for added flavor. Enjoy the crunchy, tender deliciousness!
- For future meals, after step 5, place the skewered chicken on another tray and freeze for 30 minutes. After freezing, transfer to a ziplock bag, label, and freeze for up to four months. When ready to eat, simply follow steps 6-9, adding 3 to 5 minutes to the cooking time without thawing.
Notes
- Tip for Make Ahead: Prepare your Chicken on a Stick, store them in the refrigerator, and pop them into the oven when you’re ready to serve.
- Tip for Freezing: After preparing, place on a sheet tray and freeze for 30 minutes, then transfer to a bag and freeze up to 4 months.