Preheat your oven to 375 degrees Fahrenheit. This temperature is perfect for cooking the chicken thoroughly while achieving that golden-brown color on the coating.
In a zip lock bag, add the cornflakes and 1 teaspoon of the kosher salt. Crush the cornflakes using a rolling pin or place them in a food processor to achieve breadcrumbs-like consistency. This crunchy coating will become the star of your dish.
In one bowl, pour the buttermilk, creating a wet station for the chicken. In another bowl, have your crushed cornflakes ready. This setup will help you easily coat the chicken.
Take the popsicle sticks and carefully skewer the chicken tenders, ensuring to leave about a 1-inch handle at the bottom. This will help you hold them easily while eating. Sprinkle the remaining teaspoon of kosher salt over the skewered chicken.
Roll each skewer of chicken in the buttermilk, ensuring every piece is well-coated. Following this, dip it into the crushed cornflakes, pressing down gently to make sure the coating sticks well to the chicken.
Prepare a baking sheet by lining it with foil or parchment paper. Lightly spray the surface with cooking oil to prevent sticking. Place the skewered chicken on the tray, leaving space between each piece.
Once all your skewers are lined up on the baking tray, lightly spray the top of the skewers with cooking oil. This step ensures they become nice and crispy as they bake.
To prevent the stick handles from burning, cover them with a small piece of foil. This precaution allows the chicken to cook perfectly without any burnt edges.
Bake the chicken for 16 to 18 minutes or until they reach an internal temperature of 165 degrees Fahrenheit. The outside should be golden and crispy, which indicates it is done.
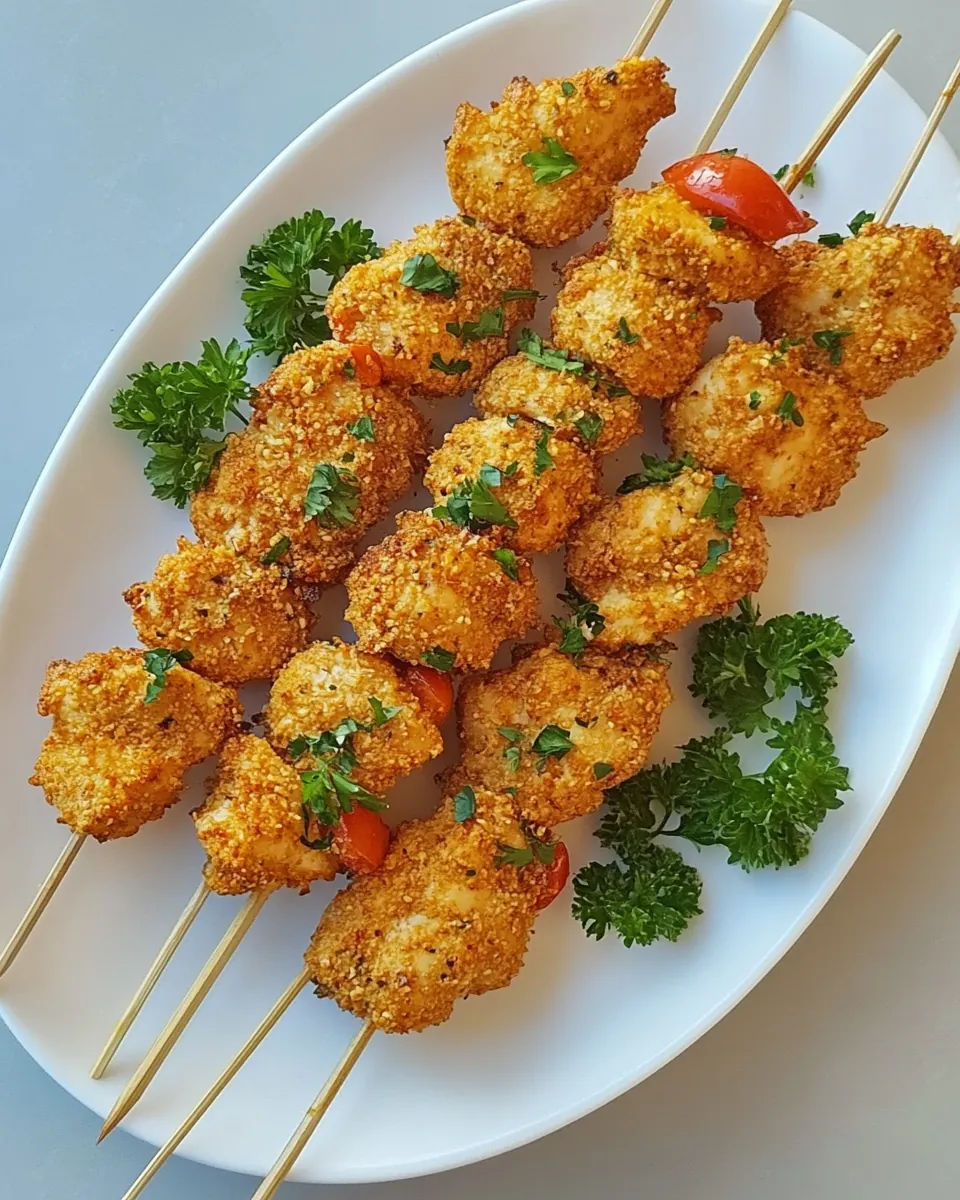
Once cooked, serve your Chicken on a Stick with your favorite dipping sauce, such as ranch or barbecue sauce, for added flavor. Enjoy the crunchy, tender deliciousness!
For future meals, after step 5, place the skewered chicken on another tray and freeze for 30 minutes. After freezing, transfer to a ziplock bag, label, and freeze for up to four months. When ready to eat, simply follow steps 6-9, adding 3 to 5 minutes to the cooking time without thawing.