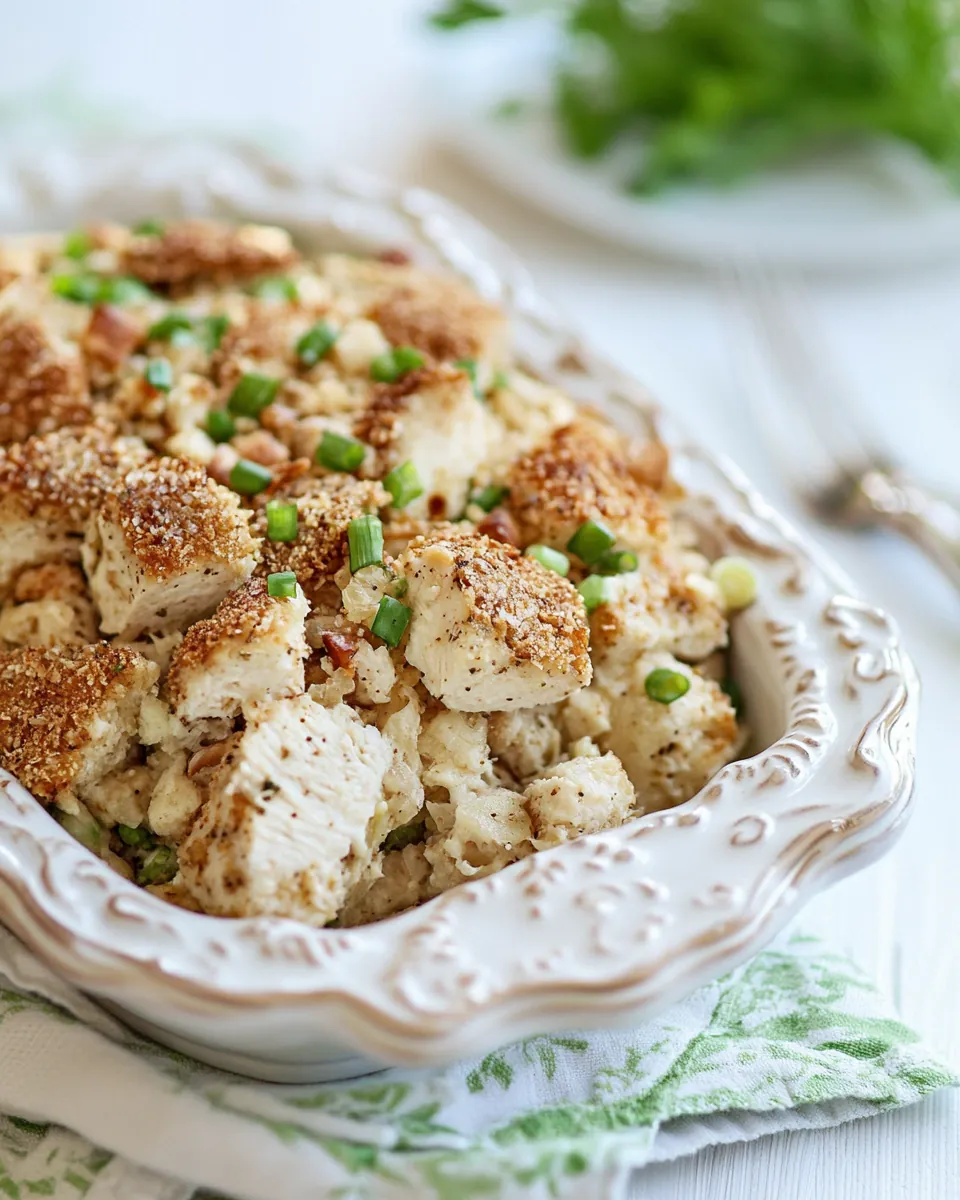
Chicken Pillow Makeover
The Chicken Pillow Makeover is a delightful twist on a comfort food classic that brings warmth and joy to any dining table. I remember the first time I took a bite of these delicious pillows stuffed with a savory mixture of chicken and creamy goodness. It was a cold evening, and I was looking for something that felt like a warm hug. The aroma wafting from the oven was simply irresistible, teasing my senses and making my mouth water. As we sat down to enjoy them, laughter filled the air, and I knew I had stumbled upon a family favorite.
The beauty of the Chicken Pillow Makeover is in its versatility. You can serve them for a cozy dinner, a festive gathering, or even a casual lunch. They are perfect for impressing guests or simply enjoying a quiet night at home. Each bite is a delightful surprise, with the crispy exterior giving way to a warm, cheesy center. I love how this recipe combines simple ingredients to create something truly special.
Whether you want to impress your family or treat yourself after a long day, the Chicken Pillow Makeover is sure to satisfy your cravings. It’s not just a meal; it’s an experience that brings everyone together. Join me as we dive into this delicious journey of flavors that will make your taste buds dance!
Recipe Snapshot
50 mins
20 mins
30 mins
Medium
290 kcal
15 g
Standard
12 g
Baking Sheet, Mixing Bowl, Oven
Why This Chicken Pillow Makeover Stands Out
Comforting and Satisfying
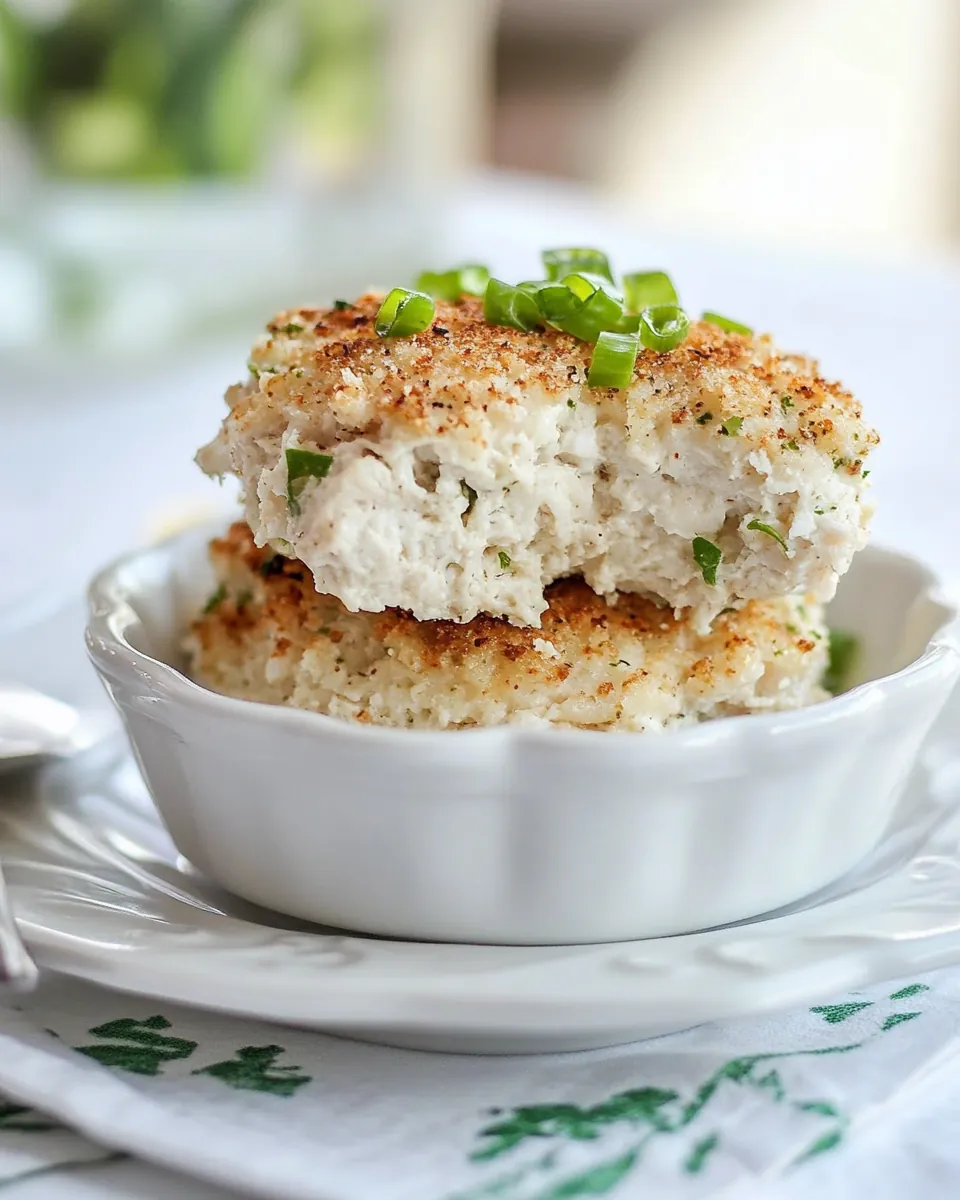
There’s something inherently comforting about the Chicken Pillow Makeover. When you take a bite, the crispy exterior gives way to a creamy, flavorful filling that just warms your soul. It’s the kind of food that feels like a hug from the inside out.
Easily Customizable
What I love most about this recipe is its adaptability. You can easily switch up the filling based on what you have on hand. Whether you want to add more vegetables or try a different type of cheese, the possibilities are endless. This makes the Chicken Pillow Makeover a great option for using up leftovers or personalizing it to suit your family’s tastes.
Perfect for Any Occasion
These pillows are not just for dinner; they make a fantastic appetizer for gatherings or a fun addition to a potluck. Everyone loves picking up these little bites of joy, making them a hit at any occasion. You can even serve them with a dipping sauce for an added layer of flavor!
Family-Friendly
Kids and adults alike will love the Chicken Pillow Makeover. They are easy to eat, and the flavors are so approachable that even the pickiest of eaters will ask for seconds. I can’t count how many times I’ve seen my kids devour these pillows without any fuss!
Freezes Well
If you’re looking to meal prep, these pillows are perfect for freezing. You can make a big batch and freeze them for later. Just pop them in the oven when you’re ready to enjoy, and you’ll have a homemade meal that’s fast and satisfying.
Recipe Ingredients for Chicken Pillow Makeover
When it comes to making the Chicken Pillow Makeover, the ingredients play a crucial role in achieving that perfect balance of flavor and texture. Each ingredient brings something unique to the table, ensuring that every bite is delicious. The star players include juicy chicken, rich cream cheese, and wholesome whole wheat flour, creating a wonderful combination of taste and nutrition.
- 1/2 pound chicken breast: Tender and juicy, this is the main protein that adds heartiness to the filling.
- 1 cup cream cheese, low fat: This rich and creamy ingredient helps bind the filling together while adding a luscious texture.
- 3/4 cup Greek yogurt, plain: This adds creaminess and a slight tang to the filling, enhancing the overall flavor profile.
- 1 teaspoon garlic powder: A staple seasoning that infuses a warm, savory depth to the filling.
- 1/2 teaspoon salt: Essential for enhancing the flavors of all the other ingredients.
- 3 stalks green onion: These provide a fresh crunch and a burst of color, making the dish visually appealing.
- 1 large egg white: Used for brushing the pillows before baking to create a beautiful golden crust.
- 1 cup bread crumbs, plain: This adds a delightful crunch to the outside of the pillows.
- 2 cups flour, whole wheat: A healthier alternative that helps form the dough, giving it structure.
- 1/2 teaspoon salt: To ensure the dough has enough flavor.
- 1 teaspoon honey: Adds a touch of sweetness that balances the savory filling.
- 1 tablespoon butter, unsalted: This enriches the dough and contributes to a tender texture.
- 1 large egg: Used in the dough for richness and binding.
- 3/4 cup milk: This liquid is crucial for hydrating the dough and helping it come together.
- 1 tablespoon yeast, active dry: Essential for making the dough rise and become fluffy.
How to Make Chicken Pillow Makeover
Preparing the Chicken Pillow Makeover is a fun and rewarding experience. You’ll love how easy it is to bring together such mouthwatering flavors. Let’s get started on this delightful journey!
- In a small bowl, combine milk and yeast and let it sit for about 10 minutes until frothy. This step is important as it activates the yeast, ensuring your dough rises beautifully.
- While the yeast is proofing, grab a medium bowl and mix together flour and salt. Creating a well in the center allows you to add the wet ingredients without making a mess.
- In that well, add honey, butter, egg, and the proofed milk mixture. It’s essential to mix these well until they form a smooth dough. You should feel it come together nicely in your hands.
- Transfer the dough to a floured surface and knead for about 5 minutes. Look for a slightly elastic texture; this indicates that gluten has developed, which is crucial for a good structure.
- Place the kneaded dough into a large, greased bowl, covering it with a cloth. Let it rise in a warm area for about 1 hour until it has doubled in size. This is where the magic happens!
- While the dough rises, prepare the filling. In a bowl, mix together chicken, cream cheese, Greek yogurt, garlic powder, salt, and green onions. Make sure everything is combined well to ensure each pillow is packed with flavor.
- Once the dough has risen, it’s time to preheat your oven to 350°F. This temperature will help achieve that perfect golden brown crust.
- Now, split the dough into 12 equal balls. Roll each ball out on a floured surface until it’s thin—about the thickness of a tortilla. This will give you that perfect shape for wrapping!
- Place an adequate amount of the filling in the center of each dough circle. Remember, don’t overfill, or they might burst while baking.
- Wrap the edges of the dough around the filling, pinching them to seal tightly. Flip each pillow so the seam side is down. This helps keep them sealed during baking.
- Brush the tops and sides of each pillow with egg white to give them a lovely sheen. Then roll them in bread crumbs for that satisfying crunch.
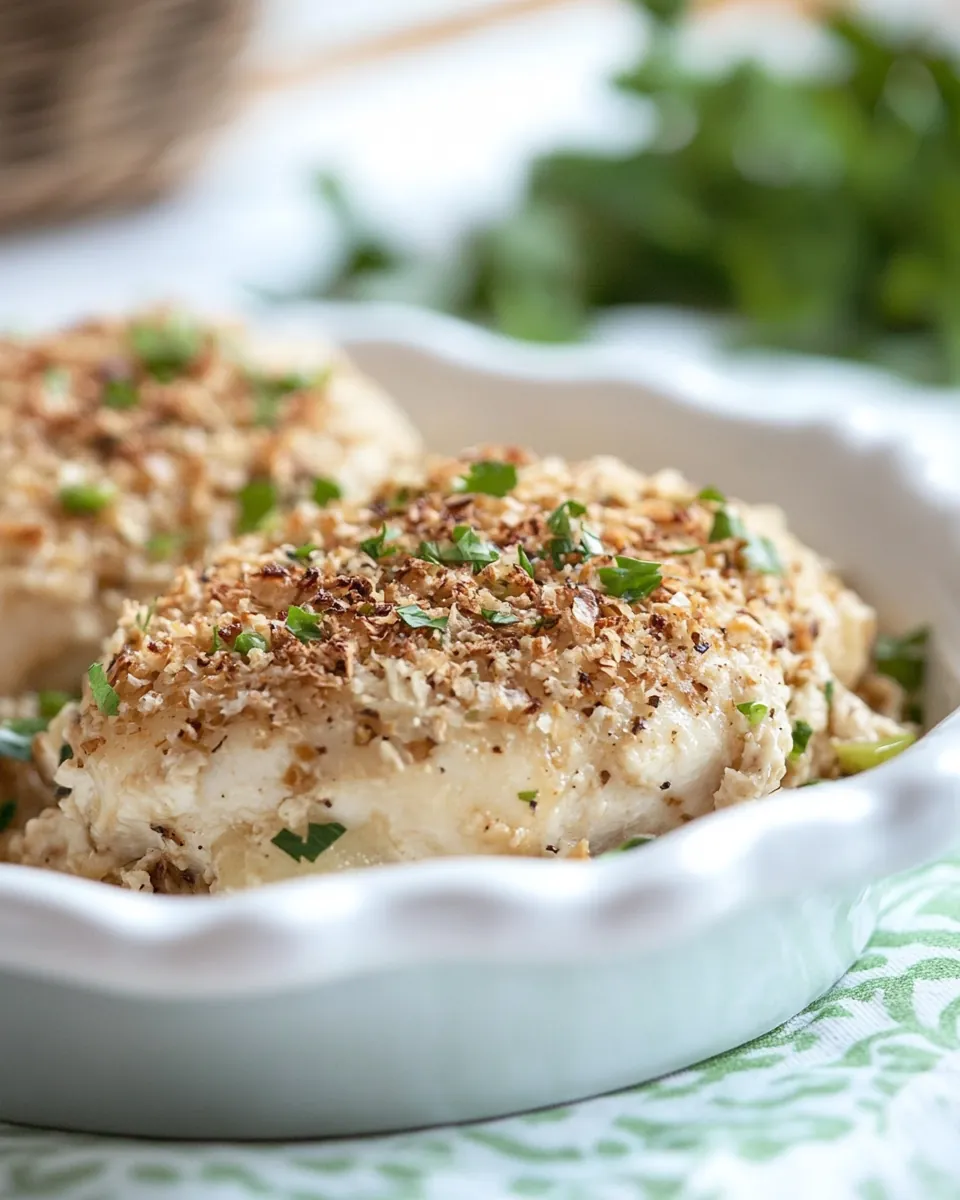
- Arrange on a baking sheet, seam side down, and bake for 20 to 30 minutes. Keep an eye on them, and once they are golden brown, it’s time to take them out!
- Allow the pillows to cool for a few minutes before serving. This wait makes sure the filling isn’t too hot to handle when you dig in.
Things Worth Knowing
- Proofing the yeast: Make sure your milk is warm, but not hot. If it’s too hot, it can kill the yeast, preventing the dough from rising.
- Kneading technique: Knead until the dough is smooth and elastic. This should take about 5 minutes; you’ll know it’s ready when it springs back after being pressed.
- Sealing the pillows: Ensure the edges are pinched tightly to avoid any filling escaping during baking. A good seal is crucial for the best results.
- Baking time: Keep an eye on your pillows as they bake. Each oven is different, and you want to catch them when they’re golden brown for the best texture.
- Cooling period: Let the pillows sit for a few minutes after baking. This allows the filling to set slightly, making them easier to serve.
Recipe Notes about Chicken Pillow Makeover

When preparing the Chicken Pillow Makeover, consider these helpful tips to enhance your cooking experience and ensure delicious results.
- Storage: Store any leftovers in an airtight container in the refrigerator for up to 3 days. Reheat in the oven to maintain crispiness.
- Freezing: These pillows freeze wonderfully! Just make sure they are fully cooled before sealing in a freezer-safe container. They can be frozen for up to 3 months.
- Pairing: Serve with a fresh salad or your favorite dipping sauce for a complete meal experience.
- Variations: Feel free to experiment with different fillings! You can add vegetables or try different cheeses for a twist.
- Cooking in batches: If you’re making these for a crowd, consider doubling the recipe. They’re always a hit and disappear quickly!
What to Pair With Chicken Pillow Makeover
Serving the Chicken Pillow Makeover can be a delightful experience as you explore various pairings that enhance the meal. Here are some ideas:
- Fresh Salad: A crisp green salad with a light vinaigrette complements the richness of the pillows beautifully.
- Steamed Vegetables: Lightly seasoned steamed vegetables provide a healthy side that balances the meal.
- Soup: A warm bowl of chicken noodle or vegetable soup can serve as an excellent starter before enjoying the pillows.
- Dipping Sauces: Offer a variety of dipping sauces, like ranch or honey mustard, for a fun twist and added flavor.
- Casual Gatherings: These pillows are perfect for parties or gatherings. Serve them on a platter for guests to enjoy at their leisure.
- Cozy Family Dinner: Pair with mashed potatoes or rice for a filling family meal that pleases everyone.
FAQ
Conclusion
The Chicken Pillow Makeover is a delightful fusion of flavors and textures that transforms a simple dish into something extraordinary. It’s perfect for family dinners or gatherings and is sure to impress anyone who takes a bite. I encourage you to try making these delicious pillows; they’ll quickly become a favorite in your home, just as they have in mine!
Chicken Pillow Makeover
Ingredients
Equipment
Method
- In a small bowl, combine milk and yeast and let it sit for about 10 minutes until frothy. This step is important as it activates the yeast, ensuring your dough rises beautifully.
- While the yeast is proofing, grab a medium bowl and mix together flour and salt. Creating a well in the center allows you to add the wet ingredients without making a mess.
- In that well, add honey, butter, egg, and the proofed milk mixture. It’s essential to mix these well until they form a smooth dough. You should feel it come together nicely in your hands.
- Transfer the dough to a floured surface and knead for about 5 minutes. Look for a slightly elastic texture; this indicates that gluten has developed, which is crucial for a good structure.
- Place the kneaded dough into a large, greased bowl, covering it with a cloth. Let it rise in a warm area for about 1 hour until it has doubled in size. This is where the magic happens!
- While the dough rises, prepare the filling. In a bowl, mix together chicken, cream cheese, Greek yogurt, garlic powder, salt, and green onions. Make sure everything is combined well to ensure each pillow is packed with flavor.
- Once the dough has risen, it’s time to preheat your oven to 350°F. This temperature will help achieve that perfect golden brown crust.
- Now, split the dough into 12 equal balls. Roll each ball out on a floured surface until it’s thin—about the thickness of a tortilla. This will give you that perfect shape for wrapping!
- Place an adequate amount of the filling in the center of each dough circle. Remember, don’t overfill, or they might burst while baking.
- Wrap the edges of the dough around the filling, pinching them to seal tightly. Flip each pillow so the seam side is down. This helps keep them sealed during baking.
- Brush the tops and sides of each pillow with egg white to give them a lovely sheen. Then roll them in bread crumbs for that satisfying crunch.
- Arrange on a baking sheet, seam side down, and bake for 20 to 30 minutes. Keep an eye on them, and once they are golden brown, it’s time to take them out!
- Allow the pillows to cool for a few minutes before serving. This wait makes sure the filling isn’t too hot to handle when you dig in.
Notes
- Storage: Store any leftovers in an airtight container in the refrigerator for up to 3 days. Reheat in the oven to maintain crispiness.
- Freezing: These pillows freeze wonderfully! Just make sure they are fully cooled before sealing in a freezer-safe container. They can be frozen for up to 3 months.
- Pairing: Serve with a fresh salad or your favorite dipping sauce for a complete meal experience.
- Variations: Feel free to experiment with different fillings! You can add vegetables or try different cheeses for a twist.
- Cooking in batches: If you’re making these for a crowd, consider doubling the recipe. They’re always a hit and disappear quickly!