In a small bowl, combine milk and yeast and let it sit for about 10 minutes until frothy. This step is important as it activates the yeast, ensuring your dough rises beautifully.
While the yeast is proofing, grab a medium bowl and mix together flour and salt. Creating a well in the center allows you to add the wet ingredients without making a mess.
In that well, add honey, butter, egg, and the proofed milk mixture. It’s essential to mix these well until they form a smooth dough. You should feel it come together nicely in your hands.
Transfer the dough to a floured surface and knead for about 5 minutes. Look for a slightly elastic texture; this indicates that gluten has developed, which is crucial for a good structure.
Place the kneaded dough into a large, greased bowl, covering it with a cloth. Let it rise in a warm area for about 1 hour until it has doubled in size. This is where the magic happens!
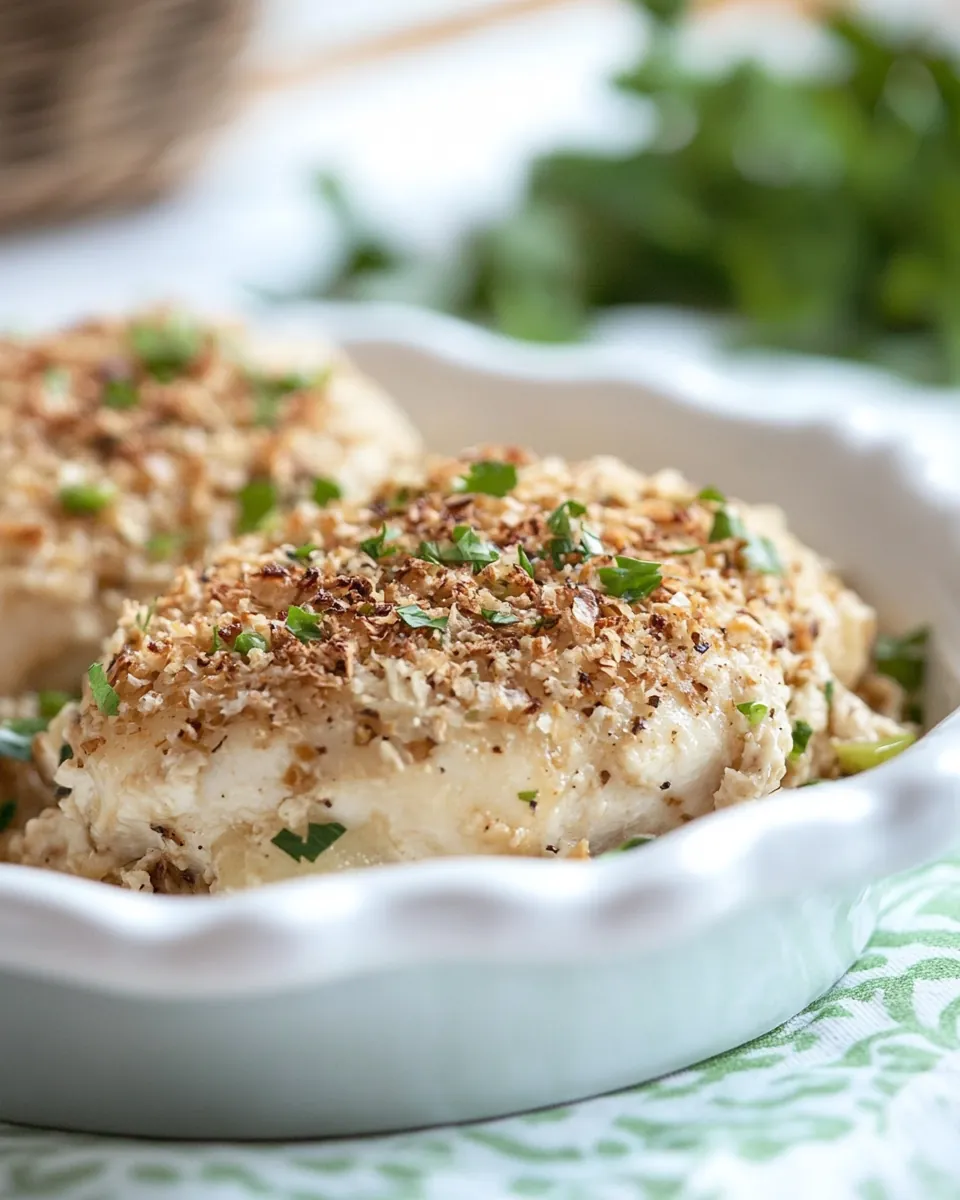
While the dough rises, prepare the filling. In a bowl, mix together chicken, cream cheese, Greek yogurt, garlic powder, salt, and green onions. Make sure everything is combined well to ensure each pillow is packed with flavor.
Once the dough has risen, it’s time to preheat your oven to 350°F. This temperature will help achieve that perfect golden brown crust.
Now, split the dough into 12 equal balls. Roll each ball out on a floured surface until it’s thin—about the thickness of a tortilla. This will give you that perfect shape for wrapping!
Place an adequate amount of the filling in the center of each dough circle. Remember, don’t overfill, or they might burst while baking.
Wrap the edges of the dough around the filling, pinching them to seal tightly. Flip each pillow so the seam side is down. This helps keep them sealed during baking.
Brush the tops and sides of each pillow with egg white to give them a lovely sheen. Then roll them in bread crumbs for that satisfying crunch.
Arrange on a baking sheet, seam side down, and bake for 20 to 30 minutes. Keep an eye on them, and once they are golden brown, it’s time to take them out!
Allow the pillows to cool for a few minutes before serving. This wait makes sure the filling isn’t too hot to handle when you dig in.