Preheat oven to 400°F. Generously grease a large sheet pan with cooking spray. If available, add an oven-safe metal cooling rack on top of the sheet pan and generously grease that as well. (This is optional, but ensures more even baking/crispier chicken.) Pat each tender very dry with a paper towel. Remove the tendons (cut them out with a sharp pairing knife).
Melt 2 tablespoons butter in a large pan over medium-high heat. Once melted, add panko and salt to taste (I add 1/4 teaspoon). Stir constantly until lightly and evenly browned, then transfer to a wide, shallow dish.
Add all batter ingredients to a bowl and whisk until combined.
Generously coat chicken tenders in batter and then in breading. Add tenders, spaced apart, to the sheet pan on top of cooling rack. Press any leftover crumbs on top of chicken. Generously spray the tops of the tenders with cooking spray. (We’ll spray the other side later.)
Place sheet pan in the center of the oven and bake for 10 minutes. Remove and gently flip tenders to the other side (careful to avoid losing breading). Generously spray new tops with cooking spray and bake another 5–10 minutes or until chicken is 160°F on a food thermometer (carryover heat will bring it up to 165°F). Remove from oven and taste. Add a light sprinkle of salt on top if needed.
While chicken bakes, make sauce by melting butter on the stovetop over medium heat. Once fully melted, add rest of sauce ingredients and whisk to combine until smooth. Season to taste with salt (I add 1/4 teaspoon). If you’d like the sauce to be sweeter, add additional brown sugar. Remove from heat.
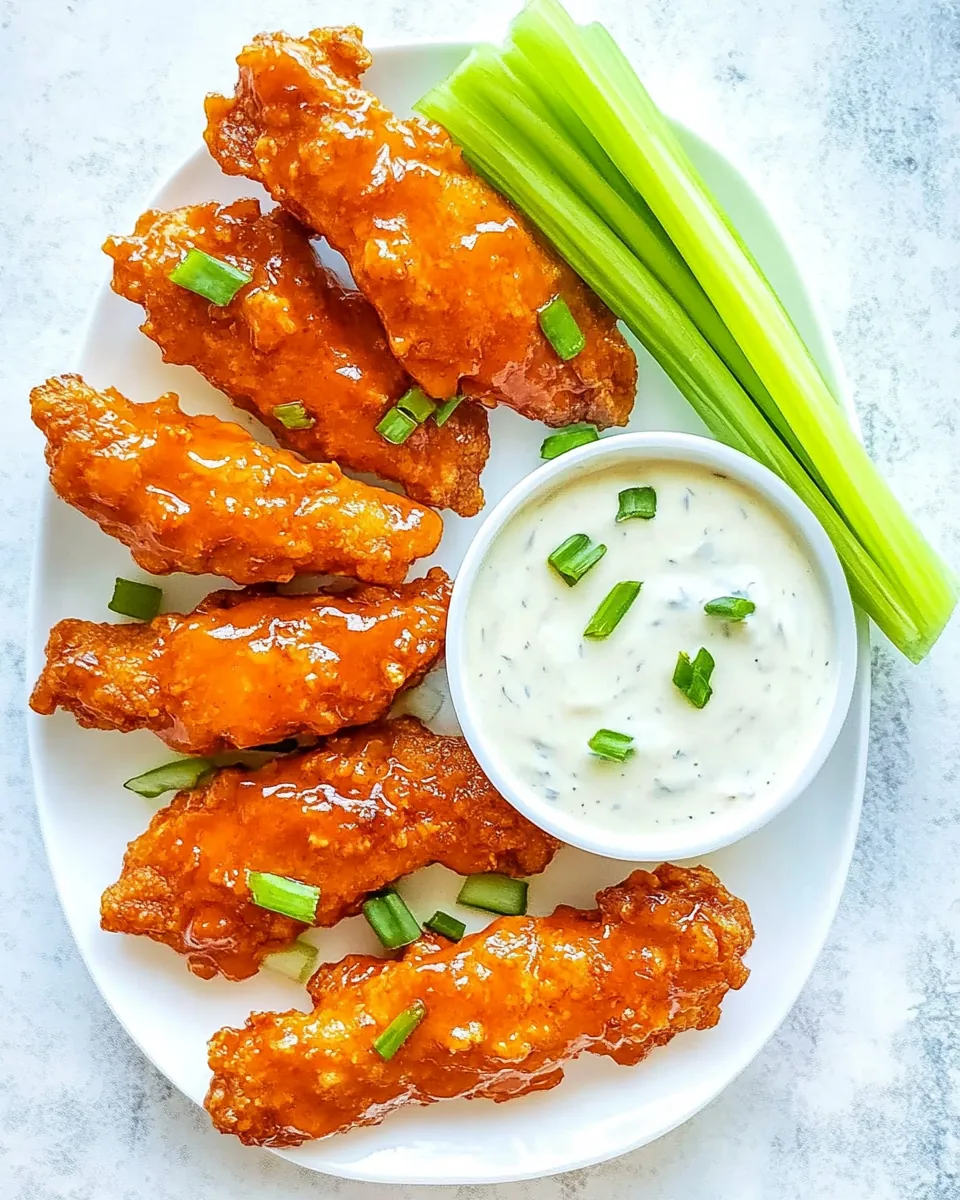
Toss tenders in sauce (I like to coat half, eat, then coat the rest to keep things nice and crispy!) and enjoy dipped in ranch or blue cheese dressing. I love serving celery and carrot sticks on the side as well!
Air Fryer Instructions: Set air fryer heat to 400°F. Add breaded tenders to the fryer basket in an even layer (you may need to do this in batches; don’t overlap chicken). Cook for 5–8 minutes, flip the tenders, spray with cooking spray on the other side, and cook another 5–8 minutes or until golden brown and cooked to 160°F. (Carryover heat will take them to 165°F.)