In a large mixing bowl, whisk together buttermilk, cold water, kosher salt, black pepper, hot sauce, and brown sugar until the sugar is fully dissolved. The mixture should be creamy and well combined. Don’t forget to taste it—this brine should be perfectly seasoned!
Once your brine is ready, add the lime slices and garlic cloves to the mixture. The lime adds a refreshing zesty flavor, and the garlic infuses the brine with aromatic notes that will elevate your chicken.
Take your chicken breasts and place them in a gallon ziplock bag. Carefully pour the prepared brine over the chicken, ensuring the meat is well covered. Seal the bag tightly, pressing out as much air as possible to help the brine work its magic.
Refrigerate the chicken for 24 hours. This is crucial! Allowing the chicken to marinate in the brine gives it the flavor and moisture it needs. If you're in a pinch, let it sit in the brine for at least a few hours.
After the marinating time is up, remove the chicken from the marinade and discard the brine. The chicken will look plump and flavorful.
In a separate bowl, combine the BBQ sauce and the remaining hot sauce. This mix will serve as a glaze to brush onto the chicken while it grills, adding that burnt sweetness that is just heavenly.
Preheat your grill to medium-high heat. If you’re using a charcoal grill, make sure the coals are glowing hot. You want a good sear on your chicken!
Place the chicken on the grill, cooking for about 12 to 15 minutes. Flip the chicken halfway through. You’re looking for a beautiful golden-brown color and an internal temperature of 165ºF. This ensures that your chicken is perfectly cooked!
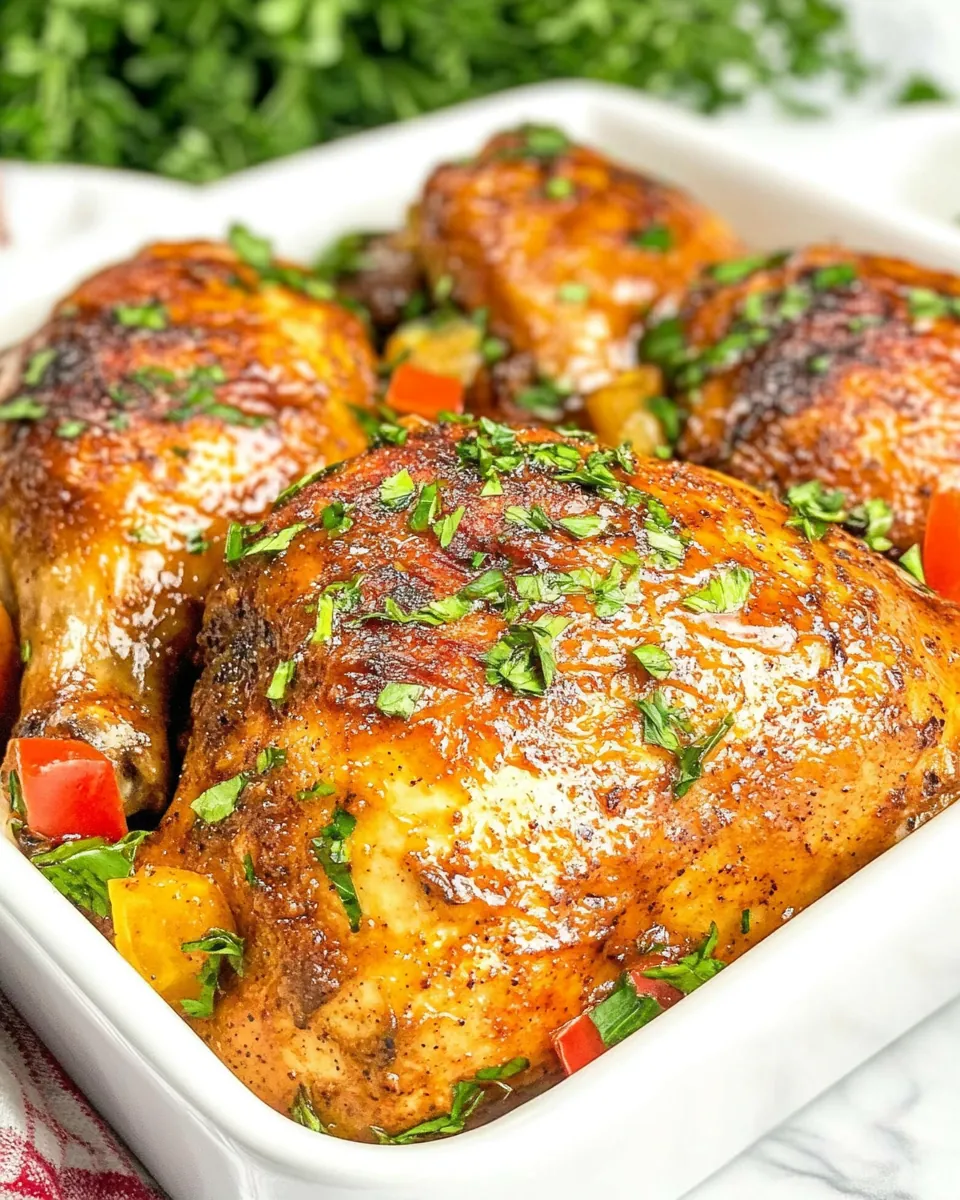
As the chicken nears completion, use a brush to apply the BBQ sauce mixture on each side. This will caramelize beautifully and add a gorgeous finish to your grilled chicken.
Once cooked, remove the chicken from the grill and let it rest for about five minutes before serving. This resting period allows the juices to redistribute within the chicken, keeping it tender and juicy when you slice into it.