Preheat your oven to 350°F. It’s important to have your oven ready so that the shells bake evenly and thoroughly. While that heats up, grease a 9×13-inch baking dish to prevent the shells from sticking.
In a pot, bring salted water to a boil and gently add the jumbo pasta shells. Cook according to the package instructions until they are al dente. This usually takes about 8 to 10 minutes. Once done, drain the shells and rinse them under cold water to stop the cooking process. Set them aside to cool.
In a large mixing bowl, combine the chopped rotisserie chicken, taco seasoning, cream cheese, sliced green onions, thawed corn, and salsa. Use a spatula or spoon to mix everything together until it’s well combined. The mixture should be creamy and slightly thick.
Next, take each cooked shell and carefully stuff it with the chicken mixture. It’s easiest to hold the shell with one hand while using the other to fill it. Make sure not to overstuff, as you want to be able to easily fit them in the baking dish.
Once all the shells are filled, line them up in the prepared baking dish. You can arrange them in a single layer to ensure even baking. This also makes it easier to serve later!
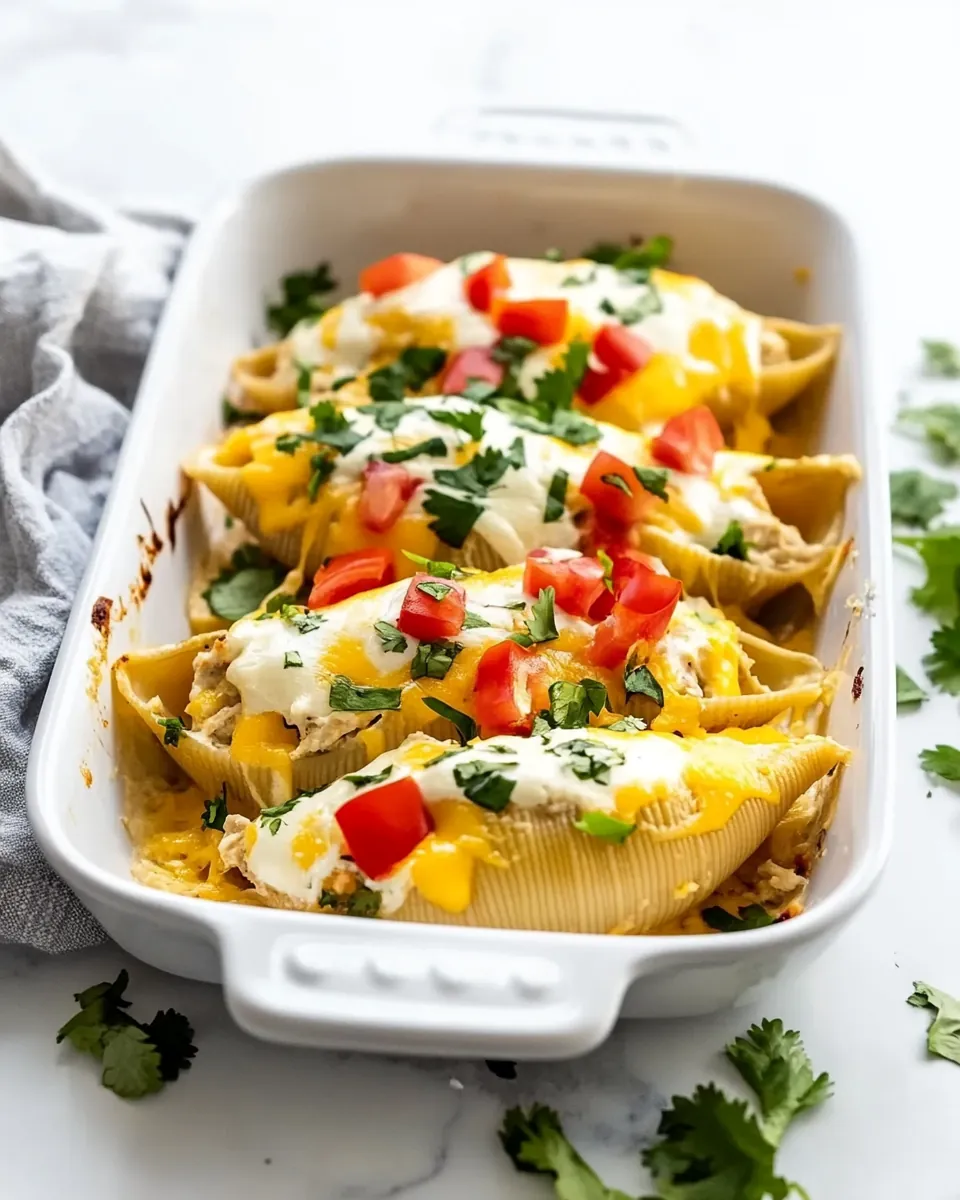
Sprinkle the shredded Mexican cheese blend over the top of the stuffed shells, making sure to cover them evenly. This cheese will melt and create a wonderful crust.
Pop the baking dish into the preheated oven and bake for 15 to 20 minutes. You’ll know they are done when the cheese is melted and bubbly, and the filling is warmed through. The aroma wafting through your kitchen will be irresistible!
Once out of the oven, allow the dish to cool for a few minutes before serving. This will help the filling settle slightly and make it easier to serve.
For a finishing touch, garnish the Chicken Mexican Stuffed Shells with dollops of sour cream, halved cherry tomatoes, and a sprinkle of fresh cilantro. This not only adds flavor but also makes for a beautiful presentation!